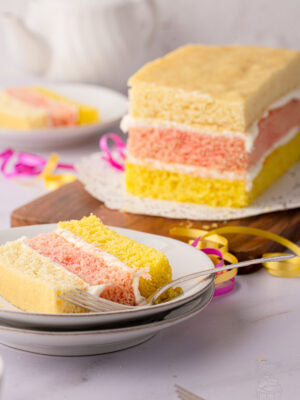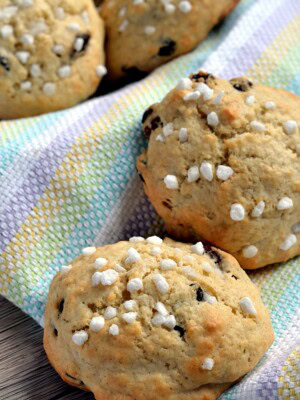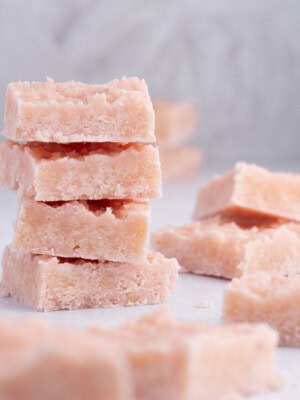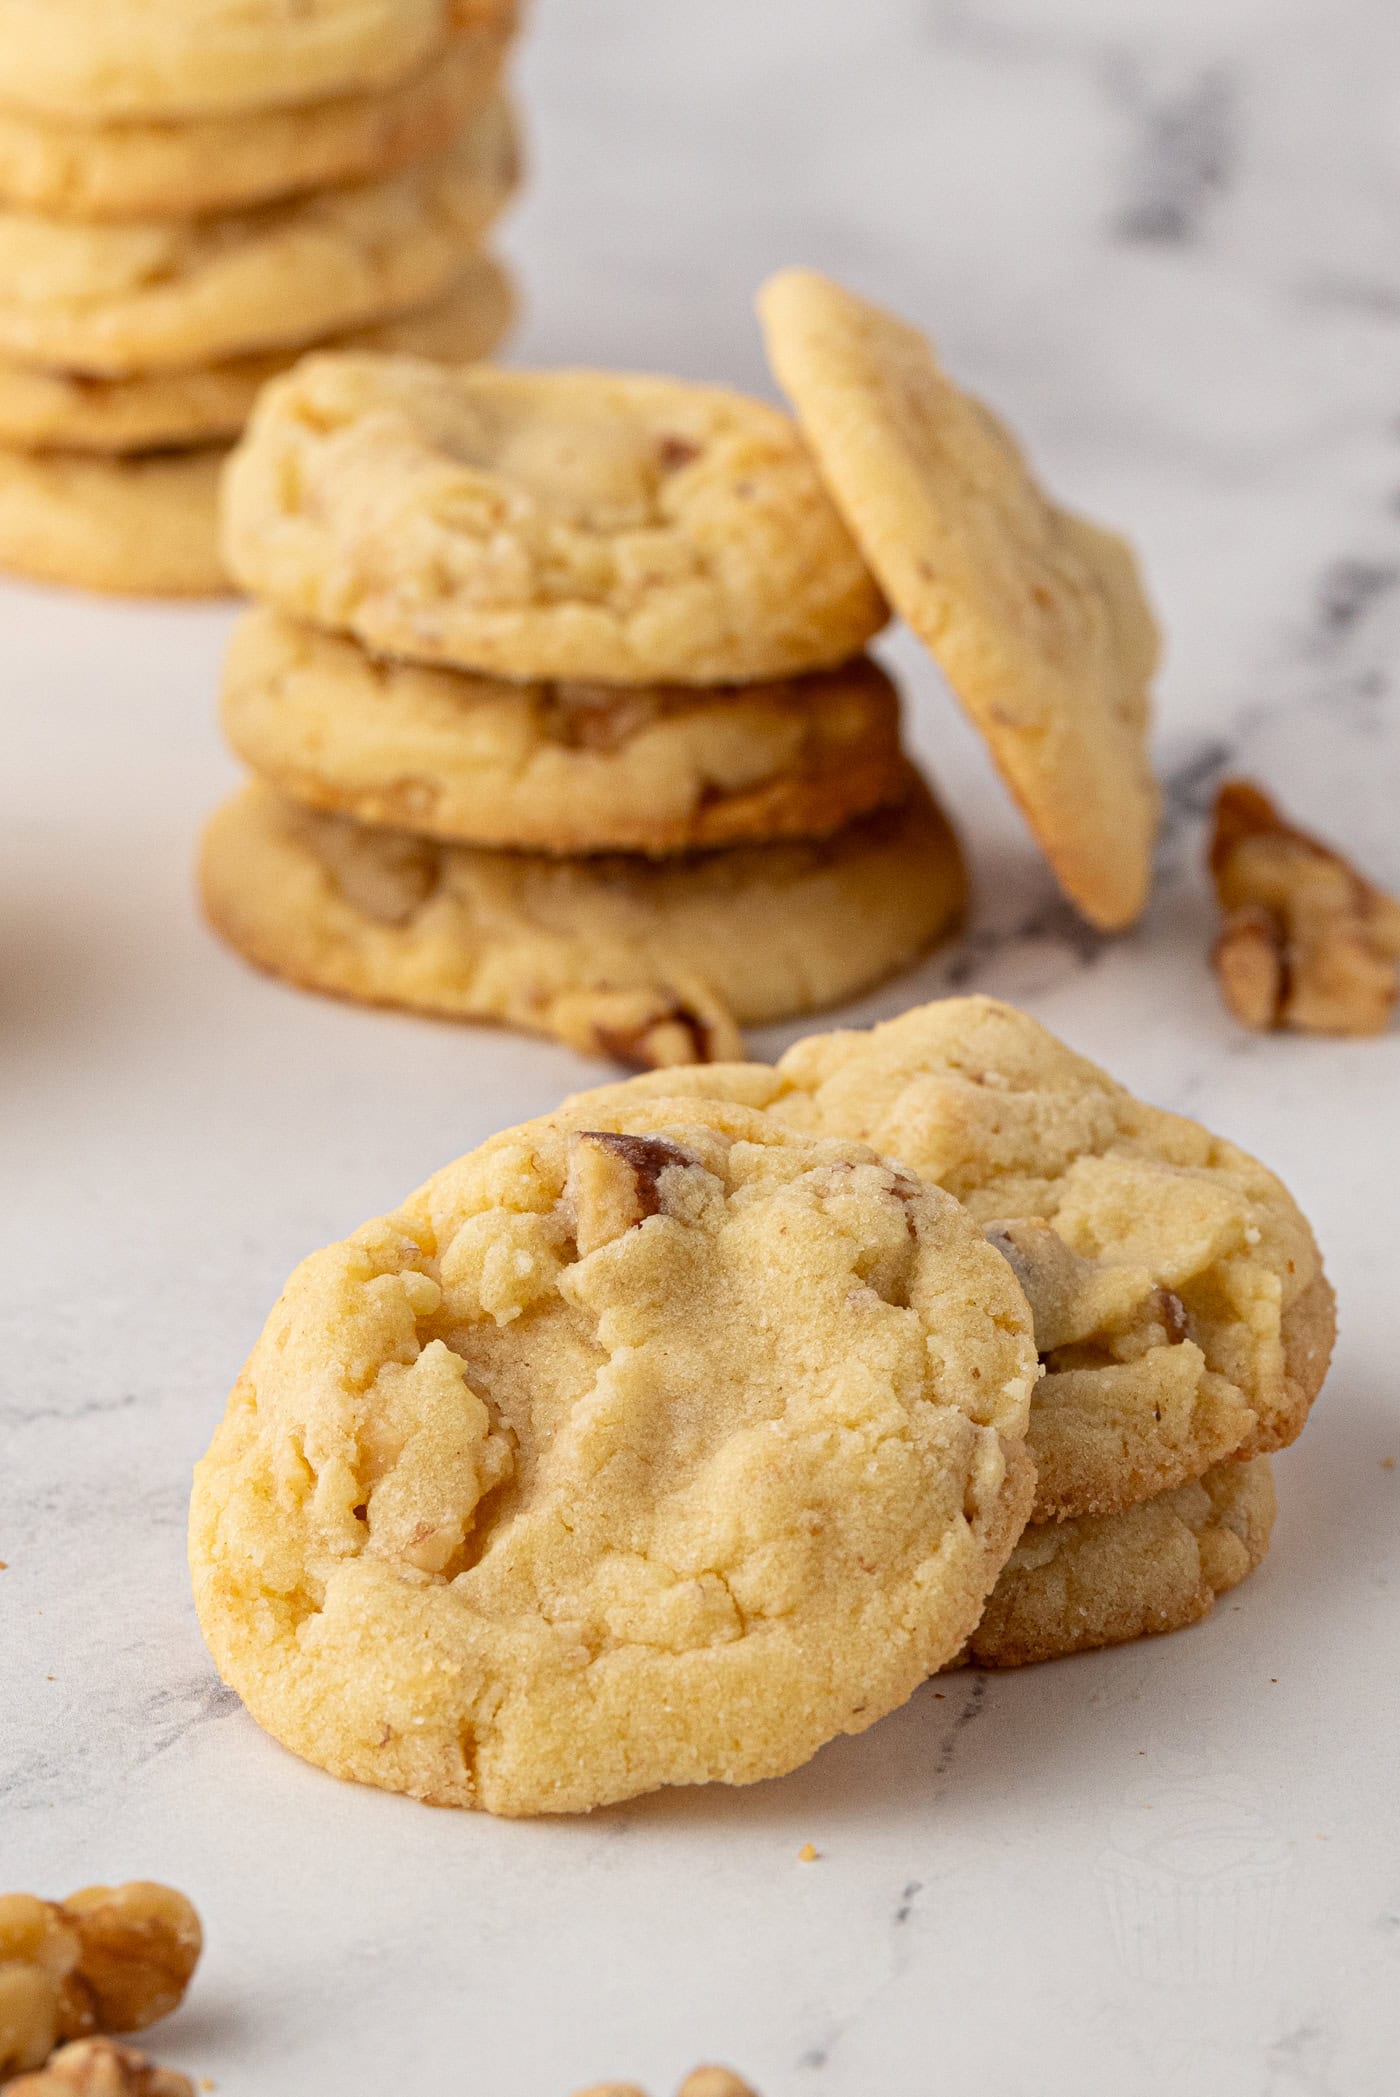
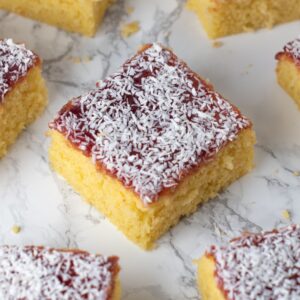
This Jam and Coconut School Cake is a proper old-school favourite – a light, plain sponge topped with raspberry jam and plenty of desiccated coconut. Just like the school dinner version, the coconut goes on top rather than into the sponge, making it simple, nostalgic and especially good served with warm custard (pink or otherwise!).
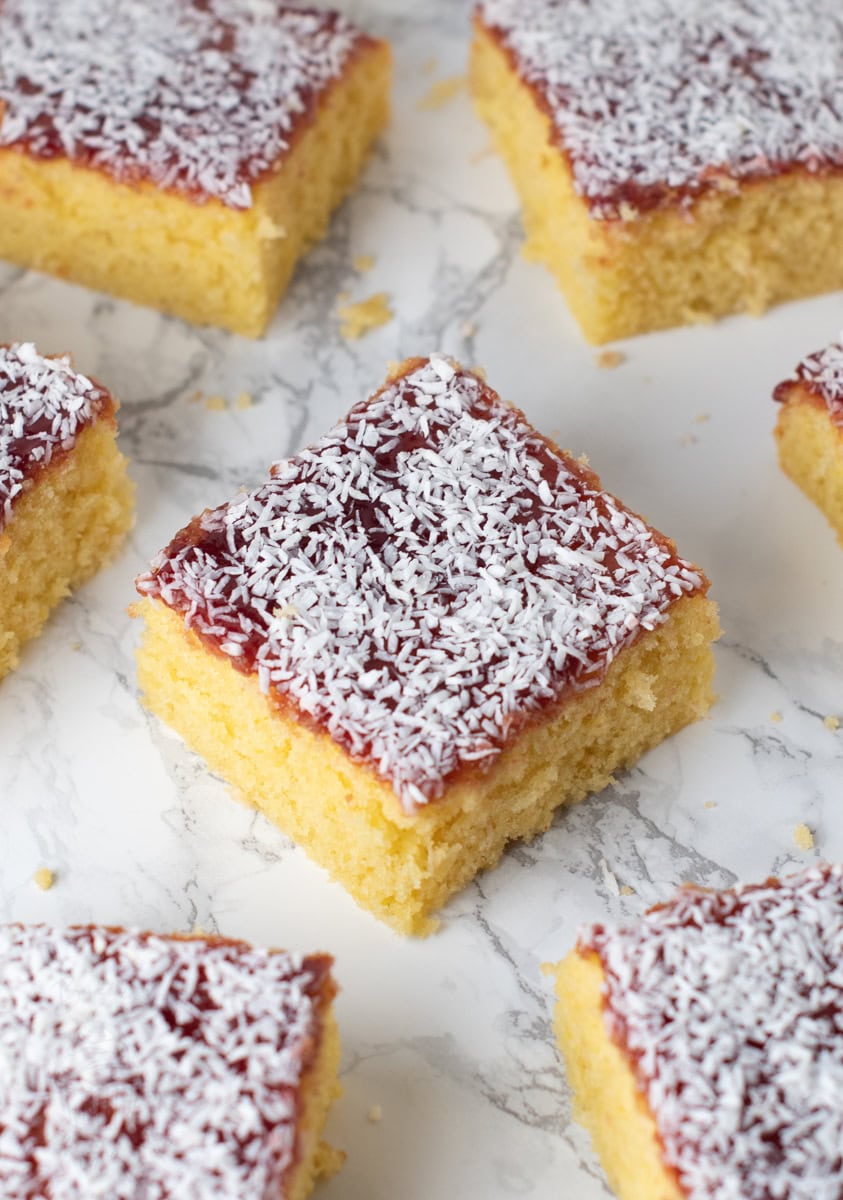
Jam & Coconut School Cake Recipe Snapshot
- Recipe Type: Old-school British school dinner sponge.
- Texture: Light, fluffy sponge with a sticky jam and coconut topping.
- Difficulty: Easy.
- Prep Time: 20 minutes.
- Bake Time: 40 minutes.
- Serves: 12 slices.
- Tin Size: 23×30cm (9×12 inch)
- Key Ingredients: Margarine, self-raising flour, caster sugar, eggs, jam & coconut.
- Dietary Info: Nut-free, with gluten-free and dairy-free swaps, plus egg-free and vegan alternatives discussed below.
- Topping: Seedless raspberry jam and desiccated coconut.
- What Makes It Traditional: The coconut goes on top – not into the sponge.
- Best Served: As it is, or with custard (pink or otherwise!).
Summarise & Save this Recipe on:
What is Jam & Coconut School Cake?
Jam and Coconut School Cake is an old-fashioned British school dinner sponge made with a simple plain tray-baked cake, topped with raspberry jam and desiccated coconut. Unlike some modern coconut cakes, the coconut isn’t baked into the sponge – it’s sprinkled over the jam after baking.
That’s because school dinner cakes were generally based around a simple plain sponge, with the topping changing depending on what the kitchen had available that day. Jam and coconut was one of those classic combinations, alongside the icing and sprinkles many people remember, like on my traditional School Dinner Cake recipe.
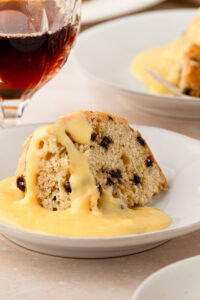
This recipe actually grew from my original old-school School Cake recipe, which uses the same light sponge base. After that recipe became one of my most popular bakes, bakers kept asking me for the jam and coconut version they remembered from school – so this was the natural next addition to my collection of school dinner recipes, alongside traditional British Apple Crumble and Spotted Dick Dessert.
The School Cake You Asked For
Back in 2020, when everyone suddenly seemed to be baking at home, I shared my original School Cake – inspired by the plain sponge with white icing and sprinkles that I remembered so fondly from school dinners.
I could never have predicted just how popular that recipe would become. But almost as soon as people started making it, one question kept coming up: “Can you do the jam and coconut version?”
So that’s exactly what I did. This recipe uses the same simple, light and fluffy sponge as my original School Cake, but instead of water icing and sprinkles, it’s finished with smooth raspberry jam and plenty of desiccated coconut. It’s still a wonderfully simple tray cake, but for anyone who remembers the jam-and-coconut version from school dinners, it’s a completely different kind of nostalgia.
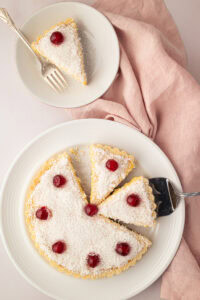
If jam and coconut is your thing, you’ll find that same nostalgic combination in a few of my other bakes too. My traditional Manchester Tart recipe combines raspberry jam, custard and coconut in a pastry case, while Scottish Snow Cake is almost like a dressed-up cousin of this school cake – with a pastry base, jam, sponge, icing and coconut. And my Scottish Snowball recipe uses jam and coconut in another completely different way.
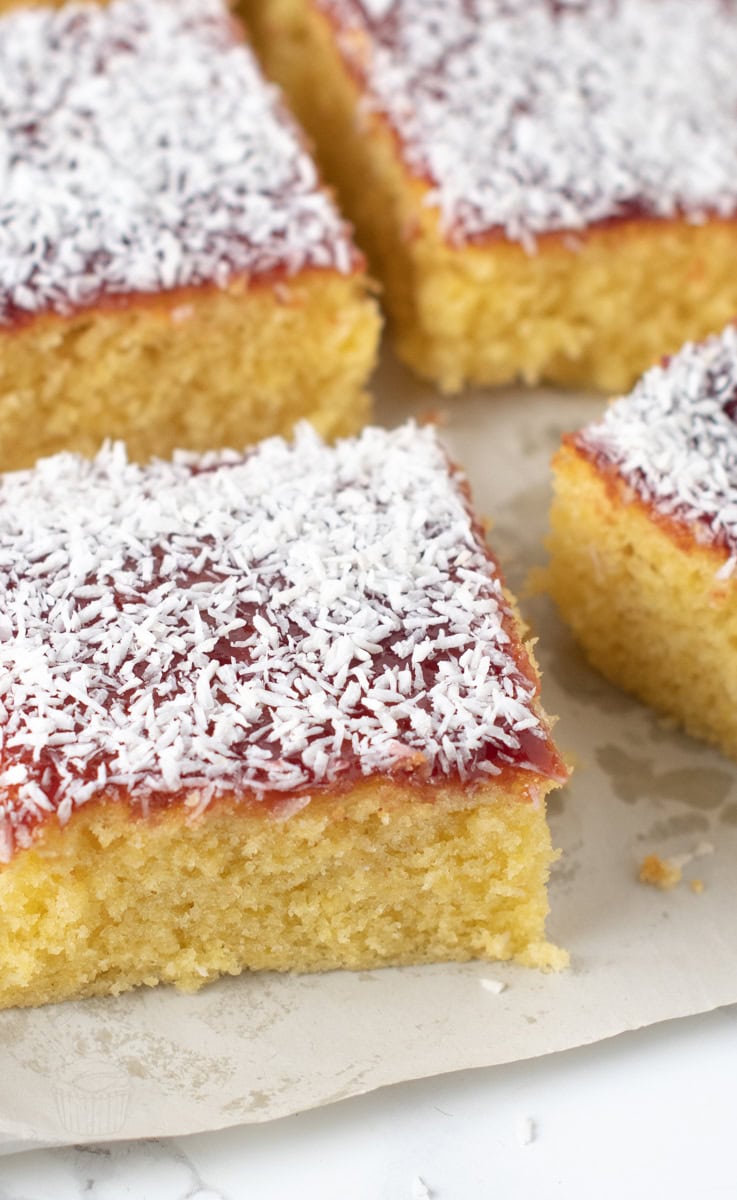
Key Ingredients
This is a simple school-dinner sponge, so there’s nothing fancy in the ingredient list. The important part is getting a light, fluffy sponge and then adding the jam and coconut after baking – just as you would with an old-school tray cake.
See the recipe card for a full ingredients list, required quantities and cup conversions.
Free-from & Vegan
Gluten-free Options:
Swap the self-raising flour for a gluten-free self-raising flour. As with most simple sponge cakes, this is a fairly straightforward swap, although different gluten-free flour blends can give slightly different results.
Nut-free Adjustments:
This recipe contains no nuts, but as always, be sure to double-check the allergen lists for your individual ingredients.
Dairy-free Swaps:
Simply use a dairy-free baking margarine instead of butter. The remaining ingredients in the cake are naturally dairy-free, but be sure to check the labels on your jam and other packaged ingredients.
Egg-Free Adaptations:
Because this sponge uses five eggs, I wouldn’t recommend simply replacing them with an egg substitute – I haven’t tested this recipe egg-free, and the eggs play an important part in the structure of the cake. Instead, I would start with a tested egg-free plain sponge recipe, such as The Baking Explorer’s Vegan Victoria Sponge Cake, then use the baked sponge as the base for your jam and coconut topping.
Vegan Substitutions:
For a vegan version, I’d take the same approach rather than trying to adapt this five-egg sponge. The Baking Explorer’s Vegan Victoria Sponge Cake is both egg-free and dairy-free, so you could use a tested vegan sponge recipe like this as your starting point, then finish it with warmed raspberry jam and desiccated coconut. Just be sure to check that the jam and any other ingredients you use are also suitable for a vegan diet.
Allergy Disclaimer & Resources:
Any advice or suggestions to make recipes “free-from” or vegan are purely suggestions. Please double-check all packaged ingredients individually, taking extra caution when baking for those with allergies or intolerances.
For official guidance on food allergies, please see Food Standards Agency (food.gov.uk) | For more info on coeliac disease, please see Coeliac UK (coeliac.org.uk) | For more info on a vegan diet, please see The Vegan Society (vegansociety.com)
How to Make Jam & Coconut School Cake
This old-school jam and coconut sponge is very straightforward to make. The most important things are creaming the margarine and sugar well for a light sponge, adding the eggs gradually, and letting the cake cool completely before adding the jam.
- Prepare your tin and oven. Preheat your oven to 180°C (160°C fan-assisted ovens, Gas Mark 4 or 350°F) and line a 23×30cm (9×12 inch) baking tin with greaseproof paper.
- Cream the margarine/butter and sugar. Beat them together until noticeably lighter in colour and fluffy in texture. Don’t rush this stage – it helps give the finished cake its lovely light sponge.
- Add the eggs gradually. Beat in the eggs one at a time, making sure each is incorporated before adding the next. If the mixture starts to look curdled, add a spoonful of your measured flour in with the next egg to help bring it back together.
- Add the flour. Sift in the self-raising flour and gently fold until everything is combined and there are no visible pockets of flour.
- Fill the tin. Spoon the batter into your prepared tin and spread it evenly into the corners. Gently tap the tin on your worktop a couple of times to settle the batter and remove any large air pockets.
- Bake the sponge. Bake for around 30-40 minutes, until risen and golden and a skewer inserted into the centre comes out clean. Start checking towards the earlier end of the baking time, as ovens can vary.
- Cool completely. Leave the cake in the tin for a short while before transferring it to a wire cooling rack. Let it cool completely before adding the topping.
- Add the jam and coconut. Warm the raspberry jam for around 20 seconds in the microwave to loosen it, then spread it right to the edges of the cooled sponge. Immediately scatter over the desiccated coconut while the jam is still warm and tacky, helping it stick in place.
Tips for Jam & Coconut School Cake
- Cream Until Really Light and Fluffy: Give the margarine/butter and sugar enough time to become pale and fluffy in both appearance and texture. This is one of the biggest things you can do to help give the sponge that light school-cake finish
- Don’t Overmix the Flour: Once the self-raising flour goes in, fold only until everything is combined. Overworking the batter at this stage can make your finished sponge heavier.
- Keep an Eye on the Baking Time: Ovens can vary, so start checking the cake from around the 30-minute mark rather than just automatically leaving it for the full 40 minutes. It should be risen and golden, with a skewer inserted into the centre coming out clean.
- Let the Sponge Cool Completely: Don’t be tempted to add the jam while the cake is still warm. A completely cooled sponge is much easier to decorate, as if it’s too warm, the jam will just melt and slide right off.
- Warm the Jam Before Spreading: Around 20 seconds in the microwave is usually enough to loosen raspberry jam so it glides over the sponge rather than dragging across it. You only want it only slightly warmed, not hot.
- Add the Coconut Straight Away: Sprinkle the desiccated coconut over while the jam is still warm and tacky so it sticks properly rather than it falling off every time you slice the cake.
- Make It Ahead: This is a great cake to bake the day before you need it. Once completely cool, keep the plain sponge covered overnight, then add the jam and coconut before serving – or decorate it the day before too if that suits you better.
Storage & Freezing
- Storage: Keep your Jam and Coconut School Cake in an airtight container at room temperature, where it will stay lovely and soft for up to 4 days. There’s no need to refrigerate it – I find keeping sponge cake in the fridge can dry it out much more quickly.
- Freezing: This cake freezes really well, but I recommend freezing the plain sponge before adding the jam and coconut. Once completely cool, wrap it tightly in cling film and foil, then freeze for up to 3 months. Defrost at room temperature, still wrapped, before adding the warmed raspberry jam and desiccated coconut.
You can freeze the cake once decorated if necessary, but the jam and coconut topping won’t be quite as good after defrosting, so freezing the sponge on its own gives the best finished result.
How to Serve Jam and Coconut School Cake
Jam and Coconut School Cake is lovely simply sliced into squares and enjoyed as it is, whether for an afternoon treat, in your lunchbox or with a cuppa.
For the full school-dinner experience, serve it with plenty of warm custard (pink or otherwise!). You can serve the cake at room temperature with hot custard poured over, or gently warm individual slices first if you prefer your school pudding properly cosy.
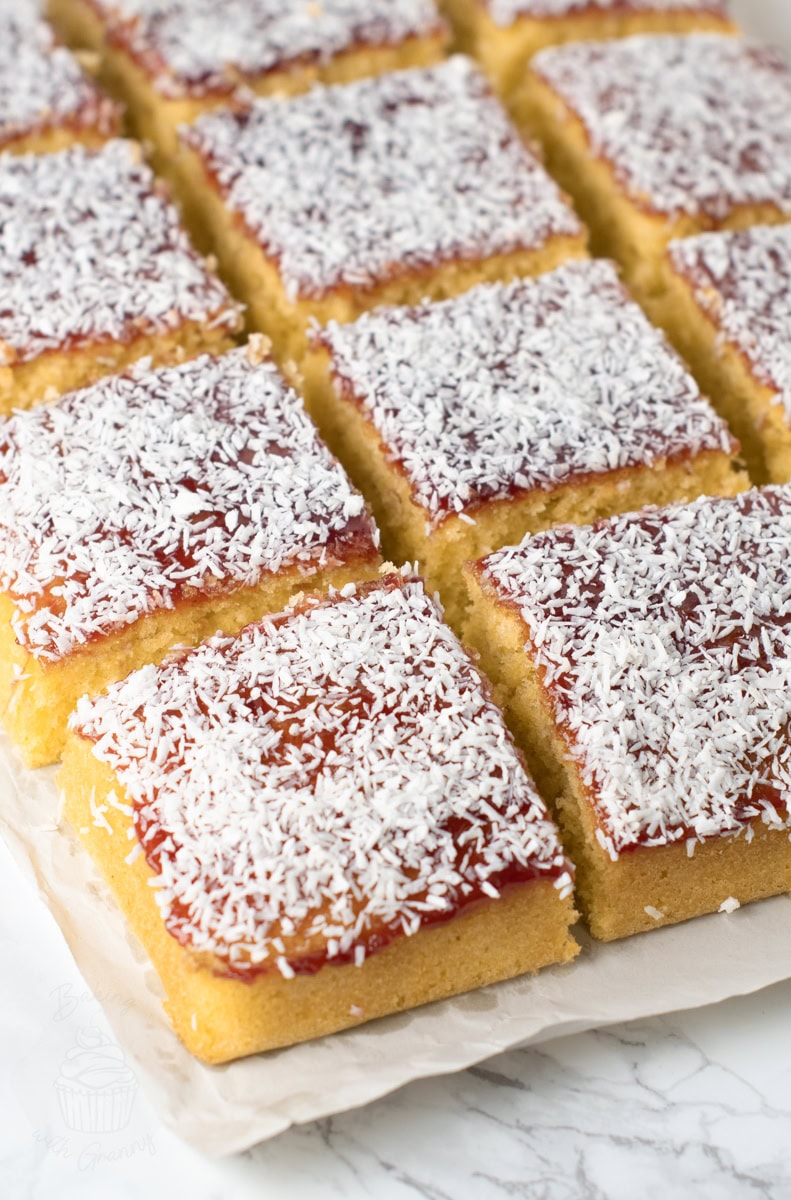
Jam & Coconut School Cake FAQs
This recipe is written for a 23×30cm (9×12 inch) baking tin. You can use a slightly different size, but the depth of the sponge and baking time will change – a smaller tin will give you a deeper cake, while a larger tin will make it shallower. Keep a close eye on it as it bakes and use the visual cues rather than relying only on the stated baking time.
Sponge cake batter can start to look curdled if the eggs are added too quickly or if the ingredients are at very different temperatures. Add the eggs one at a time, mixing each through before adding the next. If the mixture does begin to split, add a spoonful of your measured self-raising flour in with the next egg to help bring it back together.
Make sure the cake is completely cool before you add the topping, then gently warm the jam for around 20 seconds in the microwave. Loosening the jam helps it glide over the sponge rather than dragging crumbs from the surface. Spread it gently right to the edges before adding the coconut.
Not in this version. The school-dinner cake I remember was a simple plain sponge, with raspberry jam and desiccated coconut added on top after baking. School kitchens could use the same basic sponge and change the topping depending on what they had available, rather than making a separate coconut-flavoured cake batter.
The sponge should be risen, lightly golden, and spring back when gently pressed in the centre. A skewer inserted into the middle should also come out clean or with just a few dry crumbs. Start checking from around 30 minutes, as every oven is a little different.
The most common cause is simply baking the sponge for too long. Start checking it from around the 30-minute mark and remove it once it is risen, golden and a skewer comes out clean. Overmixing after adding the flour can also make the crumb heavier and less soft, so fold only until the flour is incorporated.
More School Dinner Favourites
If you loved this throwback Jam & Coconut School Cake, here are some more of my favourite school recipes for you to try next:
Save this recipe!
Want to save this recipe for later? Pop your email below and come back to it when you’re ready to bake.
Jam and Coconut School Cake
INGREDIENTS
- 280 g Soft Margarine (or Butter) (at room temperature)
- 280 g Caster Sugar
- 5 Free-range Eggs (at room temperature; see Egg Size note below)
- 280 g Self-raising Flour (see Self-raising Flour note below)
- 300 g Seedless Jam (raspberry or strawberry)
- 100 g Desiccated Coconut
EQUIPMENT
INSTRUCTIONS
- Preheat your oven to 180°C (160°C for fan-assisted ovens, Gas Mark 4 or 350°F) and line a 23×30cm (12×9-inch) baking tin with greaseproof paper. Set aside.
- In a large bowl, cream together the margarine and sugar until light and fluffy in both colour and texture.
- Add the eggs one at a time, ensuring each is mixed through before adding the next. If the mixture appears to curdle, simply add a spoonful of your flour to bring it back together.
- Sift in the flour and gently fold until just combined, creating a batter. Do not overmix!
- Transfer the batter to your pre-lined tin, spreading it right into the edges and corners. Bake in your preheated oven for 30-40 minutes, until risen, golden, and a skewer inserted comes out clean.
- Leave to cool in the tin for a short while before transferring to a wire cooling rack to cool completely.
- Once your cake has cooled completely, warm your jam for about 20 seconds in a microwave (this isn't essential, but it does make it easier to spread). Spread your jam over the top of your cake, making sure to get right into the corners and edges. Sprinkle your coconut over the top of your jam to finish.
IMPORTANT NOTE:
All my recipes are developed using a digital scale and the metric system (grams and millilitres). Cup measurements are available as a conversion, but these, unfortunately, won’t always be as accurate. For best results, I always recommend baking with a digital scale.
RECIPE NOTES:
LIKE THIS RECIPE?
Leave a comment and rating below!Originally published in November 2022.