
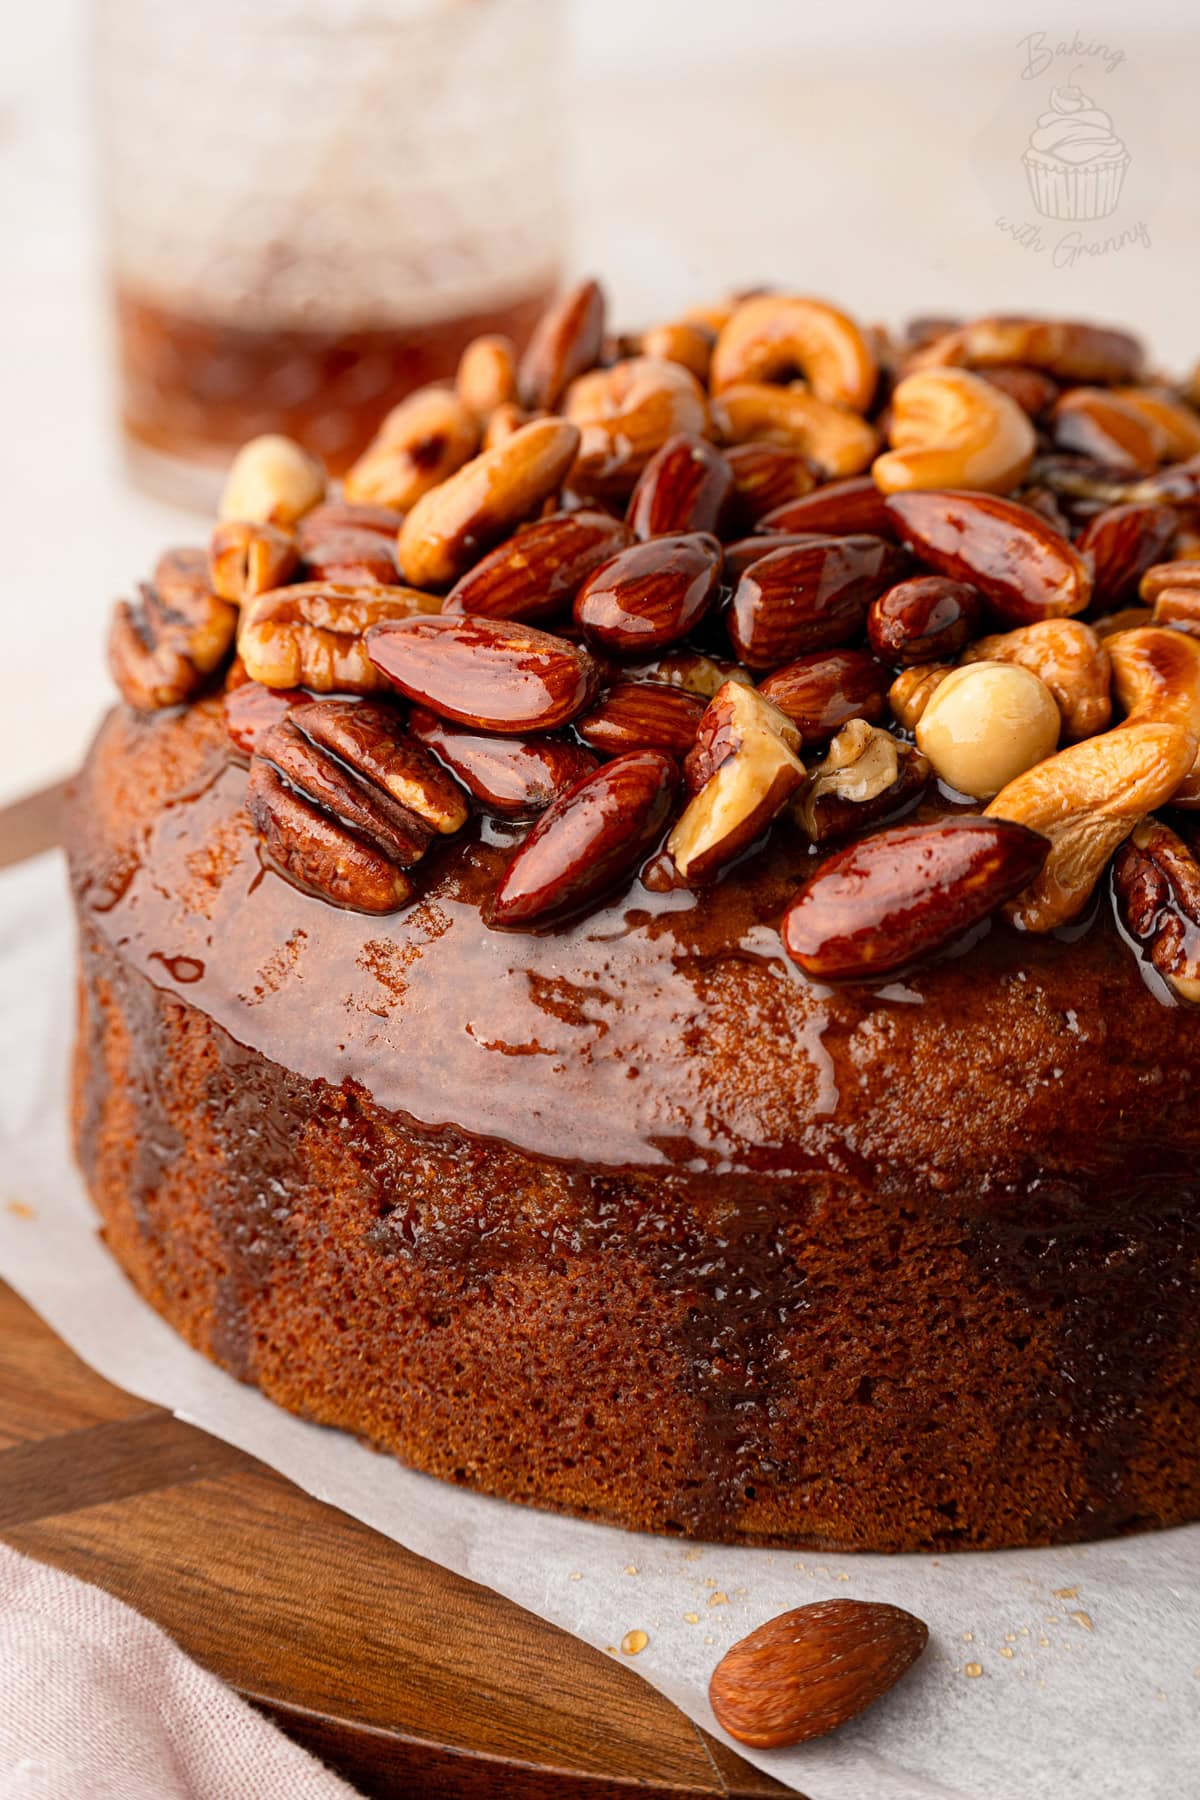
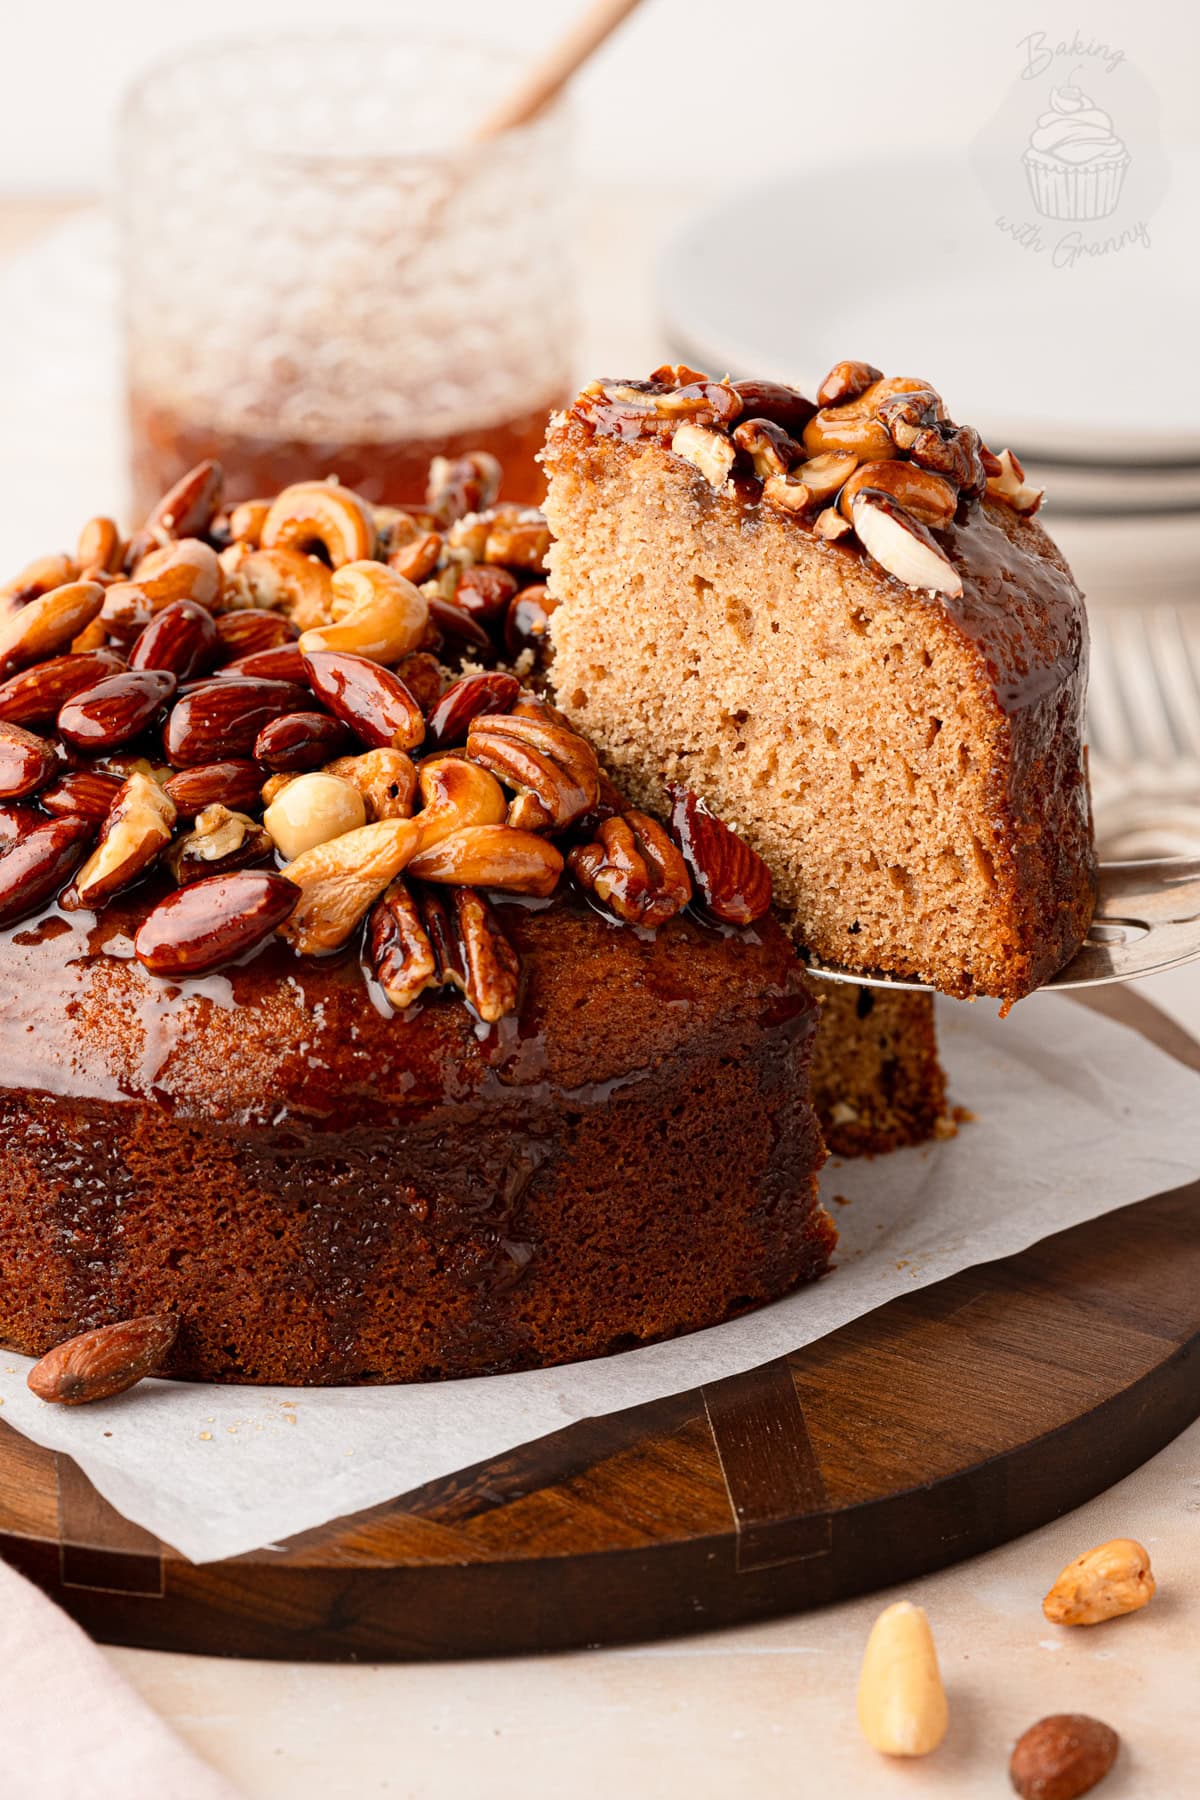
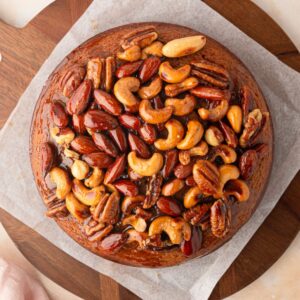
This Honey Nut Cake has a soft, moist honey sponge, lightly flavoured with cinnamon, and a sticky topping of mixed nuts coated in warm honey. The nuts crown the top rather than being baked through the cake, giving each slice a delicious contrast between soft cake and crunchy nuts.
Honey Nut Cake Recipe Snapshot
- Recipe: Honey Nut Cake.
- Texture: Soft, moist and slightly sticky, with crunchy nuts on top.
- Flavour: Sweet honey with warm cinnamon and mixed nuts.
- Method: Melting method.
- Tin: Deep 18cm (7 inch) round cake tin.
- Bake Time: 1-1¼ hours.
- Yield: 8 slices.
- Best Served: At room temperature, just as it is.
- Keeps For: 3-5 days in an airtight container.
- Make Ahead: Yes! The cake can be baked a few days ahead and topped when needed.
- Freezing: Best frozen without the nut topping.
Summarise & Save this Recipe on:
What is Honey Nut Cake?
Honey Nut Cake is a soft, moist honey cake topped with mixed nuts coated in a sticky honey glaze. Unlike many nut cakes, the nuts aren’t actually baked through the sponge – instead, they sit on top, giving you a lovely contrast between the soft cake underneath and the crunchy nuts above.
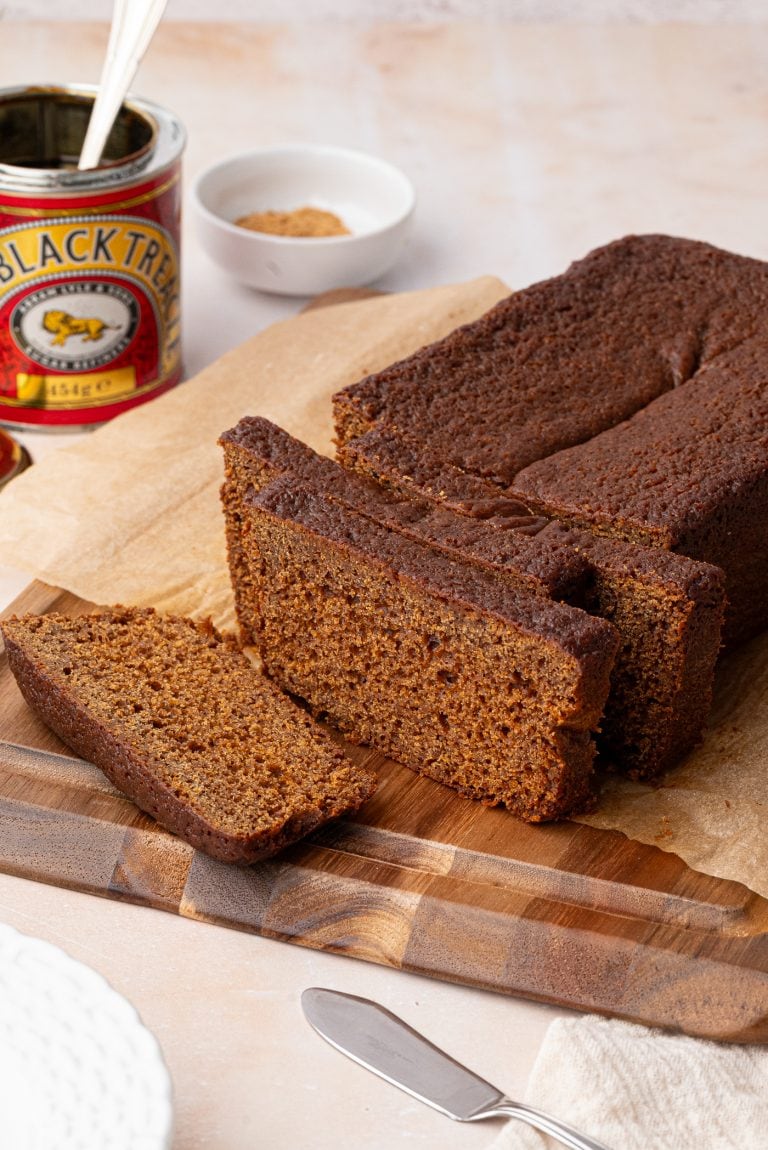
The cake itself is made using the melting method, where the margarine/butter, brown sugar and honey are gently melted together before being combined with the remaining ingredients. This gives you a much looser batter than a traditional creamed sponge, but produces the lovely soft, moist texture that suits this sort of honey cake so well. It’s the same simple method I use for my other old-fashioned favourites like Golden Syrup Cake and Gingerbread Loaf Cake.
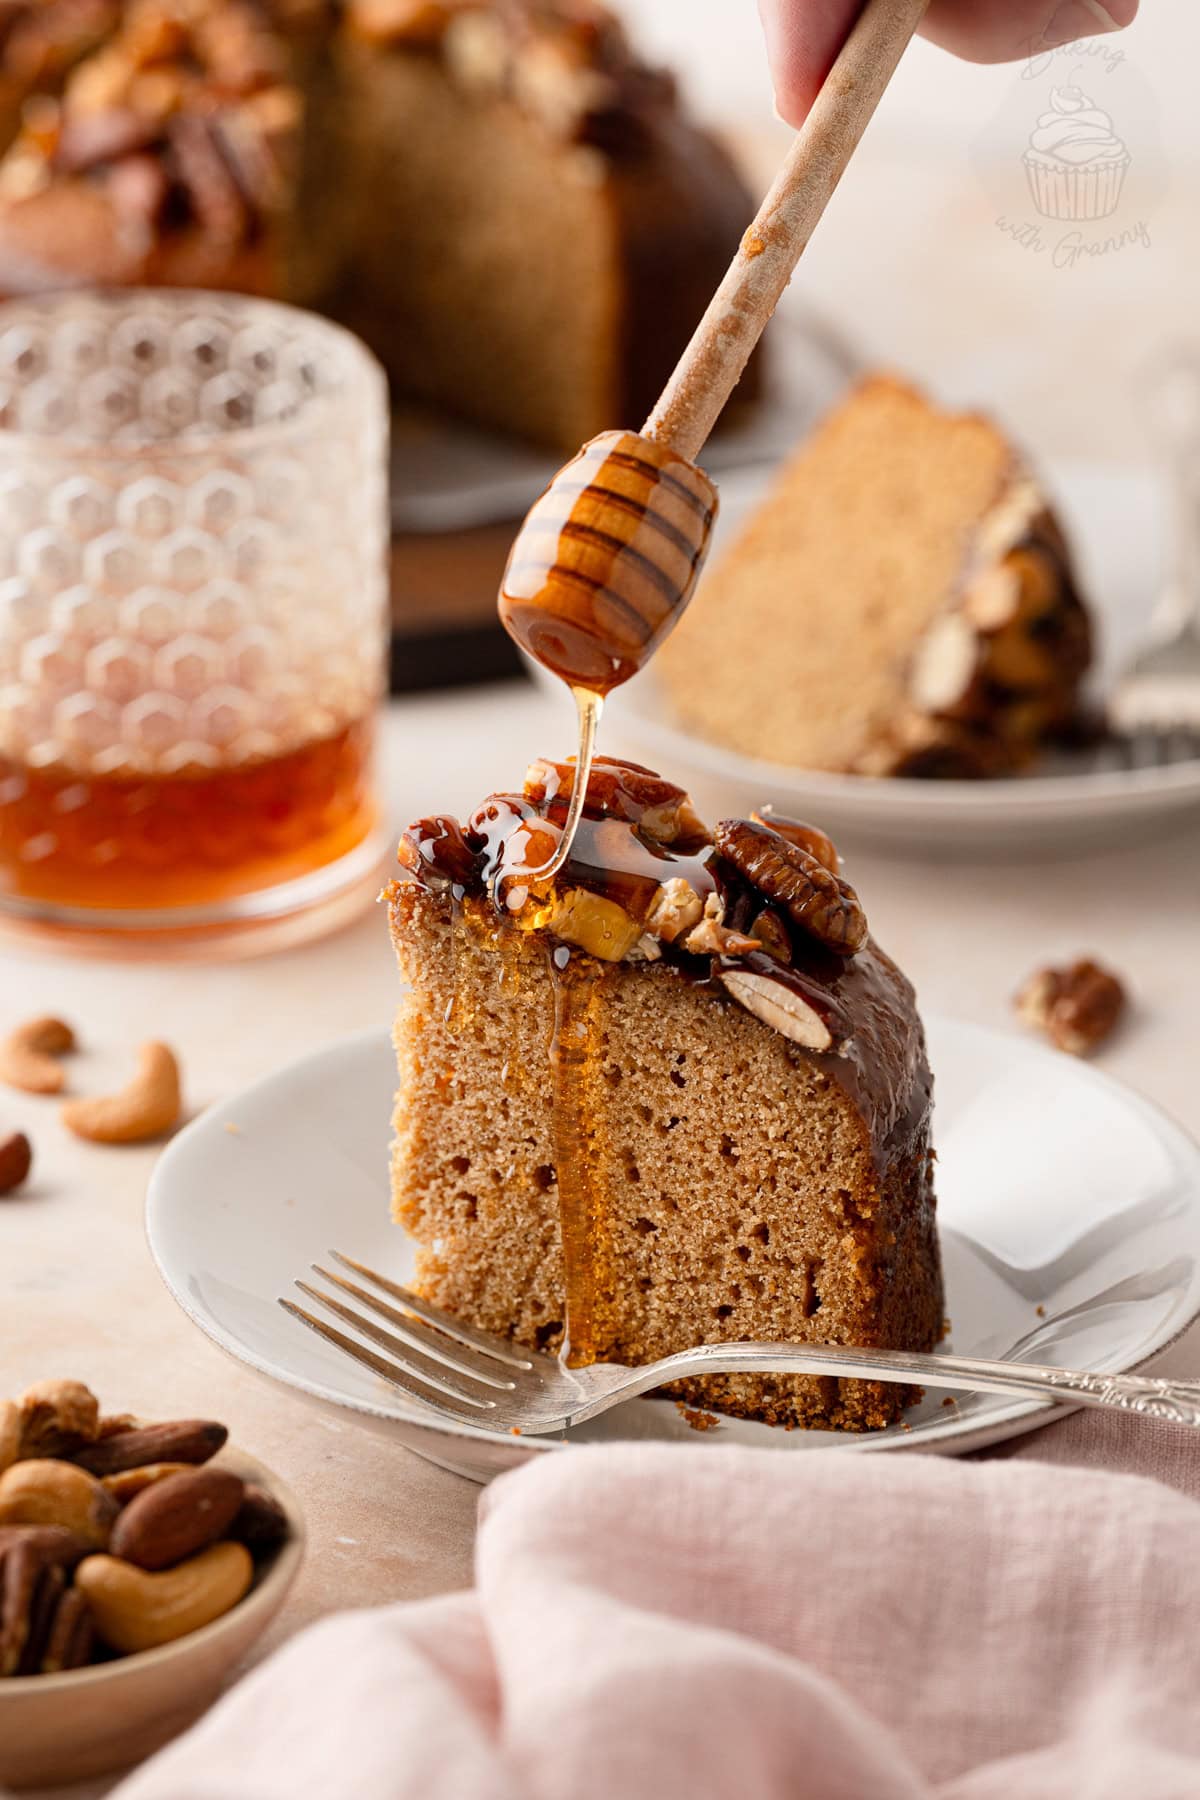
There’s a little cinnamon added in there too, giving the honey a lovely warming flavour without turning it into an overly spiced cake. And although it’s delicious once freshly baked and cooled, the honey sponge actually becomes even softer and slightly stickier after a day or two – if you can wait that long to tuck in!
An Old Recipe from my Granny’s Collection
Like my Eve’s Pudding and Melting Moments, this Honey Nut Cake is a recipe that started life in my own Granny’s collection of old baking books. I came across it in a little recipe book that appeared to have been given away as a freebie somewhere, many moons ago – exactly the sort of thing that my Granny held onto for whatever obscure reason, and that I love looking through to find forgotten bakes.
The original recipe was simply called “Honey Nut Cake”, but, as you’d expect from any older recipe, the quantities and instructions were a bit vague and in need of being brought up to date. I’ve since adapted it to suit modern ingredients, ovens and kitchens, while keeping the cake itself true to the original – a simple honey sponge with cinnamon and a sticky topping of honey-coated nuts.
It’s not the only honey recipe I’ve inherited either. My Honey Slice is another old favourite from my Mum’s recipe collection – although that one uses oats, coconut and cornflakes to make a completely different sort of chewy tray bake.
Key Ingredients
See the recipe card for a full ingredients list, required quantities and cup conversions.
Substitutions & Additions
Milk: I have made this Honey Nut Cake with both dairy milk and soya milk, and other similar plant-based milks should also work.
Different Honey: Ordinary clear runny honey is my preference, but you can experiment with darker or stronger-flavoured honeys if you like. These will give the finished cake a deeper flavour and colour. Honey that has started to crystallise is fine too, as it will loosen again when warmed.
More Nuts: You could add some extra nuts to the cake batter, if you wish. I would recommend chopping these, though, both for the best texture and so whole nuts don’t simply sink to the bottom of the cake while baking.
Looking for dairy-free, gluten-free or vegan adaptations? See the Free-from & Vegan section below.
Free-from & Vegan
Amy recommends: If you regularly need to adapt baking recipes for gluten-free, dairy-free, egg-free or vegan diets, I highly recommend The Elements of Baking by Katarina Cermelj, creator of The Loopy Whisk. It’s a brilliant resource for understanding how substitutions work, rather than simply swapping ingredients and hoping for the best.
Gluten-free Options:
Swap the self-raising flour for a gluten-free self-raising flour on a like-for-like basis. This should work especially well for Honey Nut Cake, particularly as this is a very moist, slightly dense cake rather than a super light sponge.
Nut-free Adjustments:
You can simply leave off the nut topping to make a nut-free cake. It, of course, won’t be a Honey Nut Cake then, but it will still be a delicious honey cake.
Dairy-free Swaps:
To make this a dairy-free recipe, simply use a dairy-free milk alternative and a dairy-free margarine.
Egg-Free Adaptations:
I haven’t yet tested this recipe egg-free, but like with many cake recipes, it should work just fine with a vegan egg replacer, such as Oggs or Bob’s Red Mill Egg Replacer.
Vegan Substitutions:
Golden syrup can be used as a vegan alternative to honey in baking, but I haven’t tested this Honey Nut Cake with both the honey and eggs replaced. For a tried-and-tested syrup cake which can be made vegan, I’d recommend making my Golden Syrup Cake instead and using dairy-free alternatives where needed.
Allergy Disclaimer & Resources:
Any advice or suggestions to make recipes “free-from” or vegan are purely suggestions. Please double-check all packaged ingredients individually, taking extra caution when baking for those with allergies or intolerances.
For official guidance on food allergies, please see Food Standards Agency (food.gov.uk) | For more info on coeliac disease, please see Coeliac UK (coeliac.org.uk) | For more info on a vegan diet, please see The Vegan Society (vegansociety.com)
How to Make Honey Nut Cake
Honey Nut Cake uses the melting method, so there’s no need to cream the margarine/butter and sugar together. The finished batter will be quite loose and runny. Follow the step-by-step below, or head to the recipe card at the bottom for the full printable recipe.
- Prepare your tin and oven. Preheat your oven to 160°C (140°C fan-assisted ovens, Gas Mark 3 or 325°F). Grease and line a deep 18cm (7 inch) round cake tin with greaseproof paper.
- Melt the margarine/butter, sugar and honey. Gently heat them together in a saucepan until the margarine/butter has melted and the sugar has dissolved. Remove from the heat and leave to cool for around 5 minutes.
- Prepare the dry ingredients. Sift the self-raising flour and cinnamon into a large bowl.
- Make the cake batter. Pour the warm honey mixture into the flour and mix briefly, then add the milk and beaten eggs. Mix until combined. The batter will be quite runny and pourable.
- Bake. Pour into your prepared tin and bake for 1-1¼ hours, until golden, risen and springy on top, and a skewer inserted into the centre comes out clean. The dome will settle a little as the cake cools – this is completely normal.
- Make the nut topping. Melt the margarine/butter in a small saucepan, add the nuts and cook for 1-2 minutes. Add the honey, bring to a bubbling boil and cook for a further 1-2 minutes.
- Top and cool. Leave the nut mixture to cool for 5-10 minutes, until the honey has thickened, then spoon it over the cake. Leave to cool completely in the tin before removing and serving.
Top Tips for Honey Nut Cake
- Let the Honey Mixture Cool: Around 5 minutes is enough. It can still be warm, but you don’t want it piping hot when the eggs are added, or they may start to scramble.
- Expect a Runny Batter: This is a much looser batter than a traditional creamed sponge – don’t panic! It should pour easily into the tin.
- The Dome will Settle: The cake rises quite a bit during baking, then loses some of its dome as it cools. This is completely normal and doesn’t mean the middle has sunk.
- Check Before Removing from Oven: The honey cake should be golden, risen and springy on top, with a skewer inserted into the centre coming out clean. If it’s not quite ready, pop it back in for a little longer – this cake is a low-and-slow bake.
- Let the Topping Thicken: Leave the honey and nut mixture for around 5-10 minutes after cooking before spooning over the top of the cake. You want the honey to thicken a little, rather than stay runny, before spooning it over the cake.
How to Serve Honey Nut Cake
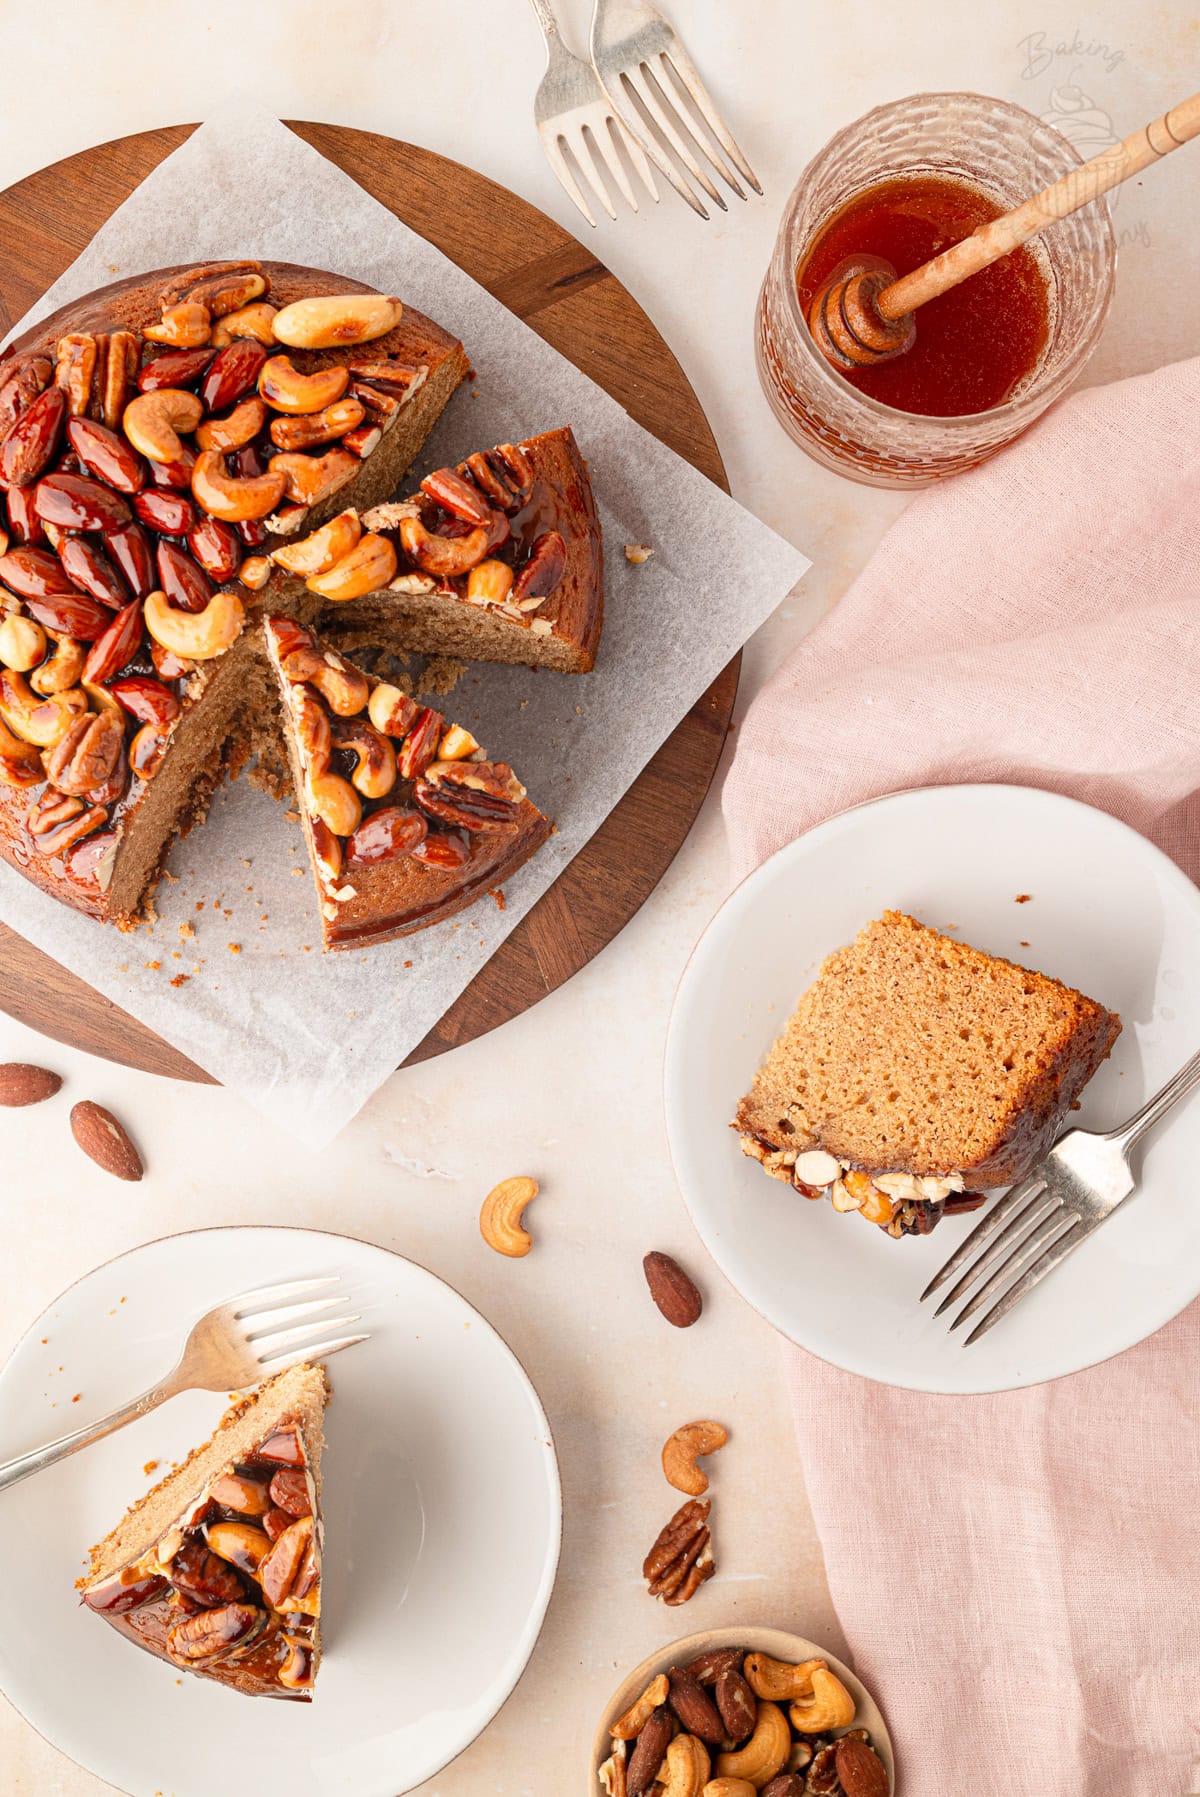
Honey Nut Cake is best served at room temperature, just as it is. The soft, moist honey cake sponge and sticky nut topping give it plenty of flavour and texture without needing cream, icing or anything extra. But if you want to add any of these, then I say go for it!
Because of the nut topping, it’s definitely more of a fork-and-plate cake than one to eat by hand – ideally with a few of the honey-coated nuts in each forkful.
Storage, Freezing & Make Ahead
- Storage: Keep your Honey Nut Cake in an airtight container at room temperature for 3-5 days. The sponge becomes even softer, and the flavours continue to mature after a day or two, although the nut topping will also become a little stickier over time.
- Make Ahead: You can bake the honey cake a few days in advance and leave it untopped until you’re ready to serve. This is a good option if you want the nuts to keep more of their crunch.
- Freezing: For best results, freeze the cake without the nut topping. Once completely cool, wrap it well and freeze. Thaw fully at room temperature before preparing and adding the topping.
With thanks to Naomi Seiler for creating these photos.
Honey Nut Cake FAQs
The batter for Honey Nut Cake is meant to be quite loose and pourable – just like you’d expect from a Golden Syrup Cake or Gingerbread Loaf. This is a melt-and-mix cake rather than a traditional creamed sponge, so don’t be tempted to add any extra flour to thicken it.
Honey Nut Cake rises quite a bit during baking, and the dome will naturally settle as the cake cools. But it shouldn’t sink into a dip in the middle. As long as the cake is fully baked and a skewer inserted into the centre comes out clean, a flatter top after cooling is completely normal.
I’ve adapted this recipe to be made in a deep 18cm (7-inch) round cake tin, which is what I recommend using for the best results. You could, however, use a cake tin with a similar capacity, although it will likely change the depth of the cake and so may also alter the required baking time.
Yes! Like many cakes made with honey, Honey Nut Cake becomes even softer and slightly stickier after a day or two. The nut topping will also become stickier over time, so if you’re making the cake ahead and want to keep more crunch in the nuts, you can add the topping closer to serving.
More Sticky & Nutty Bakes
If you loved this Honey Nut Cake, here are some more of my favourite sticky and nutty baking recipes for you to try next:
Save this recipe!
Want to save this recipe for later? Pop your email below and come back to it when you’re ready to bake.
Honey Nut Cake
INGREDIENTS
For the Cake:
- 150 g Block Margarine or Butter
- 100 g Soft Light Brown Sugar
- 200 g Clear Honey
- 225 g Self-raising Flour
- 2 tsp Ground Cinnamon
- 100 ml Milk
- 2 Free-range Eggs (beaten; at room temperature)
For the Topping:
- 1 tsp Block Margarine or Butter
- 100 g Mixed Nuts (shelled; walnuts, almonds, cashews, pecans, hazelnuts…)
- 4 tbsp Clear Honey
EQUIPMENT
INSTRUCTIONS
- Preheat your oven to 160°C (140°C for fan-assisted ovens, Gas Mark 3 or 325°F). Grease and line a round 18cm (7 inch) cake tin with greaseproof paper. Set aside.
- In a large saucepan, melt the butter/margarine, sugar and honey over a low heat until the sugar has dissolved and the butter/margarine has melted.
- Meanwhile, sift the self-raising flour and cinnamon into a large bowl.
- Allow the melted mixture to cool a little (around 5 minutes) before pouring it into the bowl of flour and mixing it a little, before also adding the milk and eggs. Mix until all the ingredients are well combined. Pour the mixture into your prepared cake tin.
- Bake in your preheated oven for 1-1¼ hours, until the cake is golden, springy to the touch, and a skewer inserted comes out clean. Remove from the oven and leave the cake in the tin.
- In a small saucepan, melt the butter/margarine before adding the nuts. Cook for 1-2 minutes, then add the honey. Turn the heat up until the mixture starts to boil, and cook for a further 1-2 minutes.
- Remove the pan from the heat and allow the mixture to cool for a few minutes, until the honey starts to thicken a little. Spoon the nuts over the top of the cake and allow it to cool completely before removing it from the tin and serving in slices.
IMPORTANT NOTE:
All my recipes are developed using a digital scale and the metric system (grams and millilitres). Cup measurements are available as a conversion, but these, unfortunately, won’t always be as accurate. For best results, I always recommend baking with a digital scale.







ABOUT THE AUTHOR
Amy Beth Reid
Amy Beth Reid is an award-winning food blogger, mother, wife and cookbook author. Inspired by her childhood in the kitchen with her Mum – a professional baker and her children’s Granny – Amy now shares her tried-and-tested traditional home baking recipes with bakers of all abilities around the world. She lives in Scotland with her husband, two sons and her small pack of Siberian huskies.