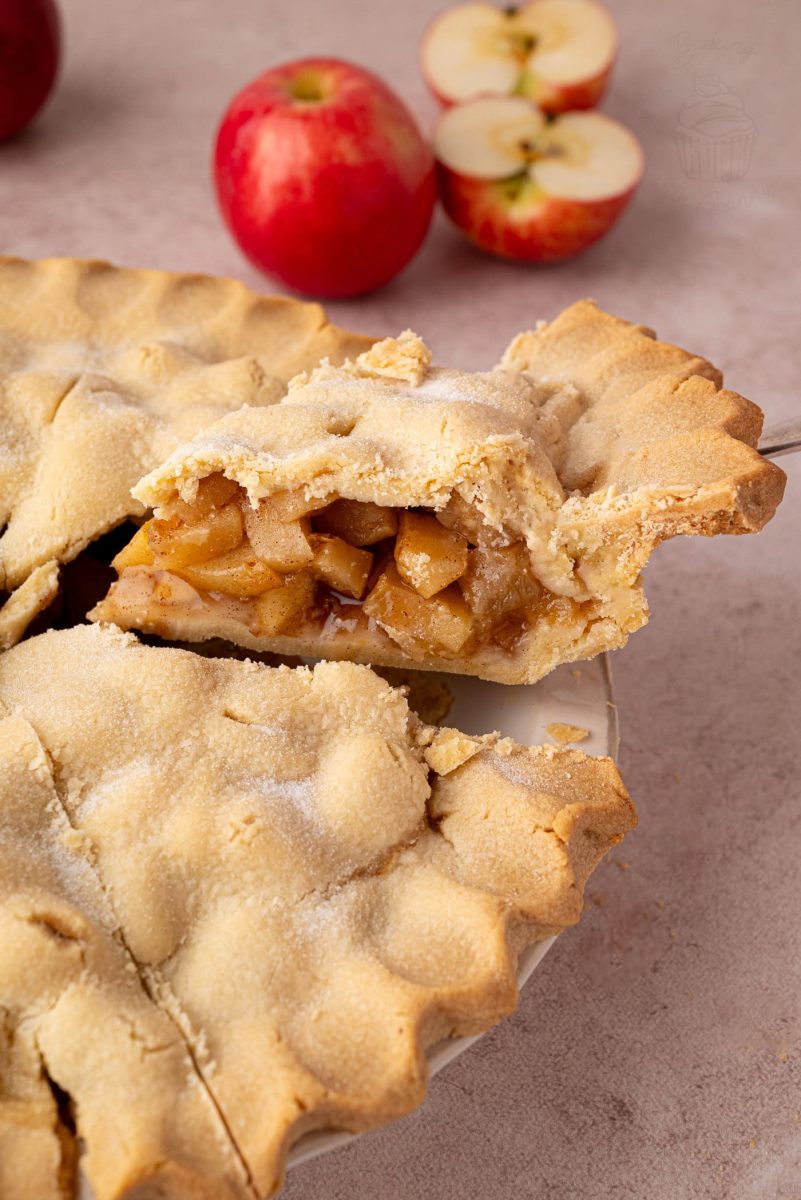
This easy homemade Apple Pie recipe is made with my Mum’s rich, sweet shortcrust pastry and plenty of chunky apples, lightly spiced with cinnamon. There’s no need to pre-cook the apples or blind bake the pastry – everything bakes together to give you a crisp, buttery pastry case and a soft but still textured apple filling, with just enough lovely syrupy sauce.
Apple Pie Recipe Snapshot
- Recipe Type: Homemade British apple pie.
- Pastry: Rich sweet shortcrust pastry.
- Filling: Chunky apples with sugar, cinnamon and cornflour.
- Difficulty: Easy.
- Prep Time: 30 minutes.
- Pastry Chill Time: 1 hour.
- Bake Time: 40-50 minutes.
- Resting Time: 15-30 minutes.
- Serves: 8 slices.
- Tin Size: 20cm (8 inches).
- Best Apples: Virtually any apples you have to hand!
- What Makes It Simple: No pre-cooking the apples and no blind baking the pastry.
- Best Served: Slightly warm, on its own, or with custard, cream or ice cream.
Summarise & Save this Recipe on:
Why This Easy Apple Pie Recipe Works
You really don’t need to make Apple Pie complicated. This recipe uses a simple homemade shortcrust pastry and an uncooked apple filling, so there’s no blind baking and no need to cook the apples separately before they go into the pie.
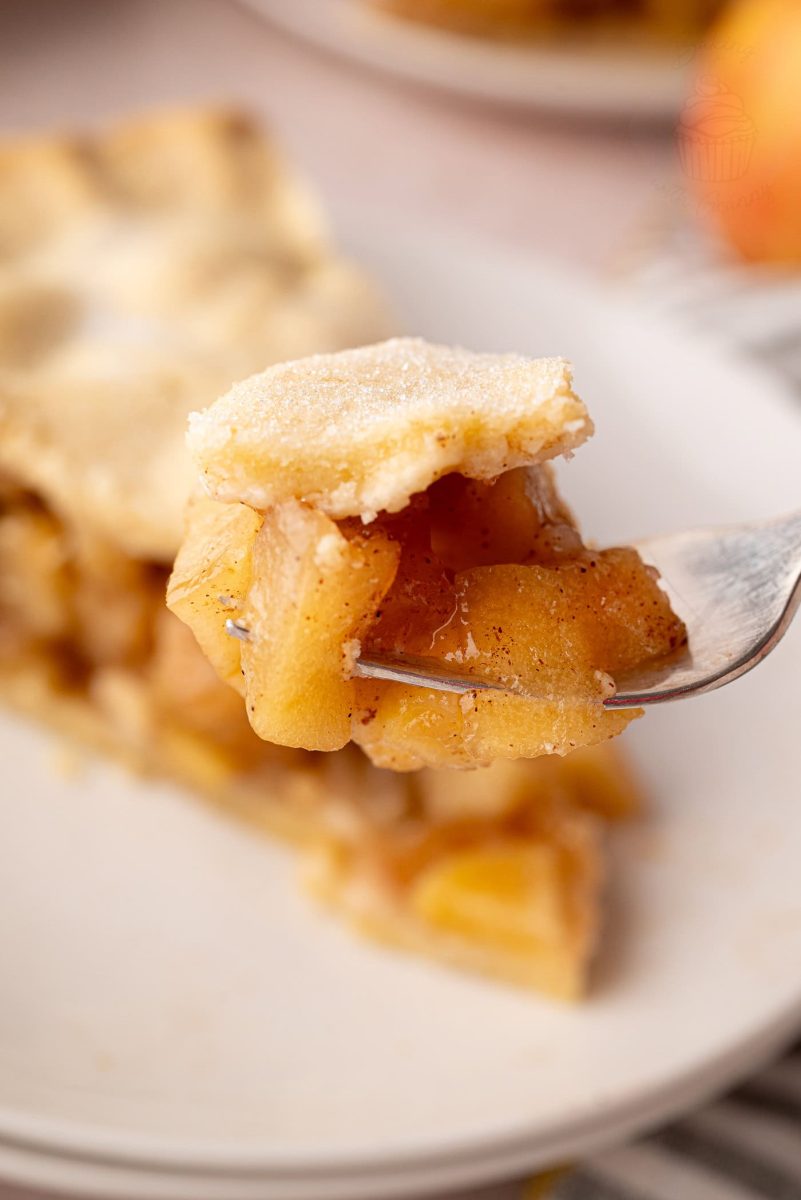
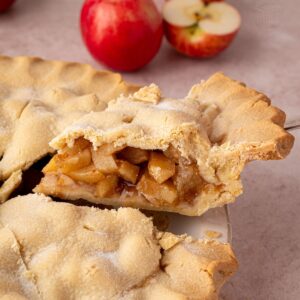
The apples are cut into large, bite-sized chunks rather than thin slices. This means they soften as the pie bakes but still retain some texture, instead of turning completely soft and squishy. A little cornflour helps absorb the juices released by the fruit, turning them into more of a lovely apple sauce around the chunks rather than leaving you with a watery filling.
And you don’t need a special variety of apple either. I’ve made this kind of pie with all sorts over the years and, just like with my British Apple Crumble and Eve’s Pudding, virtually any apple will work. Different varieties will naturally give you slightly different flavours and textures, but that’s all part of the fun in homemade Apple Pie.
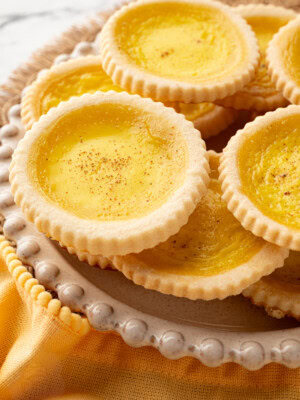
The pastry is my Mum’s rich sweet shortcrust recipe, made in the same way we make pastry for many of my tart recipes – like Custard Tarts, Cornflakes Tart, Manchester Tart and Scottish Strawberry Tarts – by creaming butter (or block margarine) with sugar before adding the remaining ingredients. Give it a good hour in the fridge before rolling, and it makes a lovely crisp, sweet pastry, perfect for that warm apple filling.
The Apple Tree Behind This Apple Pie
Apple Pie has always been one of the recipes that makes me think of my Mum – mainly because, since I was a kid, she has had an almost ridiculous number of apples to use up every year.
Many years ago, way back in the 90s, my parents bought a little apple tree from Woolworths in Livingston and planted it in the garden. Nobody could have ever predicted just how productive that wee tree would become. Despite never growing particularly big, it somehow manages to produce hundreds of apples every year – far more than any one family could reasonably eat!
So when apple season comes around, my Mum gets baking. Apple Pie has always been one of the easiest ways to make a good dent in the pile, alongside Apple Crumble, Eve’s Pudding and plenty of other apple-filled bakes.
And that’s probably why we’ve never been overly precious about which apples go into a pie. The whole point was always to use what we had. And we’ve never even been sure what variety of apples that wee tree produces!
Where some apples can be sweeter, some softer, some more tart – they can all make a perfectly good homemade Apple Pie. So use whatever apples you have.
Key Ingredients
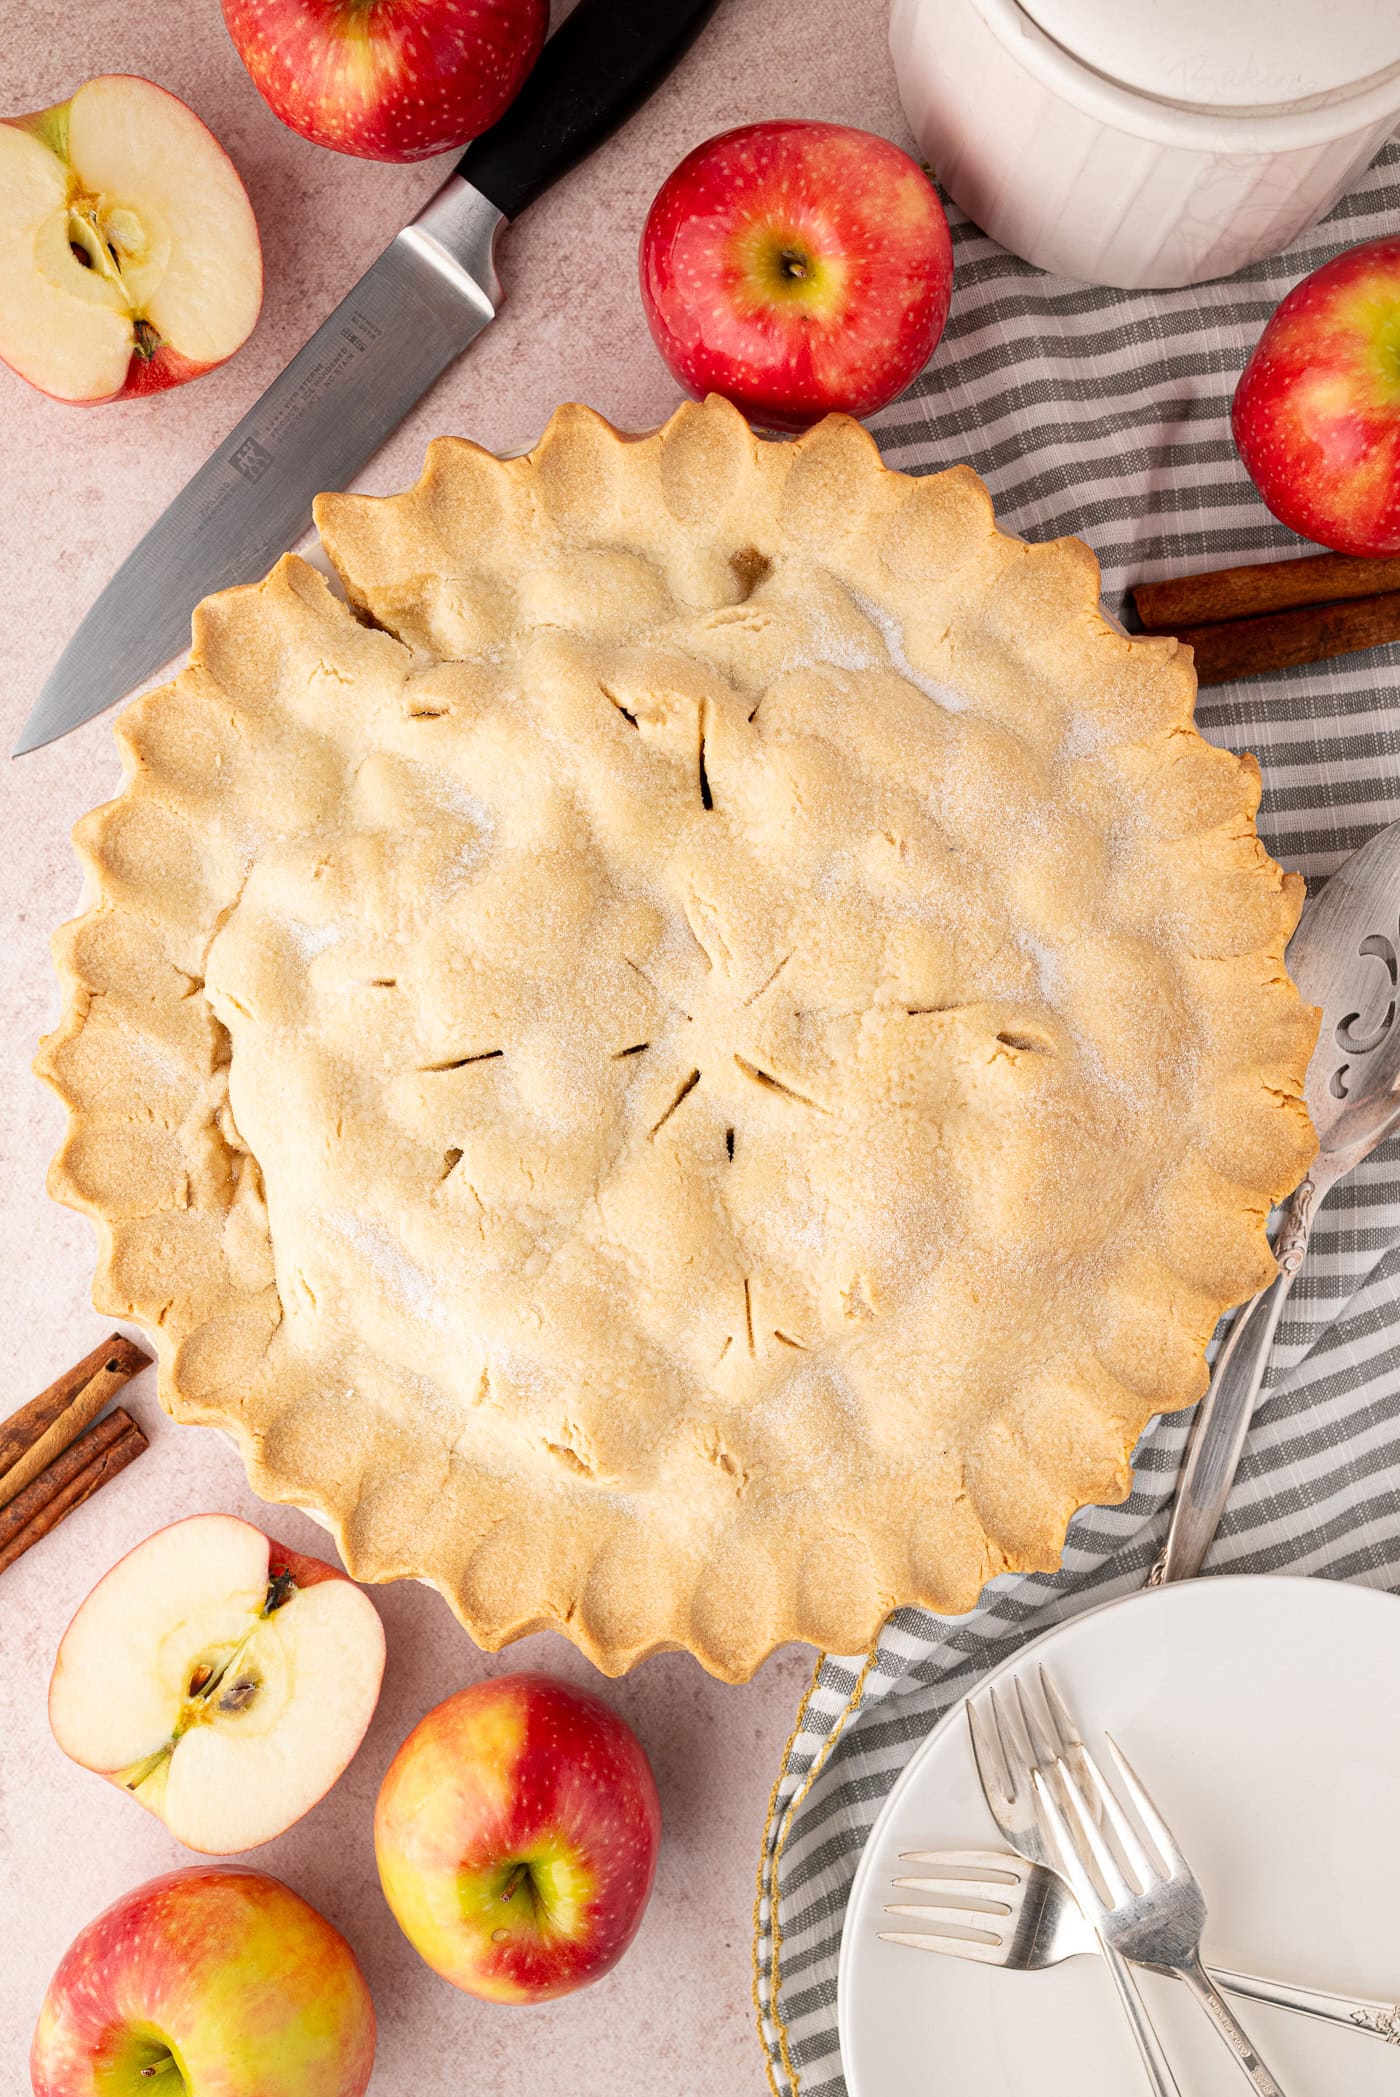
There’s nothing unusual in this Apple Pie, but a few of the ingredients – and how you actually use them – make a real difference to the finished pie.
See the recipe card for a full ingredients list, required quantities and cup conversions.
Substitutions & Additions
Apples: Any variety of apple can be used, or you can mix a couple of different types together. Just bear in mind that sweeter apples will give you a sweeter filling, while sharper apples will naturally make a more tart Apple Pie.
Sugar: You can adjust the sugar in the filling slightly depending on the apples you’re using and how sweet you like it. If your apples are particularly sweet, you may want to use a little less; very tart apples may benefit from a little extra. I recommend using caster sugar (superfine sugar) for the pastry, but you could use golden caster sugar or brown sugar in the filling if you prefer a more caramel flavour.
Spices:
I keep things simple with cinnamon so the apples remain the main flavour, but you can add a small pinch of ground nutmeg or mixed spice (pumpkin spice) if you prefer a warmer, more spiced Apple Pie.
Additions: Apples and blackberries are a lovely combination, and one I use in my Apple Crumble too. You can add some blackberries alongside the apple for a slightly sharper, fruitier filling – particularly lovely when both are in season.
Looking for dairy-free, gluten-free or vegan adaptations? See the Free-from & Vegan section below.
Free-from & Vegan
Gluten-free Options:
Rather than trying to adapt the homemade pastry in this recipe, I’d recommend using ready-rolled gluten-free shortcrust pastry or following an intentionally gluten-free shortcrust pastry recipe, like Becky Excell’s gluten-free shortcrust pastry recipe. And for the filling, most cornflour is naturally gluten-free, but be sure to check the allergens before making for someone with coeliac disease.
Nut-free Adjustments:
This Apple Pie is naturally nut-free, but always check the individual ingredient labels if you are baking for someone with a nut allergy, particularly where cross-contamination may be a concern.
Dairy-free Swaps:
Use a dairy-free block margarine in place of the butter. Make sure it is a firm block-style margarine rather than a soft spread, as the latter contains more water and won’t give the same pastry texture.
Egg-Free Adaptations:
Omit the egg from the pastry and add an extra 50g of block margarine or butter instead. The pastry won’t be quite as rich in flavour or colour, but it will still be delicious. This is a swap I use regularly when making pastry for my husband, so it’s one I know works well.
Vegan Substitutions:
Combine the egg-free and dairy-free adaptations above: omit the egg, add an extra 50g of dairy-free block margarine, and use dairy-free block margarine in place of the butter throughout. The apple filling itself is naturally vegan.
Allergy Disclaimer & Resources:
Any advice or suggestions to make recipes “free-from” or vegan are purely suggestions. Please double-check all packaged ingredients individually, taking extra caution when baking for those with allergies or intolerances.
For official guidance on food allergies, please see Food Standards Agency (food.gov.uk) | For more info on coeliac disease, please see Coeliac UK (coeliac.org.uk) | For more info on a vegan diet, please see The Vegan Society (vegansociety.com)
How to Make Homemade Apple Pie
Despite making the pastry from scratch, this is a really simple Apple Pie to put together. There’s no need to blind bake the pastry or even cook the apples beforehand – give the pastry time to chill, then everything is assembled and baked together. Follow the step-by-step below, or head to the recipe card at the bottom for the full printable recipe.
- Make the pastry. Cream the block margarine/butter and caster sugar together until light and fluffy. Add the egg and mix until combined, then sift in the plain flour. Mix until the pastry starts to come together, using your hands towards the end if needed.
- Chill the pastry. Bring the pastry together into a ball, wrap it in cling film and pop it in the fridge to chill for around 1 hour. This gives the pastry time to firm up and makes it much easier to roll and handle.
- Prepare the apple filling. Peel and core the apples, then cut them into large, bite-sized chunks. In a separate small bowl, mix together the caster sugar, cinnamon and cornflour.
- Line the pie tin. Remove the chilled pastry from the fridge and set aside roughly one third of it for the lid. Roll the larger piece out on a well-floured work surface until it is large enough to line the base and sides of your tin. Gently lift it into place and press it into the edges. Don’t worry if the pastry cracks or tears – simply patch any gaps with a little excess pastry.
- Add the filling. Pile the apple chunks evenly into the pastry case, then sprinkle the sugar, cinnamon and cornflour mixture evenly over the top. There’s no need to pre-cook the apples – they’ll soften and release their juices as the pie bakes.
- Add the pastry lid. Roll out the remaining pastry until it is large enough to cover the pie. Brush the edge of the pastry case with a little water, place the lid on top and press the edges together to seal. Trim away any excess pastry and use it to patch any little cracks if needed.
- Add steam holes. Make a few small holes in the top of the pastry to allow steam from the apples to escape as the pie bakes.
- Bake. Bake for 40-50 minutes, until the pastry is crisp and golden. Remove from the oven and sprinkle a little caster sugar over the top while the pie is still hot.
- Let it rest before serving. Leave the Apple Pie in the tin for 15-30 minutes before slicing. This gives the filling time to settle and cool enough that it isn’t piping hot, while still leaving the pie lovely and warm for serving.
Top Tips for the Best Homemade Apple Pie
- Give the Pastry Time to Chill: An hour in the fridge helps make this rich pastry much easier to roll and handle. If it feels especially soft after mixing, don’t be tempted to rush this step.
- Don’t Overwork the Pastry: Once you add the flour, mix only until the dough comes together. The more you work it, the warmer (ie., softer) the pastry will become, making it hard to handle and transfer to your tin.
- Keep the Apples Chunky: Cut the apples into large, bite-sized pieces rather than thin slices. They’ll soften as the pie bakes but still retain some texture instead of disappearing into a completely soft filling.
- Don’t Pre-cook the Apples: You don’t need to with this recipe. Baking them from raw helps them keep their texture, while the cornflour thickens the juices they release into a lovely sauce around the fruit.
- Patch, Don’t Panic: This pastry is very forgiving. If it cracks or tears while you’re rolling or transferring it to the tin, simply press a little spare pastry over the gap. Once baked, nobody will even know!
- Don’t Forget the Steam Holes: A few small holes in the pastry lid give the steam from the apples somewhere to escape while the pie bakes.
- Let It Rest Before Slicing: Give the baked pie at least 15 minutes, and ideally up to 30 minutes, before cutting into it. The filling will have time to settle and cool from molten-hot to lovely and warm.
Storage, Freezing & Reheating
- Storage: Once completely cool, keep your Apple Pie covered or in an airtight container. It can be kept in the fridge for up to 4 days.
- Freezing: Apple Pie freezes brilliantly, either baked or unbaked.
- To freeze before baking: Assemble the pie in its tin, then wrap it well in cling film and foil before freezing. Bake straight from frozen, adding an extra 10-15 minutes to the usual baking time.
- To freeze after baking: Let the pie cool completely, then wrap it well and freeze. Defrost at room temperature, then warm in the oven before serving, if desired.
- Reheating: For the best results, reheat Apple Pie in the oven at 180°C (160°C fan-assisted ovens, Gas Mark 4 or 350°F) until warmed through. Individual slices will usually take around 10-15 minutes, while a larger portion or whole pie will need longer.
You can also reheat individual slices in the microwave if you’re in a hurry, but the pastry will soften rather than stay crisp. Heat in short bursts until just warm – remember that the apple filling can become very hot much more quickly than the pastry.
How to Serve Apple Pie
Apple Pie is best served slightly warm, once the filling has had 15-30 minutes to settle after baking.
It’s lovely on its own, but for a proper pudding you can serve it with warm custard, pouring cream or a scoop of vanilla ice cream. Custard is probably my favourite – especially when the pie is still a little warm, and the pastry is crisp.
Leftover slices are also perfectly good at room temperature, so there’s no need to reheat the whole pie every time you fancy a piece.
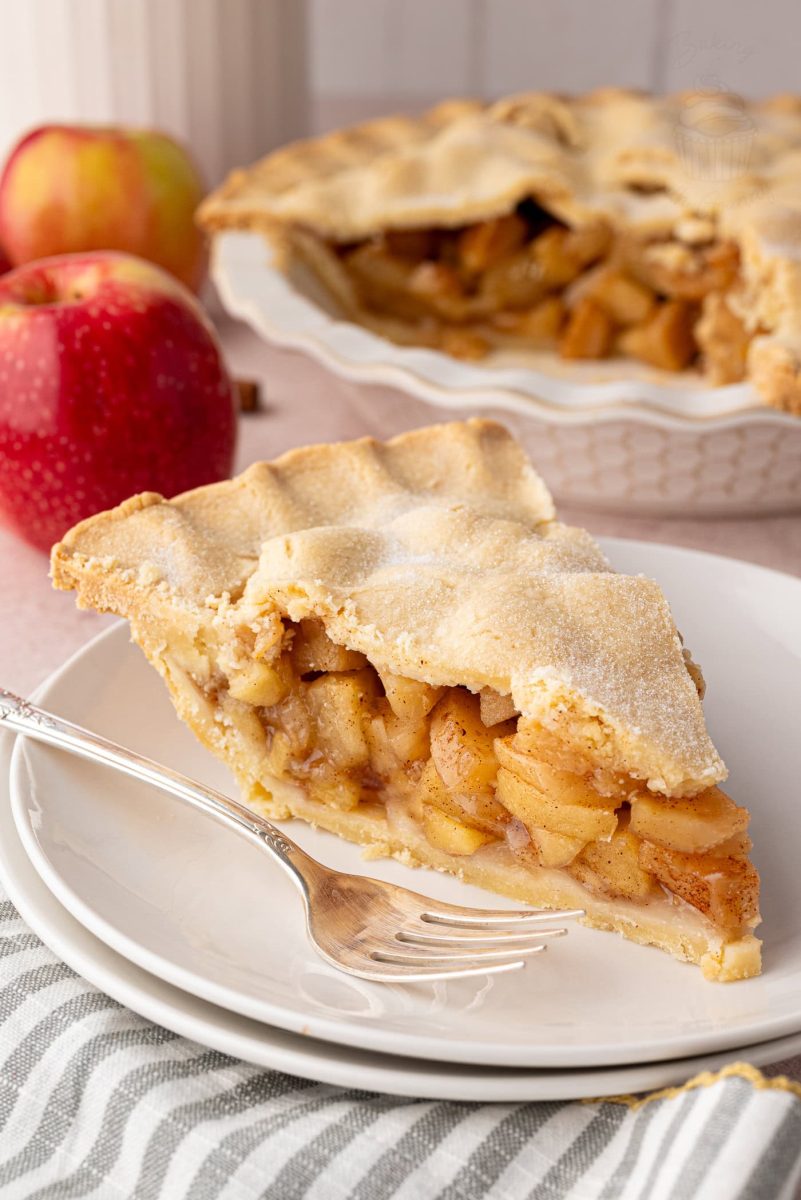
Thank you to Naomi Seiler for creating these photos.
Apple Pie FAQs
You can use virtually any variety of apple for this recipe, including both eating apples and cooking apples such as Bramleys. Different apples will give slightly different results – some stay firmer, some soften more, and some are sweeter or sharper – but they’ll all make a good Apple Pie. If using particularly tart cooking apples, you may want to add a little extra sugar to the filling. You can also use a mixture of different varieties if that’s what you have to hand
No. I actually recommend you don’t pre-cook the apples for this recipe, as they can become overly soft and lose their texture. Cut them into large, bite-sized chunks and let them cook inside the pie instead. The cornflour helps thicken the juices released by the apples into a lovely sauce as everything bakes.
No – this recipe is designed so that the pastry and apple filling bake together. There’s no need to blind bake the pastry case before adding the apples, which is one of the things that keeps this homemade Apple Pie nice and simple.
Don’t worry! This rich shortcrust pastry is very forgiving. If it cracks while rolling or tears when you transfer it to the tin, simply patch the gap with a little spare pastry and gently press it into place. Once the pie is baked, those little repairs won’t even be noticeable.
Different varieties of apple release different amounts of juice as they bake, which is why the cornflour is important in this recipe. It helps thicken those juices rather than leaving them watery. It’s also important to let the baked pie rest for at least 15 minutes before slicing, as the filling will continue to settle and thicken slightly as it cools.
More Autumn Baking
If you loved this simple Apple Pie, here are some more of my favourite Fall baking recipes for you to try next:
Save this recipe!
Want to save this recipe for later? Pop your email below and come back to it when you’re ready to bake.
Homemade Apple Pie
INGREDIENTS
For the Pastry
- 250 g Block Margarine or Butter (at room temperature; plus extra for greasing)
- 125 g Caster Sugar (plus extra for finishing)
- 1 Free-range Egg (at room temperature; see Egg Size note below)
- 500 g Plain Flour (plus extra for dusting)
For the Filling
- 1 kg Apples (approx. 8 medium apples; peeled and cored)
- 100 g Caster Sugar
- 1 tsp Ground Cinnamon
- 1 tbsp Cornflour
EQUIPMENT
- Peeler
INSTRUCTIONS
For the Pastry:
- In a large bowl, cream the butter/margarine and sugar together until light and fluffy. Add the egg and mix through.
- Sift in the flour and combine until the pastry comes together – you may need to use your hands!
- Wrap the pastry in
cling film and chill in the fridge for 1 hour while you prepare the apples.
For the Filling:
- Preheat your oven to 180°C (160°C for fan-assisted ovens, Gas Mark 4 or 350°F) and grease a 20cm (8 inch) loose-bottom pie tin with some extra butter/margarine before dusting it with a little extra flour. Set aside.
- Peel and core your apples before roughly chopping into large bite-sized pieces. Set aside – there is no need to pre-cook the apples.
- In a small bowl, mix the sugar, cinnamon and
cornflour . Set aside. - Take the chilled pastry dough from the fridge and remove about ⅓, setting it aside for the top of the pie. On a lightly floured surface, roll the rest of the pastry dough into a large circle until it is a few centimetres larger than the diameter of your tart tin (around 26-28cm / 10-11 inches).
- Gently lift the pastry into the prepared tin, pressing it into the edges and leaving a small amount of overhang.
- Add your apples on top of the pastry, ensuring they are evenly distributed, and sprinkle the sugar mixture over the apples.
- Roll your remaining pastry dough until it is large enough to cover your pie. Wet the edges of your pie with a little water before transferring the pastry lid to the top, pressing the edges together to seal the pie.
- Trim the edges of the pastry, then poke a few holes in the top with a sharp knife to allow the steam to escape while baking.
- Bake in your preheated oven for around 40-50 minutes, until golden on top.
- Remove from the oven and finish with a sprinkle of extra
caster sugar while still hot. Allow to cool in the tin for at least 15-30 minutes before slicing and serving while still a little warm.
IMPORTANT NOTE:
All my recipes are developed using a digital scale and the metric system (grams and millilitres). Cup measurements are available as a conversion, but these, unfortunately, won’t always be as accurate. For best results, I always recommend baking with a digital scale.
RECIPE NOTES:
LIKE THIS RECIPE?
Leave a comment and rating below!Originally published in October 2018.