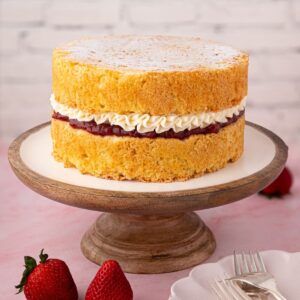
This classic Victoria Sponge recipe is a proper British favourite. Made with two light, soft sponge cakes sandwiched together with jam and finished with a sprinkling of caster sugar.
Based on the traditional sponge formula my Mum used throughout her years as a professional baker, it’s simple, reliable and perfect for beginners.
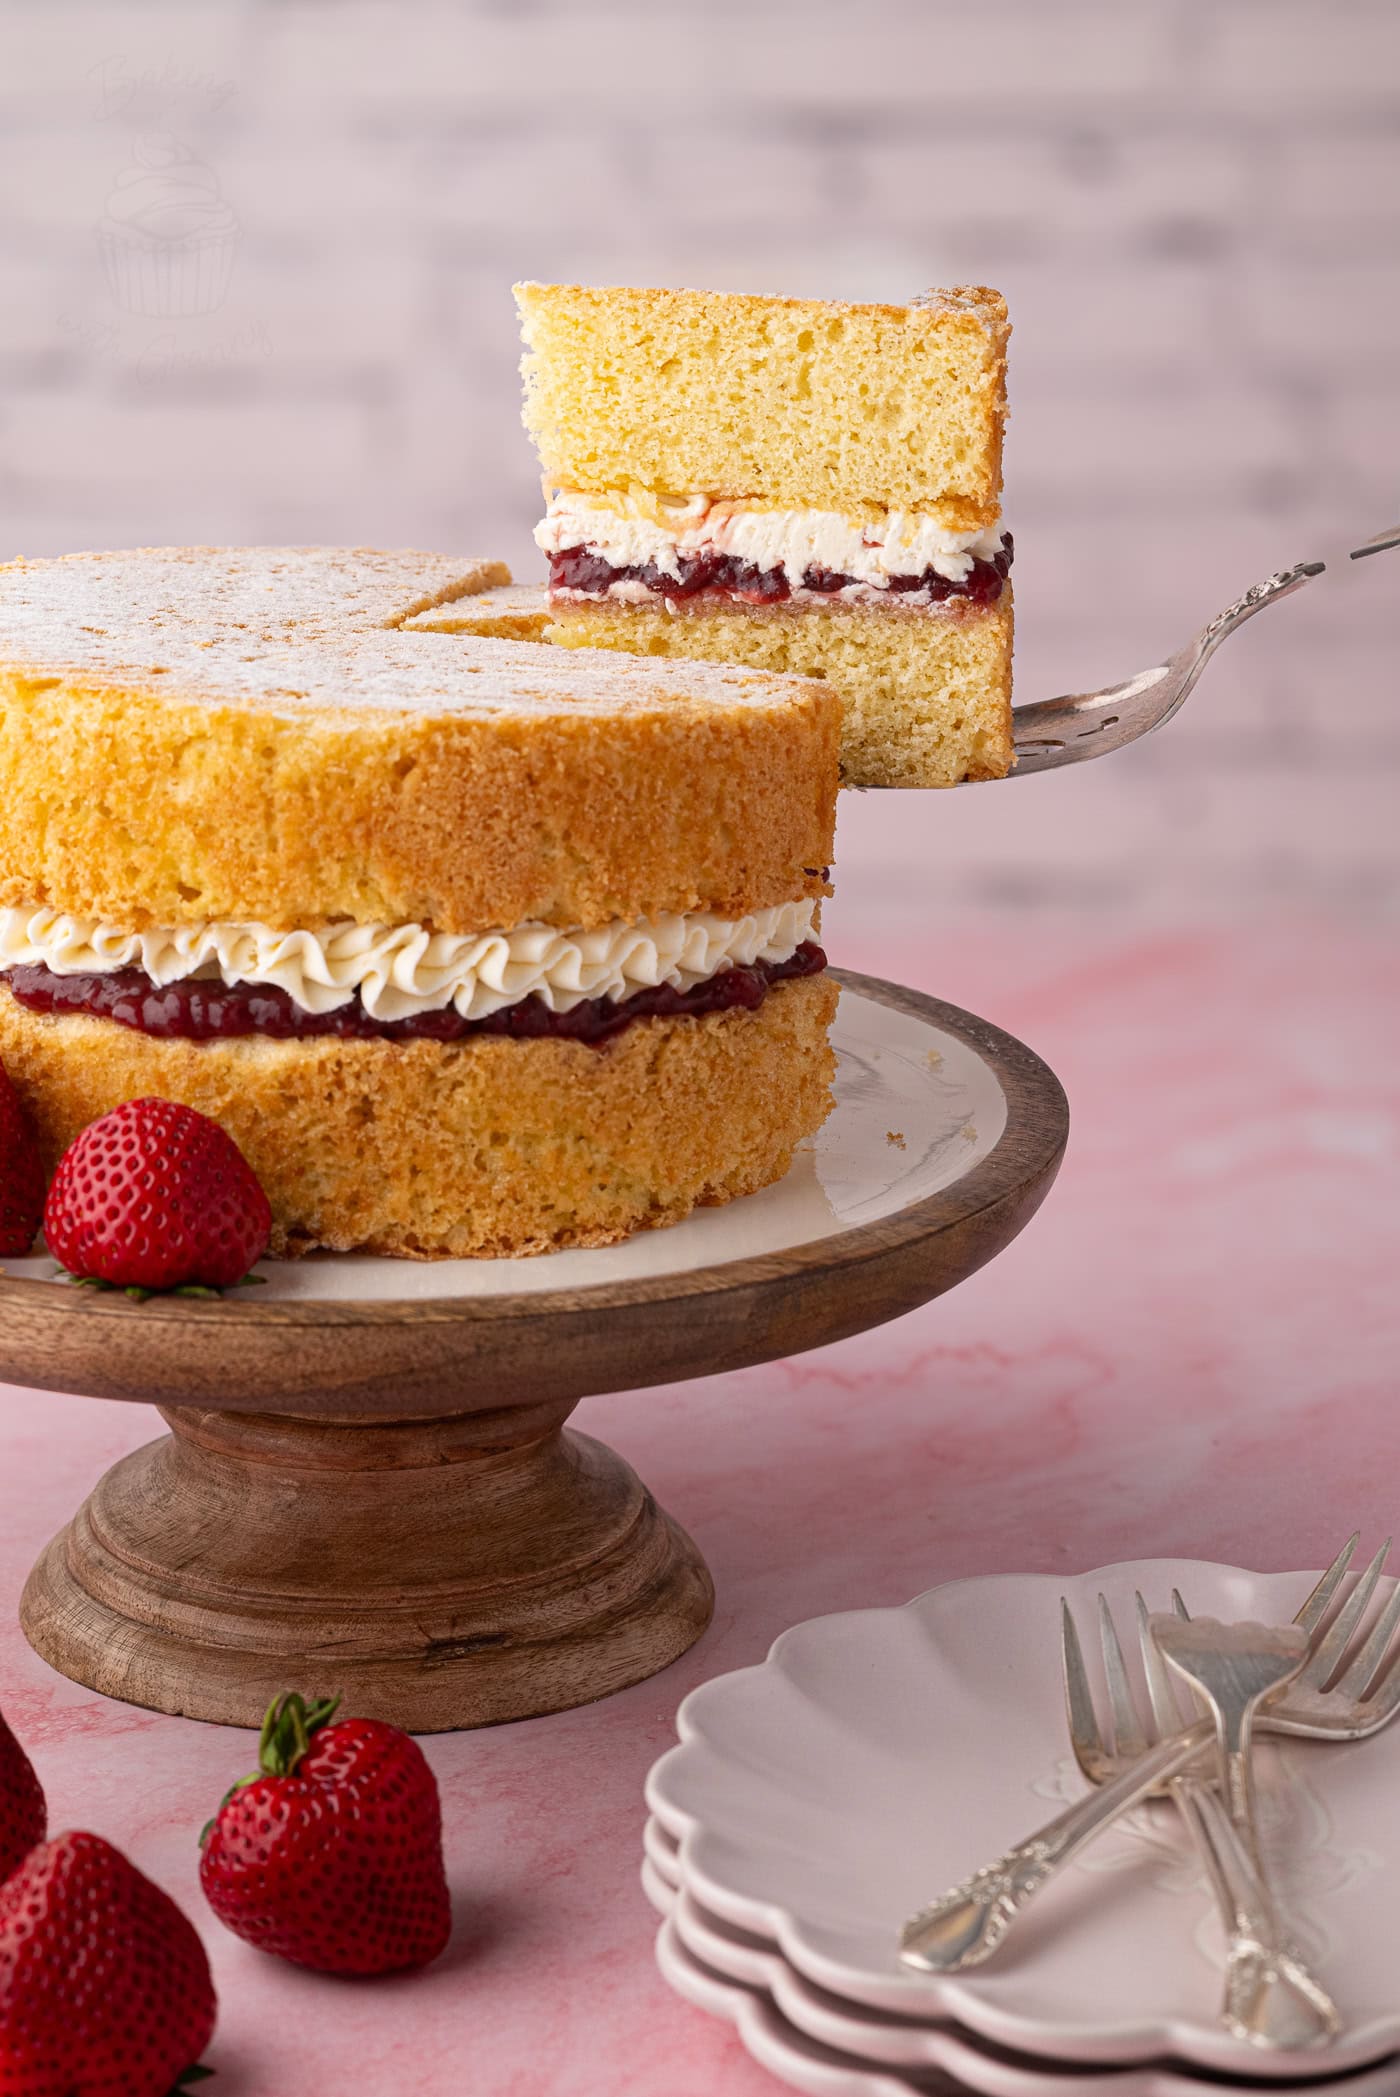
Victoria Sponge Cake Recipe Snapshot
- Also Known As: Victoria Sandwich.
- Texture: Light, soft and springy with a melt-in-the-mouth sponge.
- Flavour: Light, simple sponge with sweet jam.
- Difficulty: Easy – a great classic cake for beginner bakers.
- Prep: About 15 minutes.
- Bake: 20-30 minutes.
- Tins: Two 18cm (7-inch) sandwich cake tins.
- Traditional Filling: Raspberry jam.
- My Preference: Strawberry jam, often with buttercream.
- Traditional Finish: A sprinkling of caster sugar.
- Method: Classic creaming method.
- US Baker Swaps: Use unsalted butter if UK-style baking margarine isn’t available.
Summarise & Save this Recipe on:
What Is Victoria Sponge?
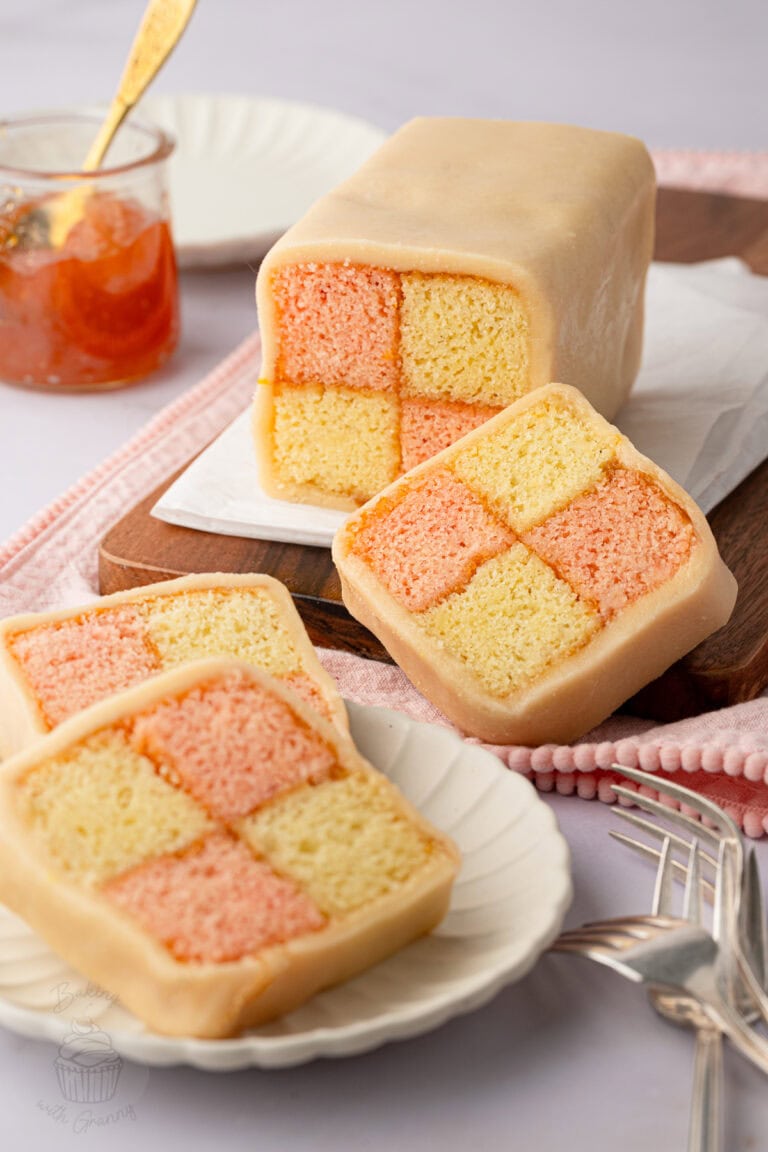
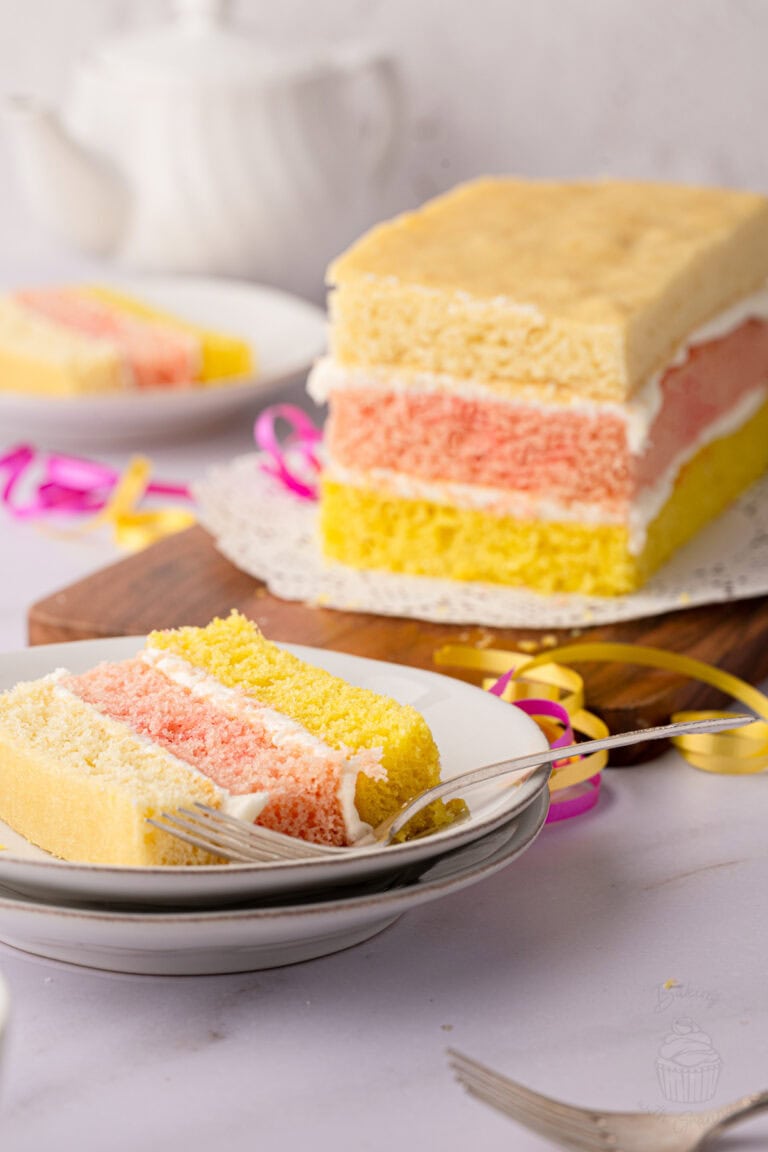
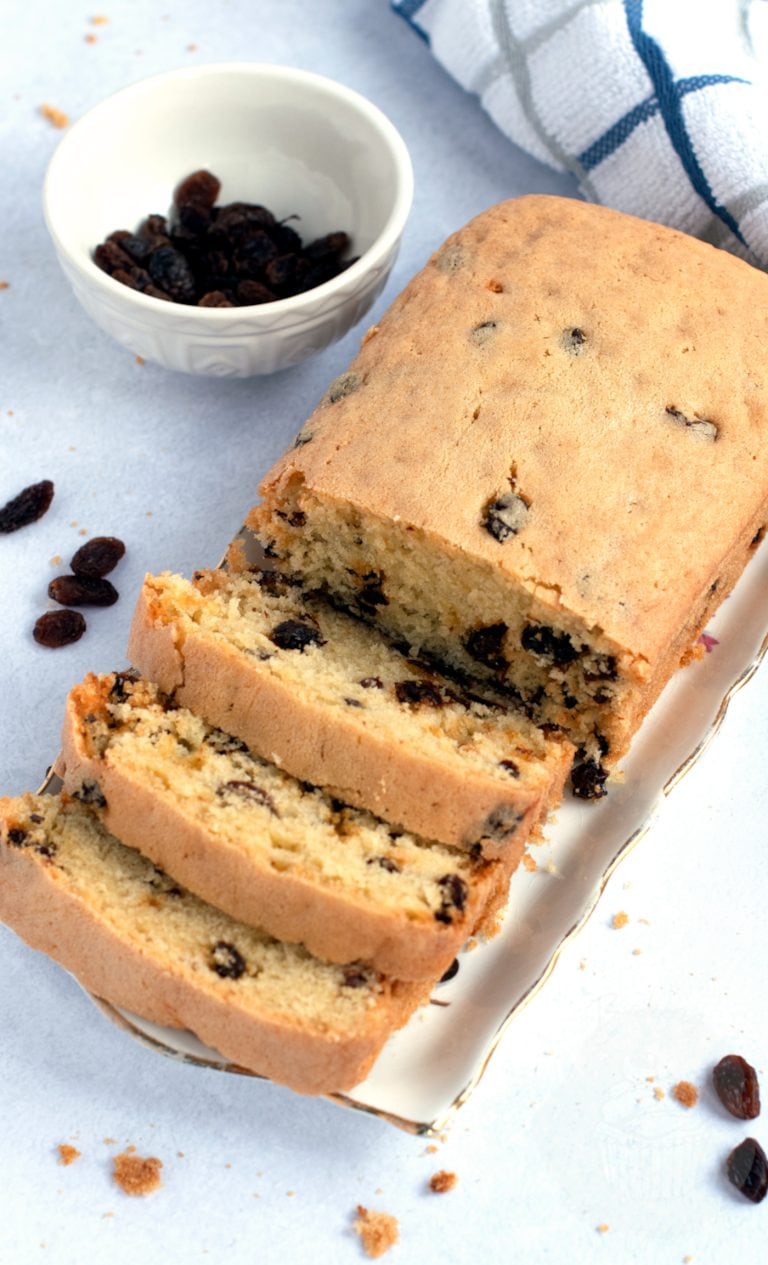
A Victoria Sponge, also known as a Victoria Sandwich, is a classic British cake made from two light sponge cakes sandwiched together with jam and finished with a sprinkling of caster sugar. It’s very much a traditional British bake, much like my Battenberg Cake, moist Madeira Cake and Angel Cake – the kind of cakes that have been made in kitchens across the UK for many generations.
Traditionally, raspberry jam is used in a Victoria Sponge, although strawberry jam is just as common with today’s home bakers.
A British Victoria Sponge is maybe a little different from what some US bakers picture when they think of a sponge cake. Rather than relying on whipped eggs for the rise, the margarine (or butter) and sugar are creamed together until light and fluffy, which adds air to the mixture before the eggs and self-raising flour are added. This gives the cake its lovely soft, springy texture and helps it rise beautifully in the oven.
A traditional Victoria Sandwich is kept very simple, with just jam between the layers. Buttercream or whipped cream are popular additions nowadays – and I often add buttercream myself – but neither is actually essential to the original cake.
My Victoria Sponge Recipe
This Victoria Sponge is based on the sponge cake recipe my Mum has used for decades, both as a professional baker and at home. It follows the traditional old-school formula of using roughly equal weights of margarine or butter, caster sugar and self-raising flour, with the eggs working out at around the same weight too.
The Women’s Institute still uses this same traditional approach for its Victoria Sandwich, with raspberry jam between the layers and a sprinkling of caster sugar on top. That is probably the most traditional way to serve it – but if you know me, you’ll know I’ve never been one for following the rules too closely!
As a kid, my Mum would always make me Victoria Sponge with strawberry jam, fresh cream and fresh strawberries for my birthday, so strawberry jam is what I tend to reach for. These days I’ll often add buttercream too, although jam on its own is absolutely enough if you want to keep things proper traditional.
What I wouldn’t change is the sponge itself. I have always used the creaming method, rather than an all-in-one method, because properly creaming the margarine/butter and sugar gives you the light, soft base a Victoria Sponge needs. And there’s no vanilla, no extra baking powder, and no milk in this recipe either – none of them are necessary for a good traditional sponge, as demonstrated with my School Dinner Cake and Lemon Drizzle Cake.
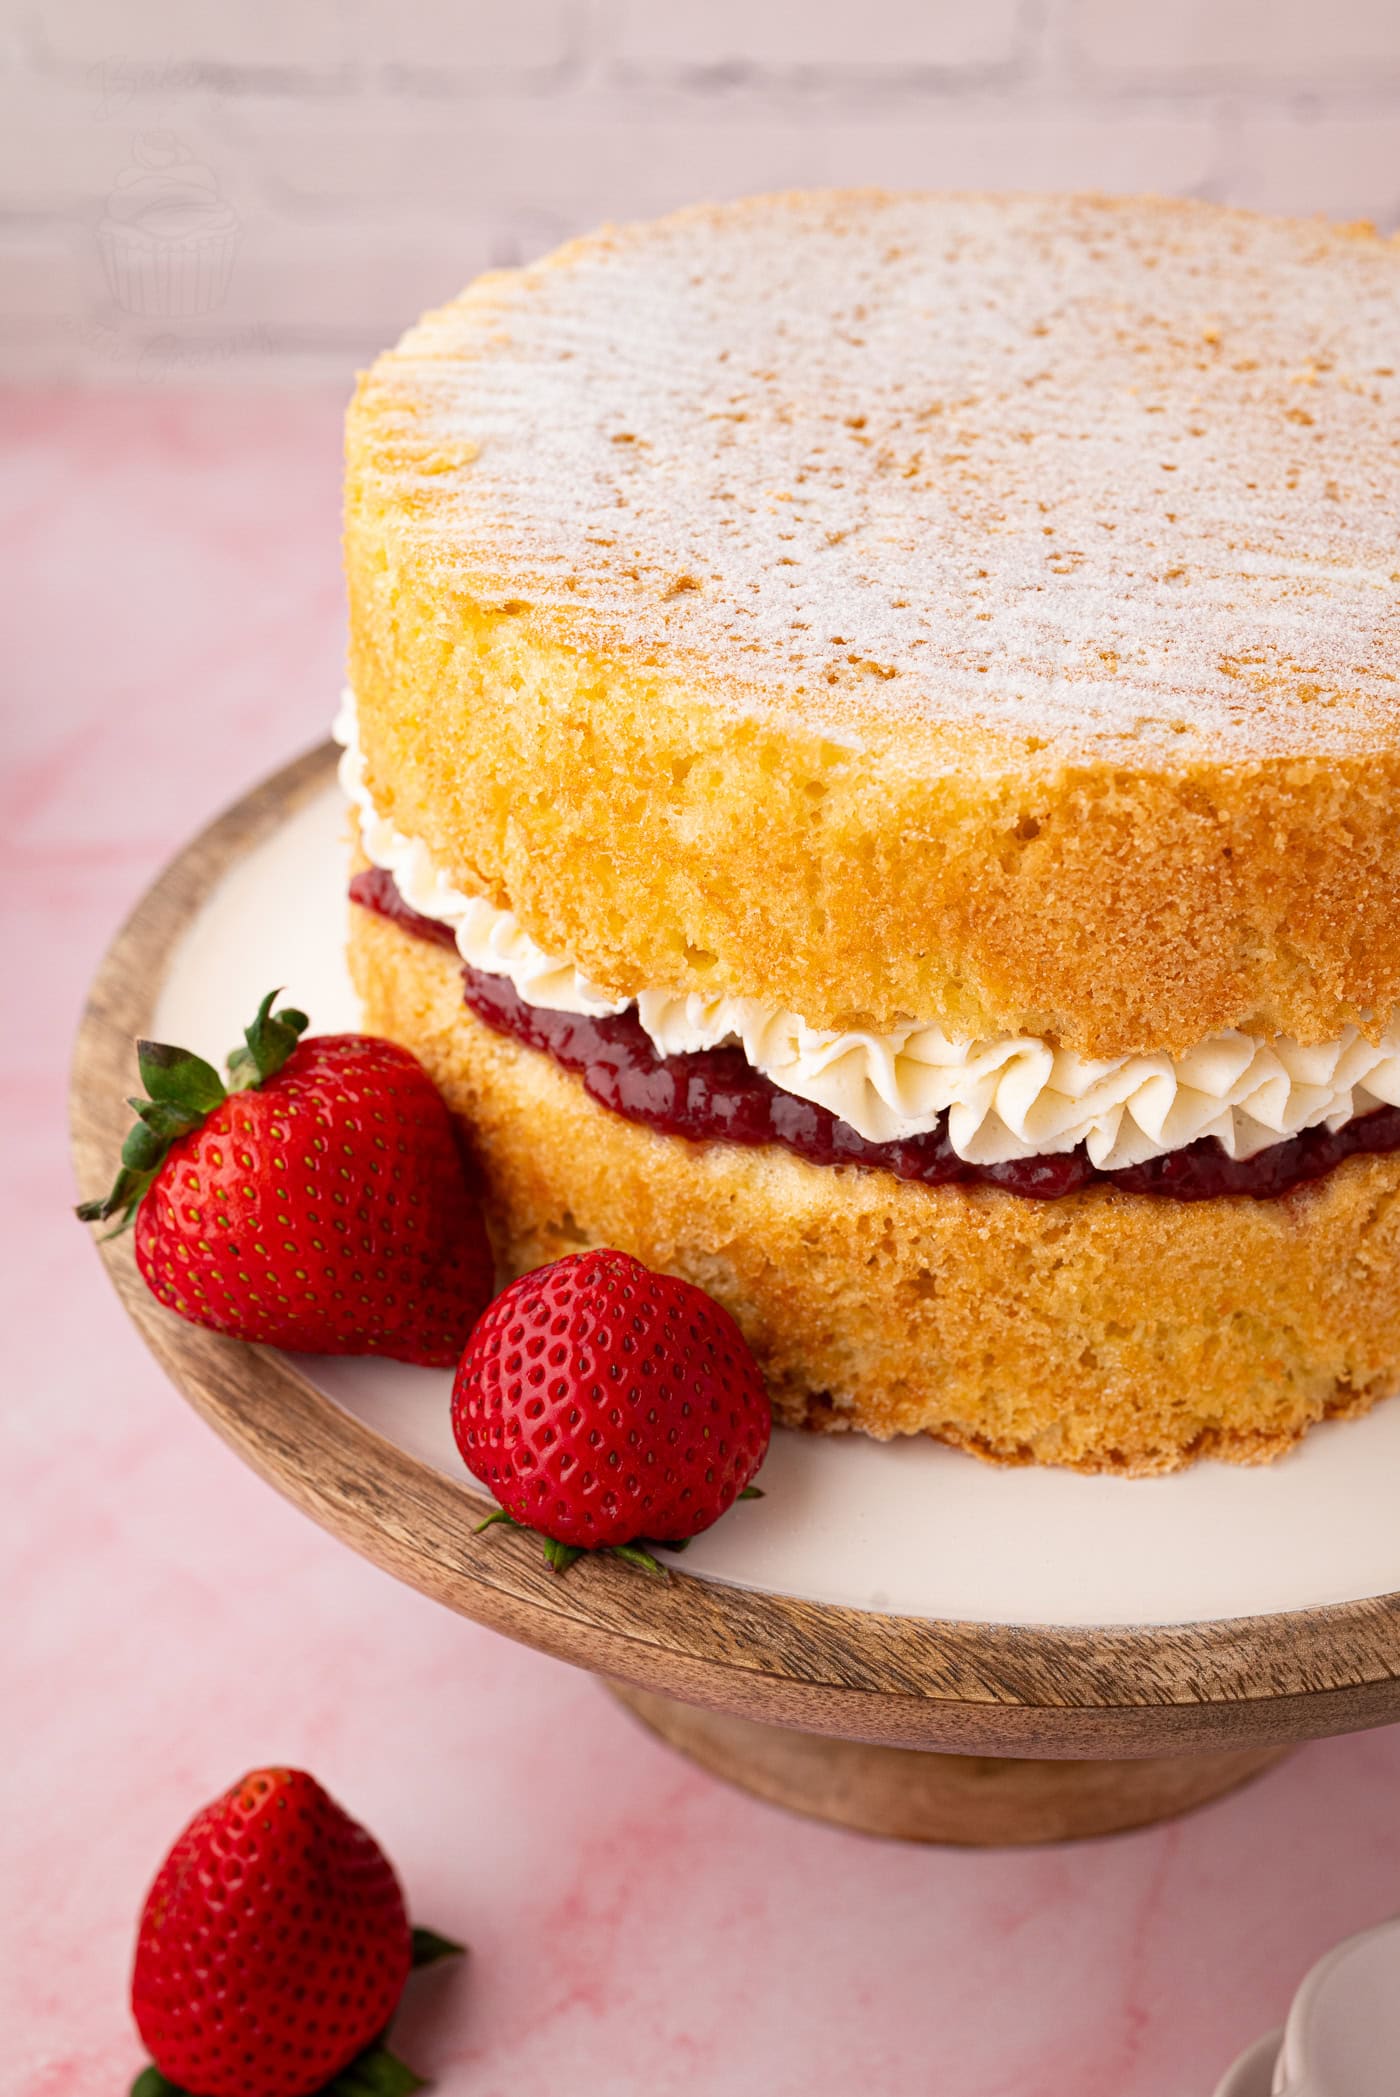
Key Ingredients
See the recipe card for a full ingredients list, required quantities and cup conversions.
Substitutions & Additions
Jam: Raspberry jam is the traditional choice for a Victoria Sandwich, but I tend to use strawberry jam because that’s what my Mum always used. Seedless gives the smoothest finish, but use whichever jam you prefer – around 4 tablespoons is usually enough, although you may want a little more or less depending on whether you’re adding any other filling.
Buttercream or Fresh Cream: Jam on its own is the traditional filling, but I often add buttercream too. For a more special-occasion version, you can use whipped double cream instead (my Mum used to make mine with fresh cream and strawberries for birthdays). If using fresh cream, make sure you store the finished cake in the fridge.
Vanilla Extract: Vanilla isn’t necessary in a traditional Victoria Sponge, which is why I don’t use it in my recipe. But if you enjoy vanilla, you can of course add a little to the cake batter – it’s your cake after all!
Sugar on Top: Caster sugar is the traditional finish, giving the top a very slight crunch. You can use icing sugar instead if you prefer a softer, more delicate finish.
Looking for dairy-free, gluten-free or vegan adaptations? See the Free-from & Vegan section below.
Free-from & Vegan
Amy recommends: If you regularly need to adapt baking recipes for gluten-free, dairy-free, egg-free or vegan diets, I highly recommend The Elements of Baking by Katarina Cermelj, creator of The Loopy Whisk. It’s a brilliant resource for understanding how substitutions work, rather than simply swapping ingredients and hoping for the best.
Gluten-free Options:
You can use gluten-free self-raising flour as a straight swap for the self-raising flour in this recipe. The exact texture can vary a little depending on the brand of flour you use, but it generally works very well as a straight swap.
Nut-free Adjustments:
This recipe contains no nuts, but as always, be sure to double-check the allergen lists for your individual ingredients.
Dairy-free Swaps:
To make this a dairy-free recipe, use a dairy-free soft baking margarine for the sponge. If you’re adding buttercream, use a dairy-free block margarine, as it gives a firmer finish.
Egg-Free Adaptations:
With four eggs making up such a large part of a Victoria Sponge, I wouldn’t recommend simply swapping them for an egg replacer. Instead, I’d use a tried-and-tested egg-free Victoria Sponge recipe, like The Baking Explorer’s Vegan Victoria Sponge Cake.
Vegan Substitutions:
I’d take the same approach as the egg-free version and use a dedicated vegan Victoria Sponge recipe like The Baking Explorer’s Vegan Victoria Sponge Cake, rather than trying to replace all four eggs in this one. Then you can use the traditional-style finish with jam and caster sugar, or add a dairy-free buttercream if you prefer.
Allergy Disclaimer & Resources:
Any advice or suggestions to make recipes “free-from” or vegan are purely suggestions. Please double-check all packaged ingredients individually, taking extra caution when baking for those with allergies or intolerances.
For official guidance on food allergies, please see Food Standards Agency (food.gov.uk) | For more info on coeliac disease, please see Coeliac UK (coeliac.org.uk) | For more info on a vegan diet, please see The Vegan Society (vegansociety.com)
How to Make Victoria Sponge
Victoria Sponge is a simple cake, but properly creaming the margarine/butter and sugar is what gives you that lovely light, soft sponge. Follow the step-by-step below, or head to the recipe card at the bottom for the full printable recipe.
- Cream the margarine/butter and sugar. Preheat your oven to 170°C (150°C fan-assisted ovens) and line two 18cm (7-inch) sandwich tins. Mix the soft margarine/butter and caster sugar together until noticeably lighter in colour and fluffy.
- Add the eggs. Add the eggs one at a time, beating well after each addition. Don’t worry if the mixture looks slightly curdled – it will come back together when the flour is added.
- Add the flour. Sift in the self-raising flour and gently fold until you have a smooth, light batter with a soft dropping consistency.
- Divide between the tins. Share the batter evenly between the two tins and gently level the tops. For an extra-even finish, make a very slight dip in the centre of each before baking.
- Bake. Bake for 20-30 minutes, until risen and golden, the tops spring back when lightly touched, and a skewer inserted into the centre comes out clean.
- Let it cool. Leave the cakes in their tins until cool enough to touch, then turn onto a wire cooling rack and leave to cool completely.
- Assemble the Victoria Sponge. Turn one sponge upside down so the flatter base becomes the outside of the cake. Spread with around 4 tablespoons of jam, then add buttercream or whipped cream if using. Sandwich with the second sponge and finish with a sprinkling of caster sugar.
Top Tips for Victoria Sponge
- Cream Properly: Don’t rush the margarine/butter and sugar stage. Beat them together until noticeably lighter in colour and fluffy – this is what gives you the light base a Victoria Sponge needs.
- Don’t Panic if it Curdles: It’s quite normal for the mixture to look a little curdled as the eggs are added – it will come back together once you add the flour. If you’re worried though, you can add a spoonful of your measured flour along with the eggs.
- For Even Layers, Weigh the Batter: Eyeballing the batter is absolutely fine, but if you want two really even sponges, weigh the filled tins and adjust until they’re roughly the same.
- A Dome is Completely Fine: You don’t need perfectly flat Victoria Sponge layers. Making a very slight dip in the batter before baking can help stop the sponges from doming too much, but any slight domes can simply be turned towards the middle when you assemble the cake, leaving the flat bottoms on show.
- Avoid Opening the Oven Early: One quick check towards the end of baking is fine, but repeatedly opening the door – or slamming it shut – can affect the rise, with the worst-case scenario causing your cake to collapse.
- How to Know it’s Ready: The sponges should be risen and golden, spring back when lightly touched on the top centre, and a skewer inserted into the centre should come out clean.
- Cool Completely Before Filling: Especially if you are using buttercream or whipped cream, as they will soften or melt if the cake is still warm. Even with jam, you want your cake to be cool before filling – otherwise, it may melt and cause the cakes to slip around, particularly when slicing.
Storage & Freezing
- Storage: A Victoria Sponge filled with jam, or jam and buttercream, can be stored in an airtight container at room temperature. It will keep well for several days, and you may notice the sponge gradually absorbs a little of the jam – that’s completely normal.
If you’ve filled the cake with fresh whipped cream, keep it in the fridge and enjoy within 2-3 days. Let it sit at room temperature for a short while before serving, as the sponge is nicest when it isn’t fridge-cold. - Freezing: Victoria Sponge freezes really well. For the best result, freeze the unfilled sponge layers once completely cooled. Wrap them well and place in an airtight container or freezer bag. Defrost at room temperature while still wrapped, then fill and finish as normal once completely thawed. There may be a very slight difference compared with a freshly baked sponge, but most people would be hard-pushed to notice it!
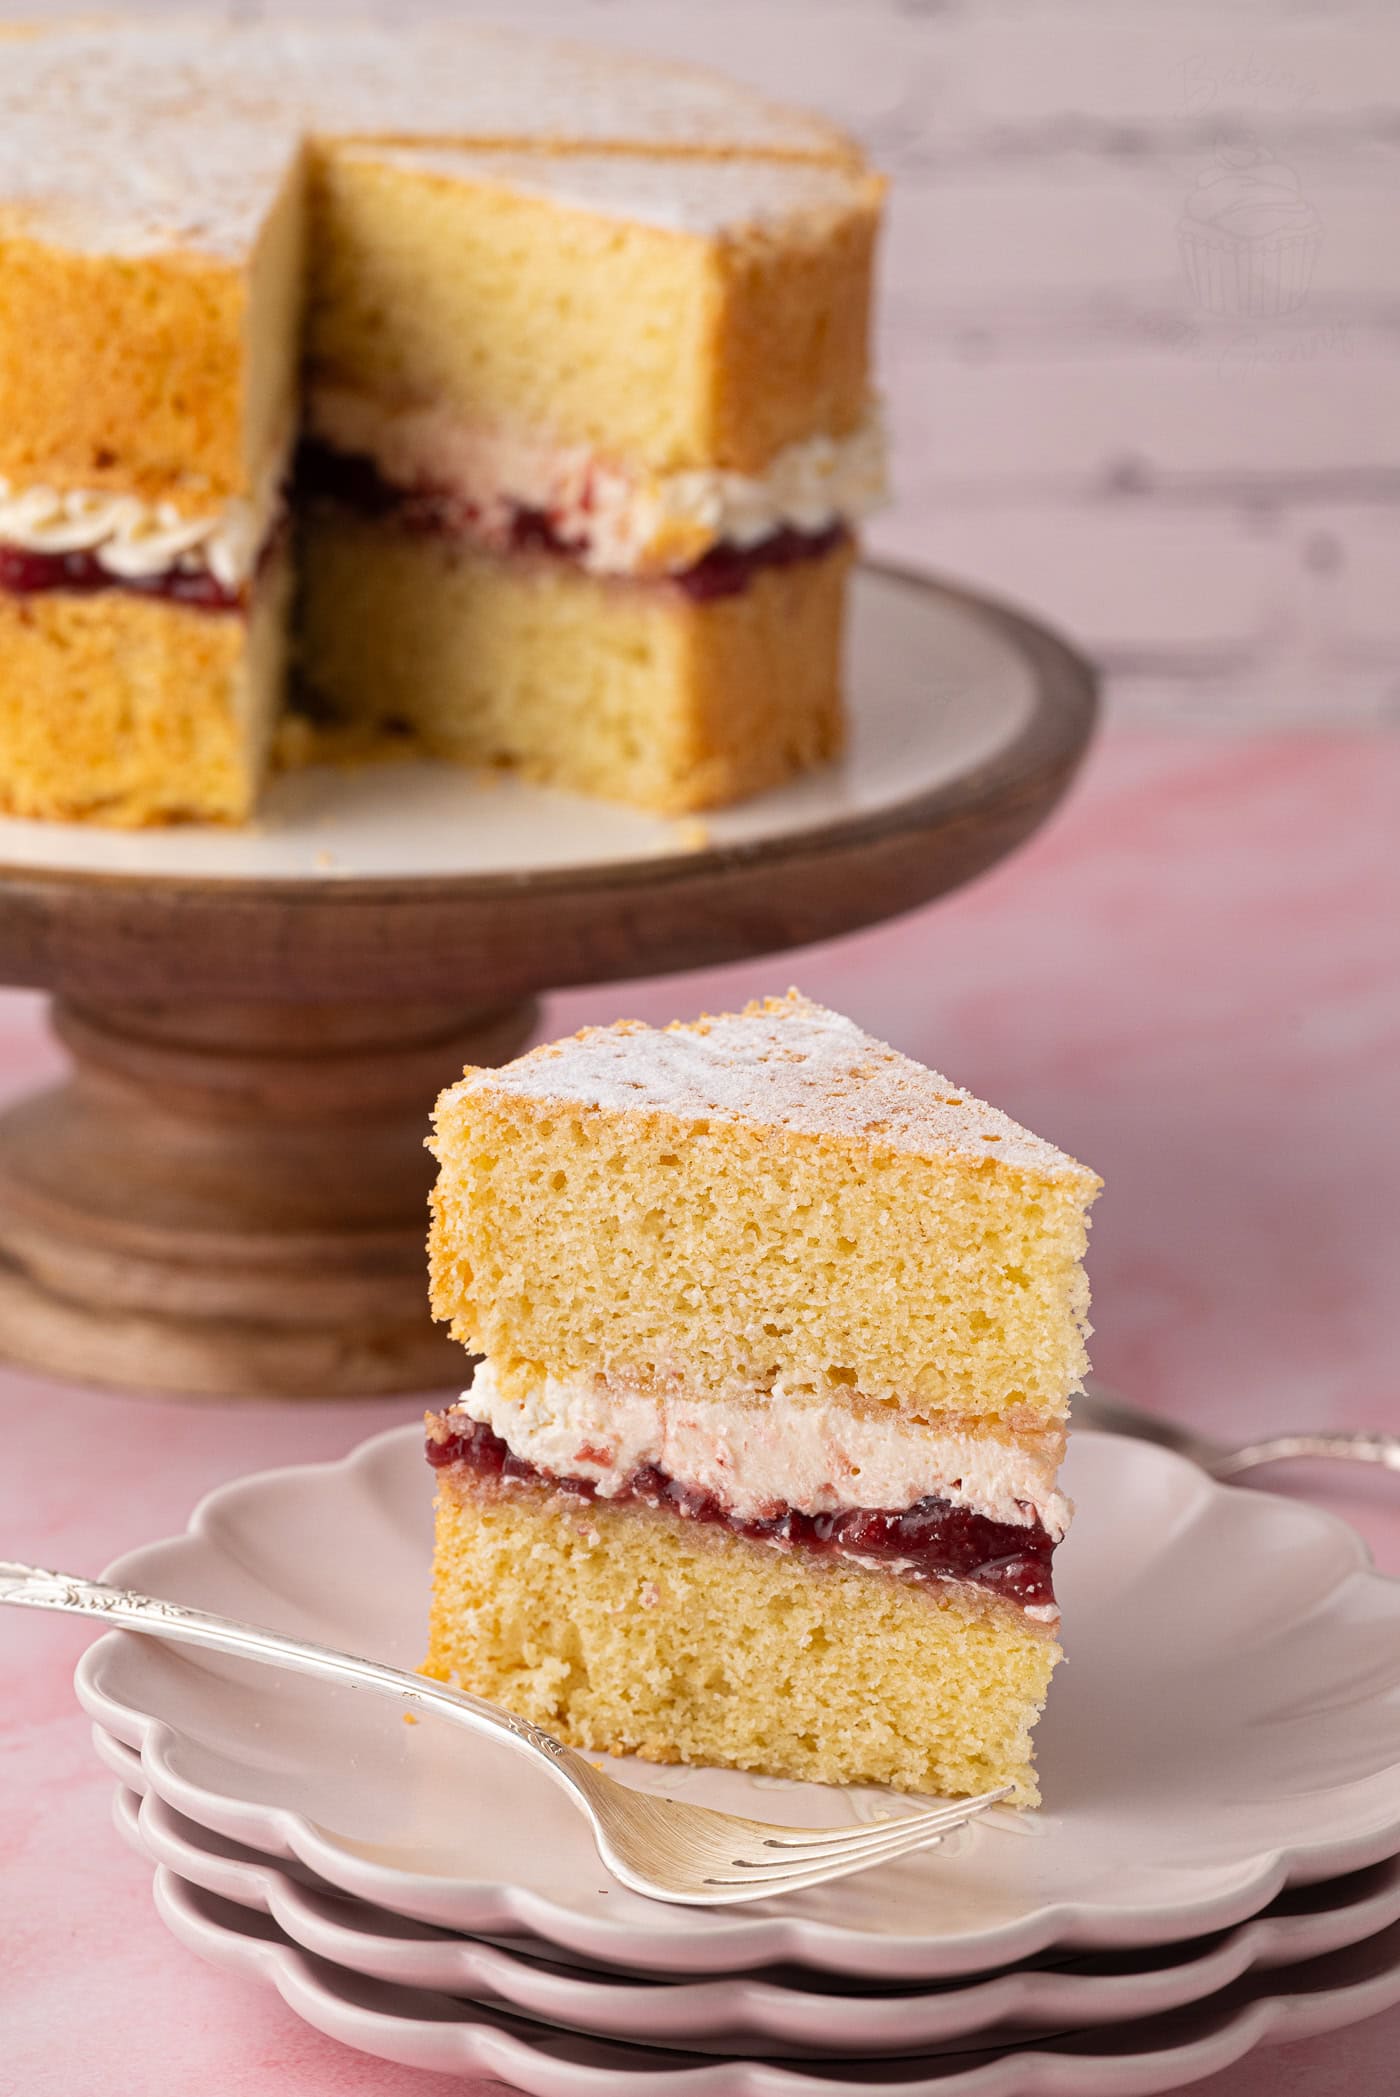
Thank you to Naomi Seiler for creating these photos.
Victoria Sponge FAQs
Victoria Sponge takes its name from Queen Victoria, who was famously known to be fond of cakes and afternoon tea. The cake became closely associated with her during the Victorian era, and a simple sponge filled with raspberry jam became known as a Victoria Sandwich.
There’s also a lovely theory that early versions of the cake were first served to Victorian children, as lighter sponge cakes were considered more suitable for children in the nursery than the heavier fruit or seed cakes. It eventually made its way onto the adult tea table and then became one of Britain’s best-known cakes.
A little dip isn’t necessarily a problem, but a Victoria Sponge can sink if it hasn’t baked through before coming out of the oven. Try not to open the oven too early, and check that the cakes are risen and golden, spring back when lightly touched, and a skewer inserted into the middle comes out clean before removing them.
Repeatedly opening the oven door, or shutting it heavily while the cakes are still rising, can also affect them.
Yes. I usually use two 18cm (7 inch) sandwich tins, simply because they’re a very common size in UK home kitchens. But you can use two 20cm (8 inch) tins instead, although the sponge layers will be a little thinner and may bake slightly quicker, so keep an eye on them towards the end of the baking time.
Traditionally, a Victoria Sandwich is filled with raspberry jam only and finished with a sprinkling of caster sugar. Buttercream and whipped cream are more modern additions – and I often add buttercream myself.
Fresh whipped cream is lovely for a special occasion too, but once you add it, the cake will need to be stored in the fridge.
More Classic British Cakes
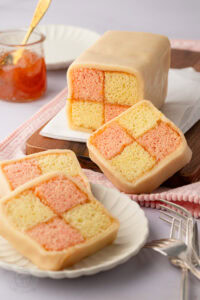
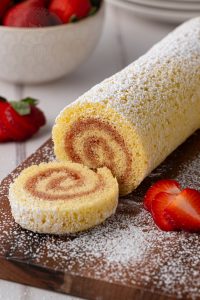
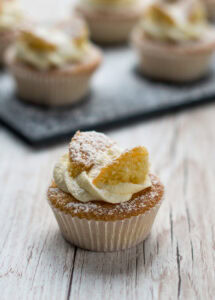
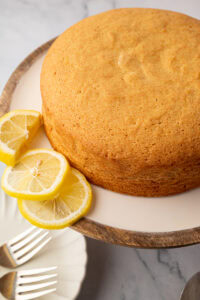
If you loved this traditional Victoria Sponge cake, here are some more of my favourite British cake recipes for you to try next:
Save this recipe!
Want to save this recipe for later? Pop your email below and come back to it when you’re ready to bake.
Victoria Sponge
INGREDIENTS
- 225 g Soft Margarine (or Butter) (at room temperature; plus extra for greasing)
- 225 g Caster Sugar (plus extra for finishing)
- 225 g Self-raising Flour (see Self-raising Flour note below)
- 4 Free-range Eggs (at room temperature; see Egg Size note below)
- Seedless Jam (raspberry or strawberry)
EQUIPMENT
INSTRUCTIONS
- Preheat your oven to 170°C (150°C for fan-assisted oven, Gas Mark 3 or 325°F). Grease and line two 18cm (7 inch) sandwich tins with
greaseproof paper . Set aside. - In a large bowl, cream together the margarine and sugar until light and fluffy in both colour and texture.
- Add the eggs one at a time, ensuring each is mixed through before adding the next.
- Sift in the flour and gently fold to create a smooth batter of dropping consistency.
- Transfer the batter to your pre-lined tins and bake in your preheated oven for 20-30 minutes until risen, golden, and a skewer inserted comes out clean.
- Leave to cool in the tins for a few minutes before transferring to a wire cooling rack to cool completely
- Once completely cool, sandwich the sponges with jam (and buttercream or freshly whipped cream, if desired). Top the cake with a generous sprinkling of
caster sugar before serving.
IMPORTANT NOTE:
All my recipes are developed using a digital scale and the metric system (grams and millilitres). Cup measurements are available as a conversion, but these, unfortunately, won’t always be as accurate. For best results, I always recommend baking with a digital scale.
RECIPE NOTES:
LIKE THIS RECIPE?
Leave a comment and rating below!Originally published in July 2018.