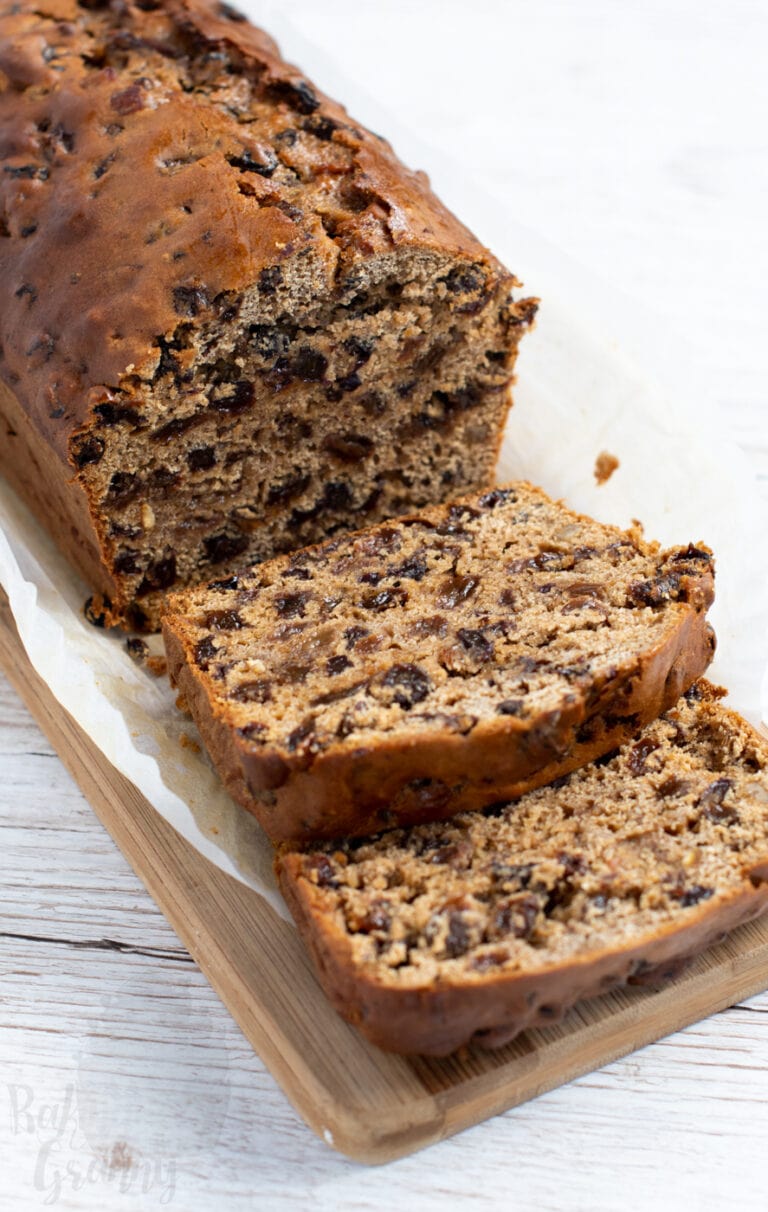
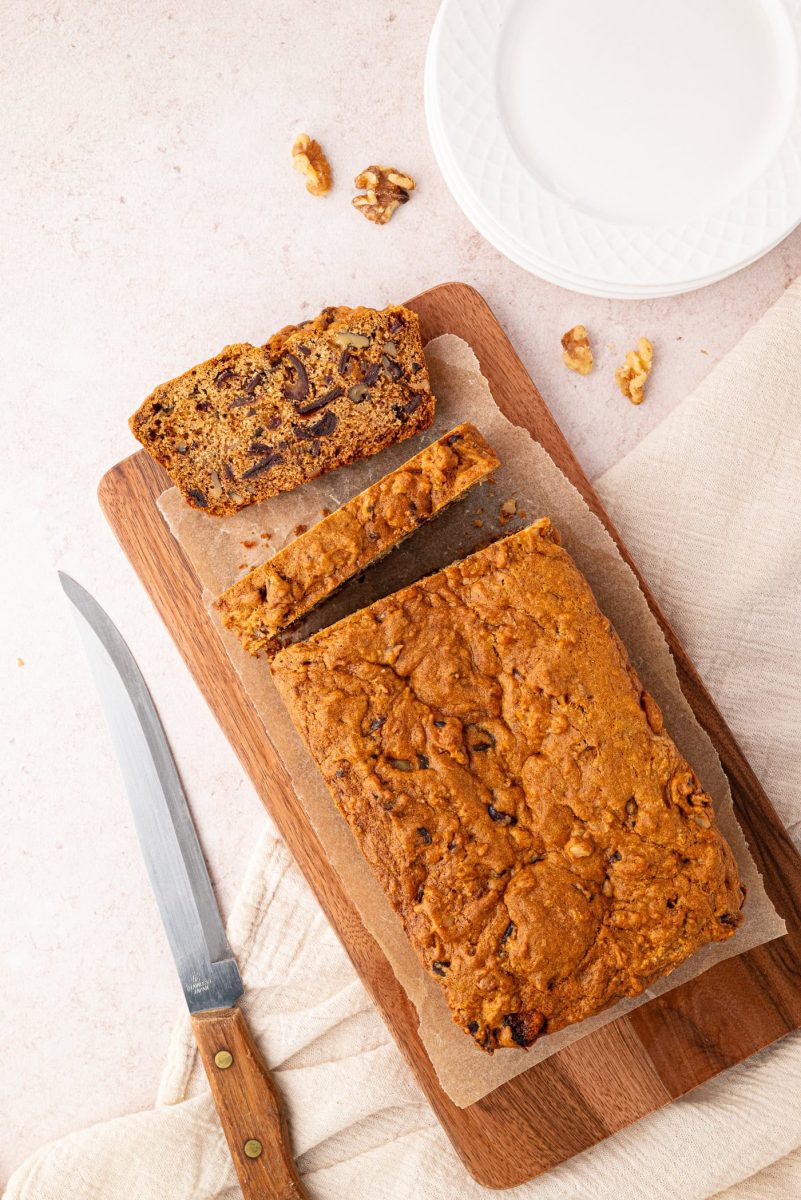
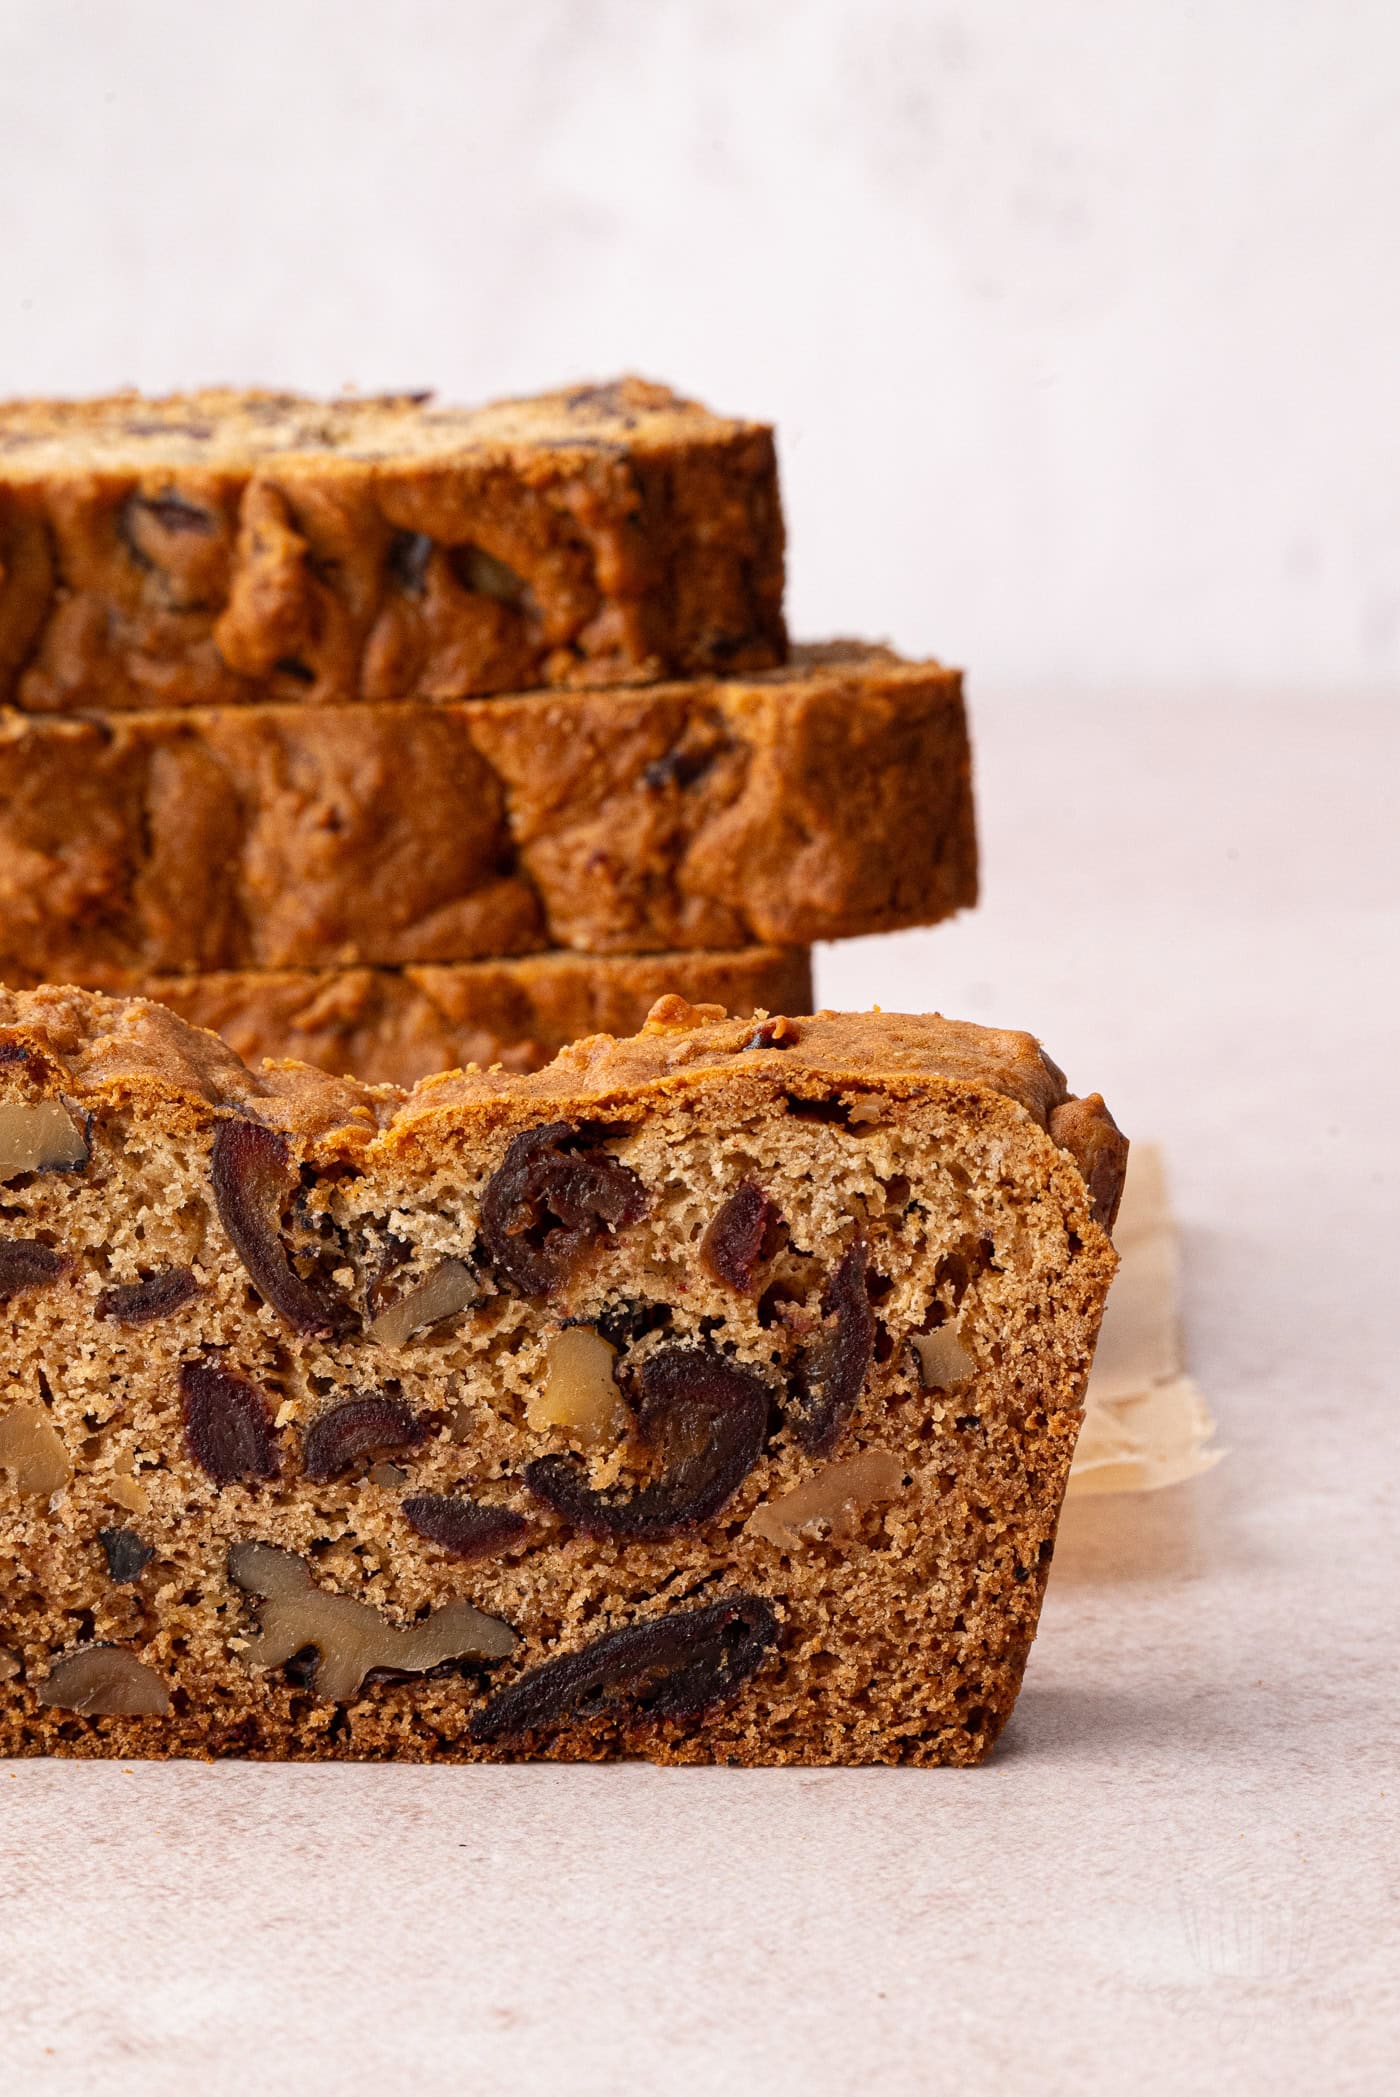
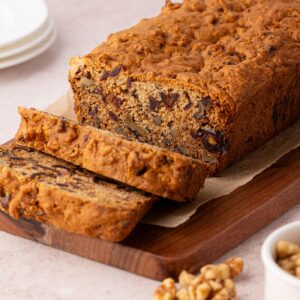
This old-fashioned Date and Walnut Loaf is a simple British loaf cake packed with roughly chopped dates and walnuts, with a dense, moist crumb and a naturally sticky top that gets even better after a day or two. The dates are softened with boiling water before baking, making this an easy cake that’s lovely when served plain or spread with a little butter.
Date & Walnut Loaf Recipe Snapshot
- Also Known As: Date and Walnut Cake, Date and Walnut Loaf Cake.
- Style: Traditional British loaf cake.
- Texture: Dense and moist, with pieces of dates and walnuts throughout.
- Flavour: Sweet dates with rich, nutty walnuts.
- Difficulty: Easy.
- Tin: 900g (2lb) loaf tin.
- Prep: About 15 minutes, plus a short cooling time.
- Bake: Around 1 hour.
- Best Served: Plain or spread with butter.
- Best Tip: Leave it for a day or two before serving – the flavour develops, and the top becomes slightly sticky.
Summarise & Save this Recipe on:
What Is Date and Walnut Loaf?
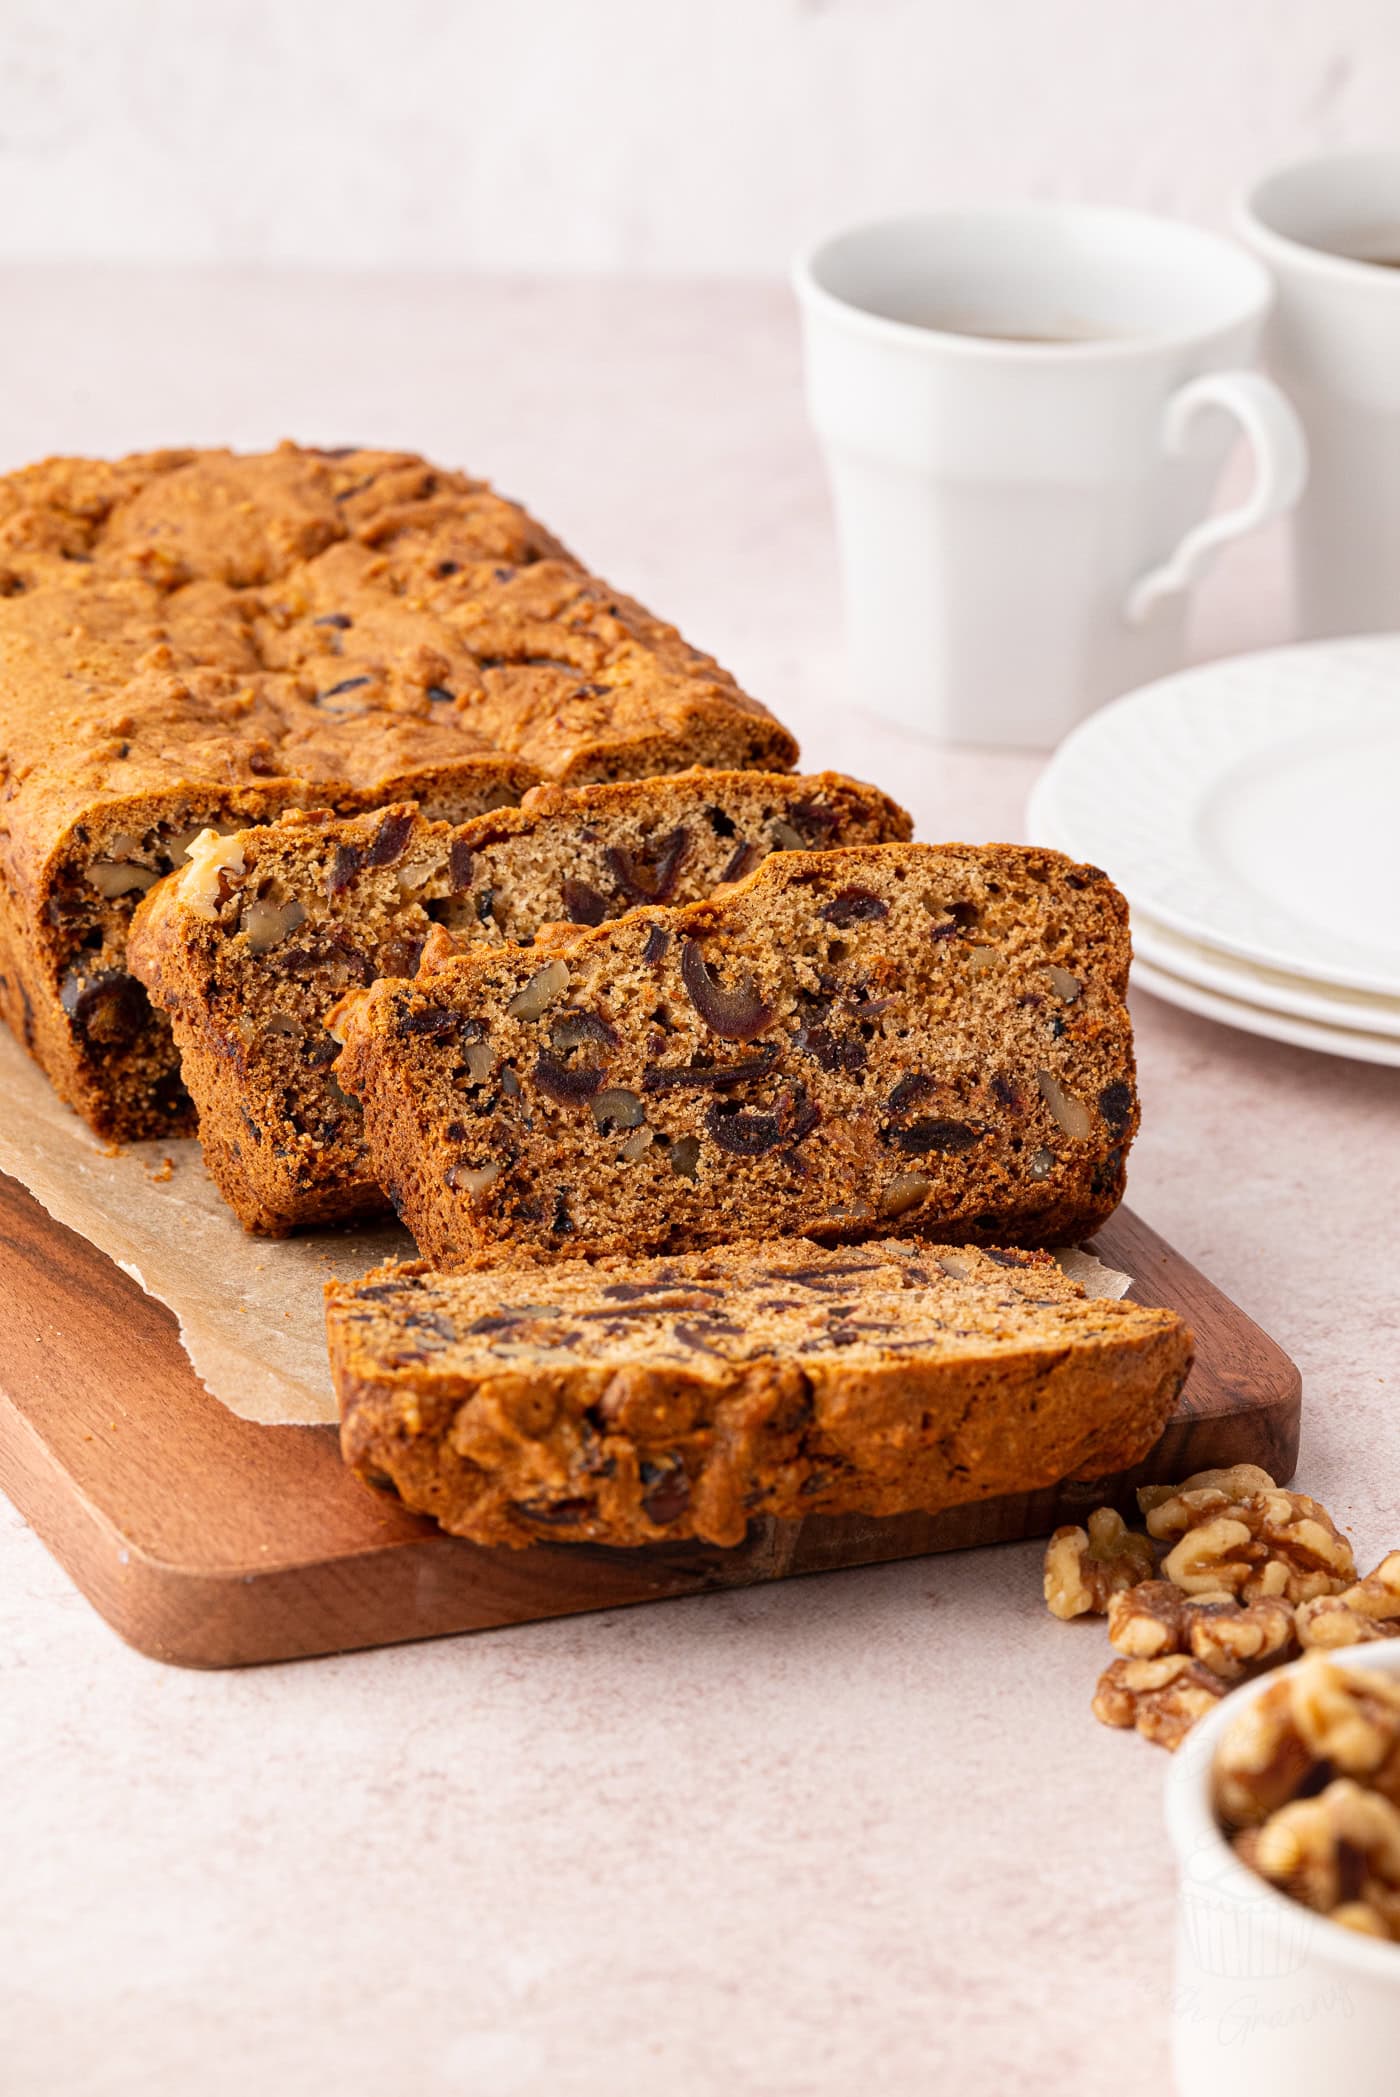
Date and Walnut Loaf is a traditional British loaf cake made with roughly chopped dates and walnuts. Despite having the word “loaf” in the name, it’s very much a cake rather than a bread, with a dense, moist crumb and pieces of sweet date and crunchy walnut throughout it.
It’s also commonly known as Date and Walnut Cake or Date and Walnut Loaf Cake. In my recipe, the dates are softened with boiling water, bicarbonate of soda, sugar and margarine/butter before being added to the remaining ingredients. This helps the dates soften and absorb some of the sweetness before it even bakes, while the finished cake continues to develop a slightly sticky top as it sits.
It’s the kind of old-fashioned bake that is lovely with a cup of tea, much like my sticky Gingerbread or Golden Syrup Cake, and can be served simply as it is or spread with a little butter.
My Date and Walnut Loaf Recipe
This is a recipe that has been in my baking repertoire for so long that I can’t even say with complete certainty where the original version came from. However, it was most likely based on something from my Mum’s recipes or one of the old cookbooks in my Granny’s collection, and I suspect the original was written in ounces – the 85g of walnuts works out almost exactly at 3 oz, which would be very typical of the older recipes I grew up with.
I first published this version on Baking with Granny in 2020, and it has remained a firm favourite with home bakers ever since. It’s a really straightforward loaf cake, with no creaming or mixer needed. Instead, the dates, bicarbonate of soda, sugar and margarine/butter are covered with boiling water and left briefly to soften. The bicarbonate helps break down the dates, while they absorb some of the sweetness and fat, before adding them to the egg, walnuts and flour.
The result is a lovely dense and moist cake rather than a light and fluffy cake (think Honey Nut Cake, as opposed to a Victoria Sponge), with plenty of chopped dates and walnuts throughout it. I especially like it after it has been left to mature for a day or two, when the flavour continues to develop, and the top also becomes slightly sticky. Delicious! 😋
Key Ingredients
See the recipe card for a full ingredients list, required quantities and cup conversions.
Substitutions & Additions
Light Brown Sugar: Caster sugar (superfine sugar) is what I use in the standard recipe, but several home bakers have successfully made this loaf with light brown sugar instead. It gives a slightly deeper, more caramel-like flavour that works particularly well with the dates and walnuts.
Tea: Some home bakers have also successfully replaced the boiling water with hot tea when soaking the dates with good results. A straightforward black tea works best here if you want to try it, which will add a little extra depth without overpowering the loaf.
Nuts: You can swap the walnuts for another nut if you prefer. Pecans are a particularly good choice if you prefer their sweeter flavour, although at that point it’s technically more of a Date and Pecan Loaf than a Date and Walnut Loaf!
Spices: A little cinnamon or mixed spice (pumpkin pie spice) works very nicely with the dates if you want a warmer flavour, especially during autumn and winter months.
Looking for dairy-free, gluten-free or vegan adaptations? See the Free-from & Vegan section below.
Free-from & Vegan
Amy recommends: If you regularly need to adapt baking recipes for gluten-free, dairy-free, egg-free or vegan diets, I highly recommend The Elements of Baking by Katarina Cermelj, creator of The Loopy Whisk. It’s a brilliant resource for understanding how substitutions work, rather than simply swapping ingredients and hoping for the best.
Gluten-free Options:
Swap the self-raising flour for a gluten-free self-raising flour on a like-for-like basis. As gluten-free flours can often be a little drier, you may want to add a little extra water if your batter looks overly thick.
Nut-free Adjustments:
You can omit the walnuts from this recipe to make it nut-free, but it will impact the overall flavour and texture, as well as simply being a Date Loaf Cake. In this instance, I would perhaps also consider adding a little ground cinnamon or mixed spice (pumpkin pie spice) to add some more dimension to the overall flavours.
Dairy-free Swaps:
To make this a dairy-free recipe, simply use a dairy-free block margarine in place of the butter/margarine. Avoid soft, spreadable margarine, as its higher water content may affect the loaf’s texture.
Egg-Free Adaptations:
I haven’t tested this recipe egg-free yet, but like many cake recipes, it should work well with a vegan egg replacer, such as Oggs or Bob’s Red Mill Egg Replacer.
Vegan Substitutions:
Combine the dairy-free and egg-free suggestions above, using dairy-free block margarine and a suitable vegan egg replacer, such as Oggs or Bob’s Red Mill Egg Replacer
Allergy Disclaimer & Resources:
Any advice or suggestions to make recipes “free-from” or vegan are purely suggestions. Please double-check all packaged ingredients individually, taking extra caution when baking for those with allergies or intolerances.
For official guidance on food allergies, please see Food Standards Agency (food.gov.uk) | For more info on coeliac disease, please see Coeliac UK (coeliac.org.uk) | For more info on a vegan diet, please see The Vegan Society (vegansociety.com)
How to Make Date and Walnut Loaf
Date and Walnut Loaf is very simple to make, with no creaming or mixer needed. Follow the step-by-step below, or head to the recipe card at the bottom for the full printable recipe.
- Soften the dates. Place the chopped dates, bicarbonate of soda, margarine/butter and caster sugar in a large bowl. Pour over the boiling water, stir, then leave for about 5 minutes to cool slightly.
- Prepare the tin. Line a 900g (2lb) loaf tin and preheat your oven to 170°C (150°C fan, Gas Mark 3 or 325°F).
- Make the batter. Add the egg and walnuts to the bowl with the cooled date mixture and mix together. Sift in the self-raising flour and gently mix until smooth.
- Bake. Pour into the tin and bake for around 1 hour, until the cake is firm on top, pulling slightly from the sides of the tin, and a skewer comes out clean. Cover loosely with foil if the top browns too quickly.
- Cool. Leave to cool in the tin before removing. It’s lovely once cooled, but even better after a day or two when the top becomes slightly sticky.
Top Tips for Date & Walnut Loaf
- Let the Date Mixture Cool: About 5 minutes of cooling is fine. You want it just warm (not piping hot) before adding the egg, otheriwse you risk scrambled egg!
- Don’t Overmix: Once the flour goes in, mix only until everything is combined and you don’t see any dry flour. Overmixing can make the loaf heavier than it needs to be.
- Use Fresh Walnuts: Walnuts can turn rancid quite quickly, so give them a quick taste or smell before adding them. Old walnuts will spoil the flavour of the whole cake. And bonus tip: store your walnuts in the fridge once opened for maximum freshness.
- Expect a Dense Loaf: Date and Walnut Loaf should be moist and fairly dense, not light and fluffy. That’s part of its traditional texture.
- Watch the Top Near the End: The lower oven temperature usually prevents over-browning, but if the top is getting too dark before the middle is baked, loosely cover it with foil for the remaining bake time.
- Give it a Day (if you can): This loaf cake is lovely fresh once cooled, but I think it’s even better after a day or two, when the flavour deepens, and the top develops that slightly sticky finish.
How to Serve Date and Walnut Loaf
Date and Walnut Loaf is lovely served just as it is, especially once it has had a day or two for the flavour to develop.
I also like it spread with a little butter, particularly with a cup of tea. If you want something sweeter, you could add a simple icing or glaze to the top, but I usually keep this one plain.
Storage, Freezing & Make Ahead
- Storage: Once completely cool, keep Date and Walnut Loaf in an airtight container at room temperature for up to 1 week. Keep it especially well covered once sliced, as the exposed ends will dry out more quickly.
- Freezing: Date and Walnut Loaf freezes well, either whole or in slices. Wrap it well before freezing, then thaw at room temperature while still wrapped. If freezing individual slices, separate them before wrapping so you can take out only what you need.
- Make Ahead: This is a great cake to make in advance. I actually think it’s better after a day or two, when the flavour has had time to develop, and the top becomes slightly sticky. If you can, bake it a couple of days before you plan to serve it and leave it well wrapped or in an airtight container to mature.
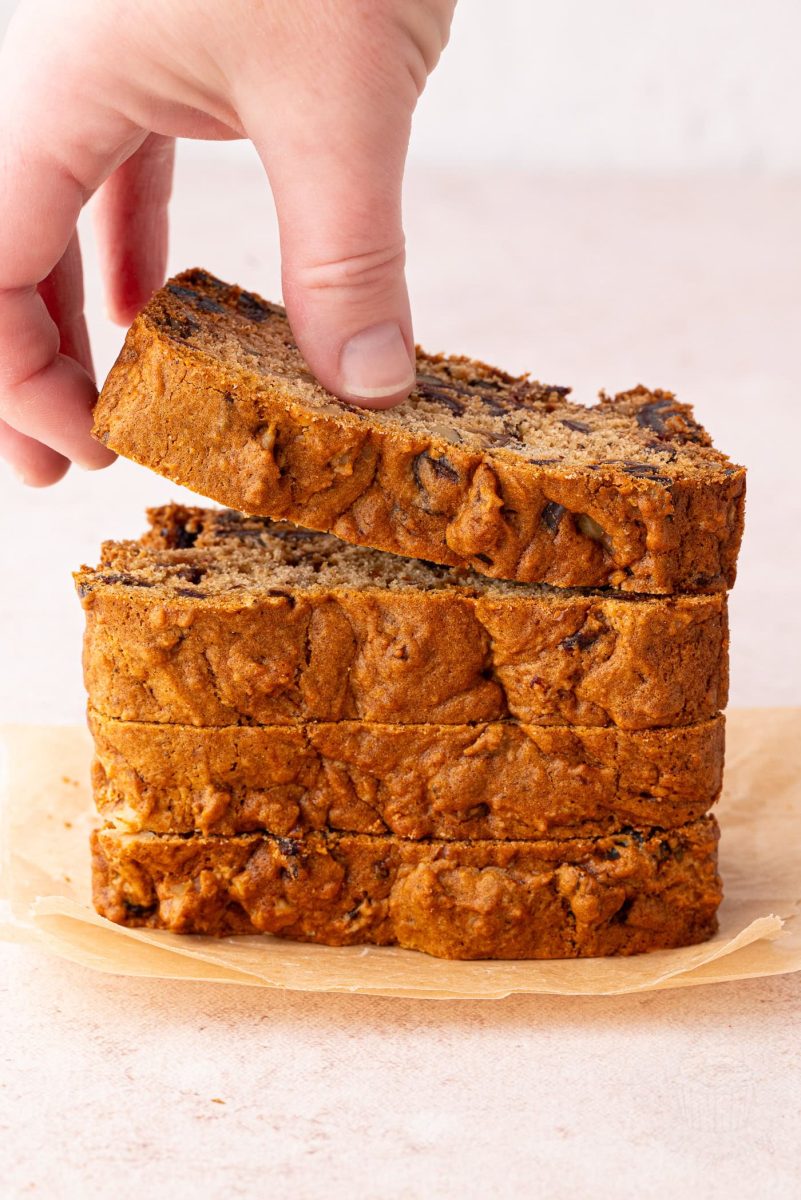
Thank you to Naomi Seiler for creating these photos.
Date & Walnut Loaf FAQs
Yes. In my recipe, I cover the roughly chopped dates with boiling water, along with the bicarbonate of soda, sugar, and margarine/butter. This softens the dates and allows them to absorb some of the sweetness and fat before baking. About 5 minutes is enough before continuing with the recipe.
Date and Walnut Loaf should be fairly dense, rather than light and fluffy like a sponge cake. If yours seems unusually heavy or wet, check that it has baked all the way through – the top should feel firm, the sides should be beginning to pull away from the tin, and a skewer inserted into the centre should come out clean.
A dry Date and Walnut Loaf can be caused by too much flour or overbaking, but the dates themselves can make a difference too. Ready-chopped dates are often tossed in a little rice flour before being packed to stop them from sticking together, which can make the mixture slightly drier. Dates that have been stored for a while and have dried out can also absorb more liquid than usual.
If your date mixture looks noticeably dry after soaking, you can add a little extra boiling water. Go gradually, though, as the amount needed will depend on the dates – it can take a little trial and error to get the balance right. The finished batter should be smooth but not runny.
More Classic Loaf Cakes
If you loved this traditional Date and Walnut Loaf Cake, here are some more of my favourite loaf cake recipes for you to try next:
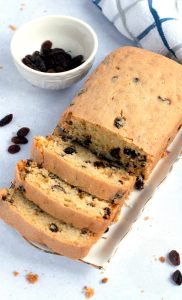
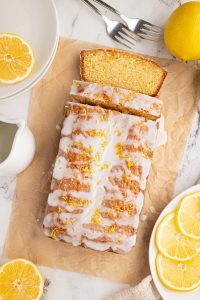
Save this recipe!
Want to save this recipe for later? Pop your email below and come back to it when you’re ready to bake.
Date and Walnut Loaf
INGREDIENTS
- 225 g Dried Pitted Dates (roughly chopped)
- 1 tsp Bicarbonate of Soda
- 85 g Block Margarine or Butter (at room temperature)
- 85 g Caster Sugar
- 120 ml Boiling Water
- 1 Free-range Egg (beaten; at room temperature; see Egg Size note below)
- 225 g Self-raising Flour (see Self-raising Flour note below)
- 85 g Walnuts (roughly chopped)
EQUIPMENT
INSTRUCTIONS
- Place the dates,
bicarbonate of soda , margarine and sugar in a large bowl and pour over the boiling water. Mix to break up the margarine, and then set aside until the boiling water has cooled. - Meanwhile, line a 900g (2lb) loaf tin with
greaseproof paper and preheat your oven to 170°C (150°C for fan-assisted ovens, Gas Mark 3 or 325°F). - Once the mixture has cooled, add the egg and walnuts, mixing through to combine. Sift in the flour and gently mix to create a batter.
- Transfer the batter to your pre-lined tin and bake in your preheated oven for about 1 hour. Keep an eye on your cake toward the end of baking, and if you think it's looking done on top, cover with a piece of
tin foil – this will stop the top from burning while the inside continues to bake. - Remove from the oven and allow to cool completely in the tin.
IMPORTANT NOTE:
All my recipes are developed using a digital scale and the metric system (grams and millilitres). Cup measurements are available as a conversion, but these, unfortunately, won’t always be as accurate. For best results, I always recommend baking with a digital scale.
RECIPE NOTES:
LIKE THIS RECIPE?
Leave a comment and rating below!Originally published in February 2020.