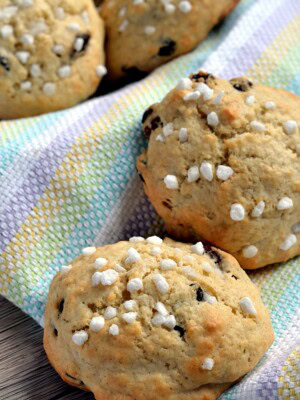
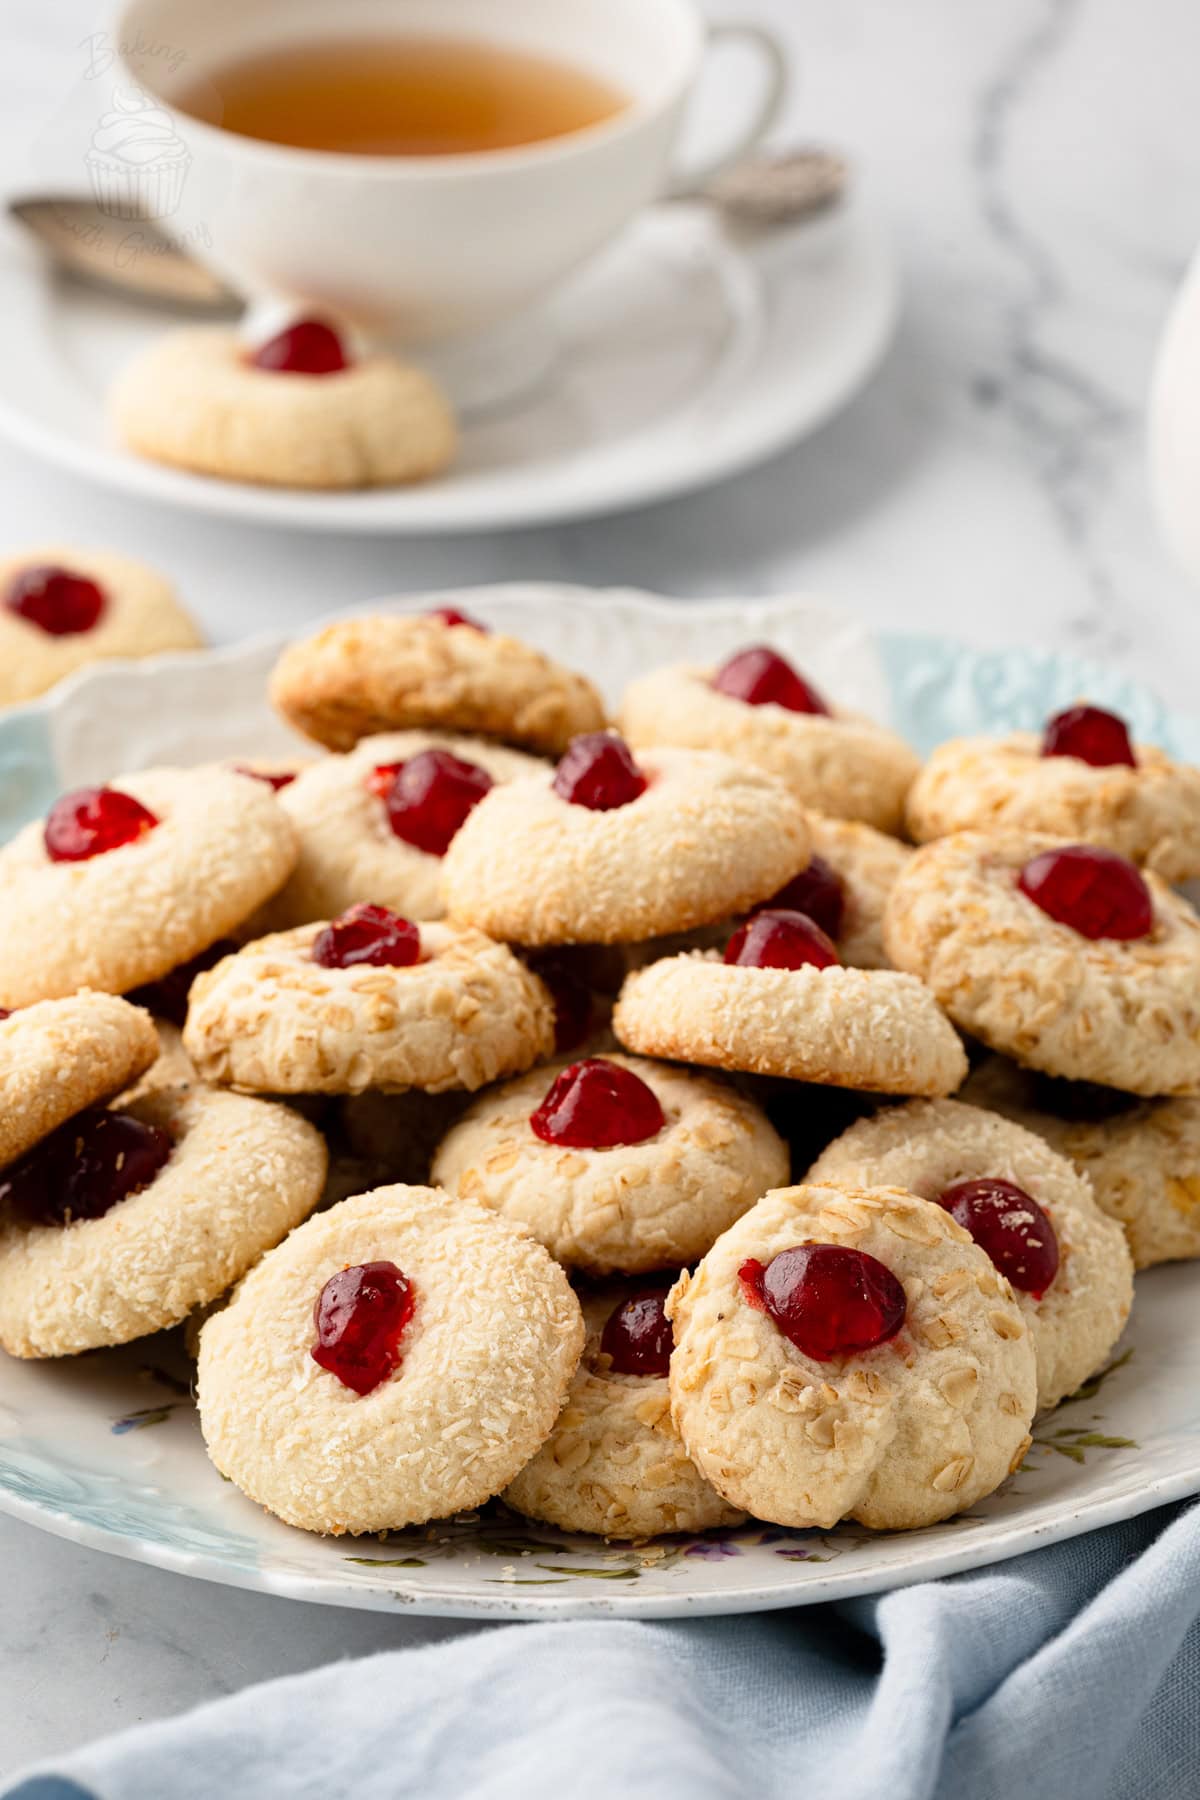
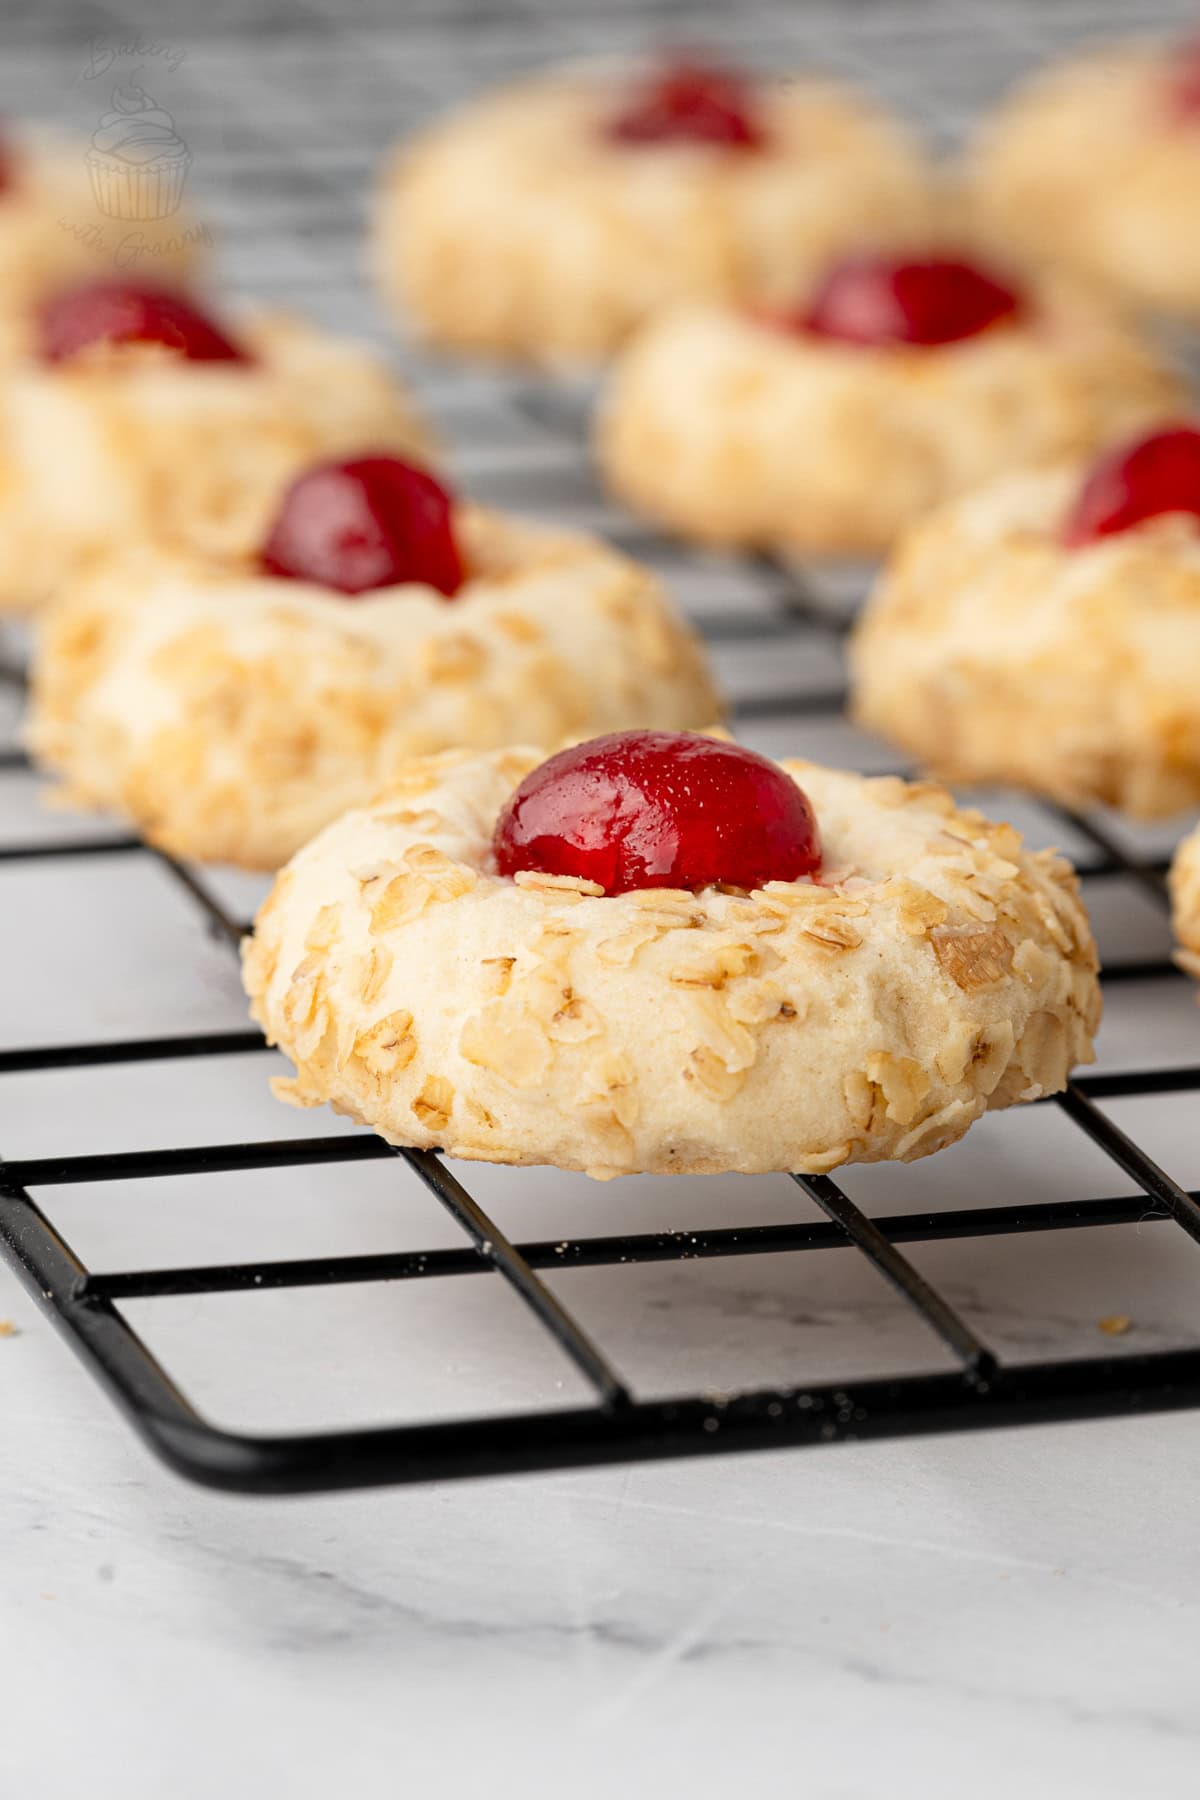
These old-fashioned Melting Moments are crisp on the outside, a little softer in the middle, and deliciously melt-in-the-mouth, with a rich buttery flavour and a classic glacé cherry on top. Inspired by the Be-Ro recipes in my Granny’s cookbook collection, this is my own tried-and-tested version of a proper nostalgic British biscuit.
Melting Moments Recipe Snapshot
- Recipe Type: Traditional Melting Moments.
- Style: Old-fashioned British biscuit.
- Texture: Crisp outside, slightly softer inside and melt-in-the-mouth.
- Flavour: Rich and buttery, with vanilla and a little cherry sweetness on top.
- Difficulty: Easy, great for beginners and kids.
- Prep Time: About 15 minutes.
- Bake Time: 20-22 minutes.
- Makes: About 16 biscuits.
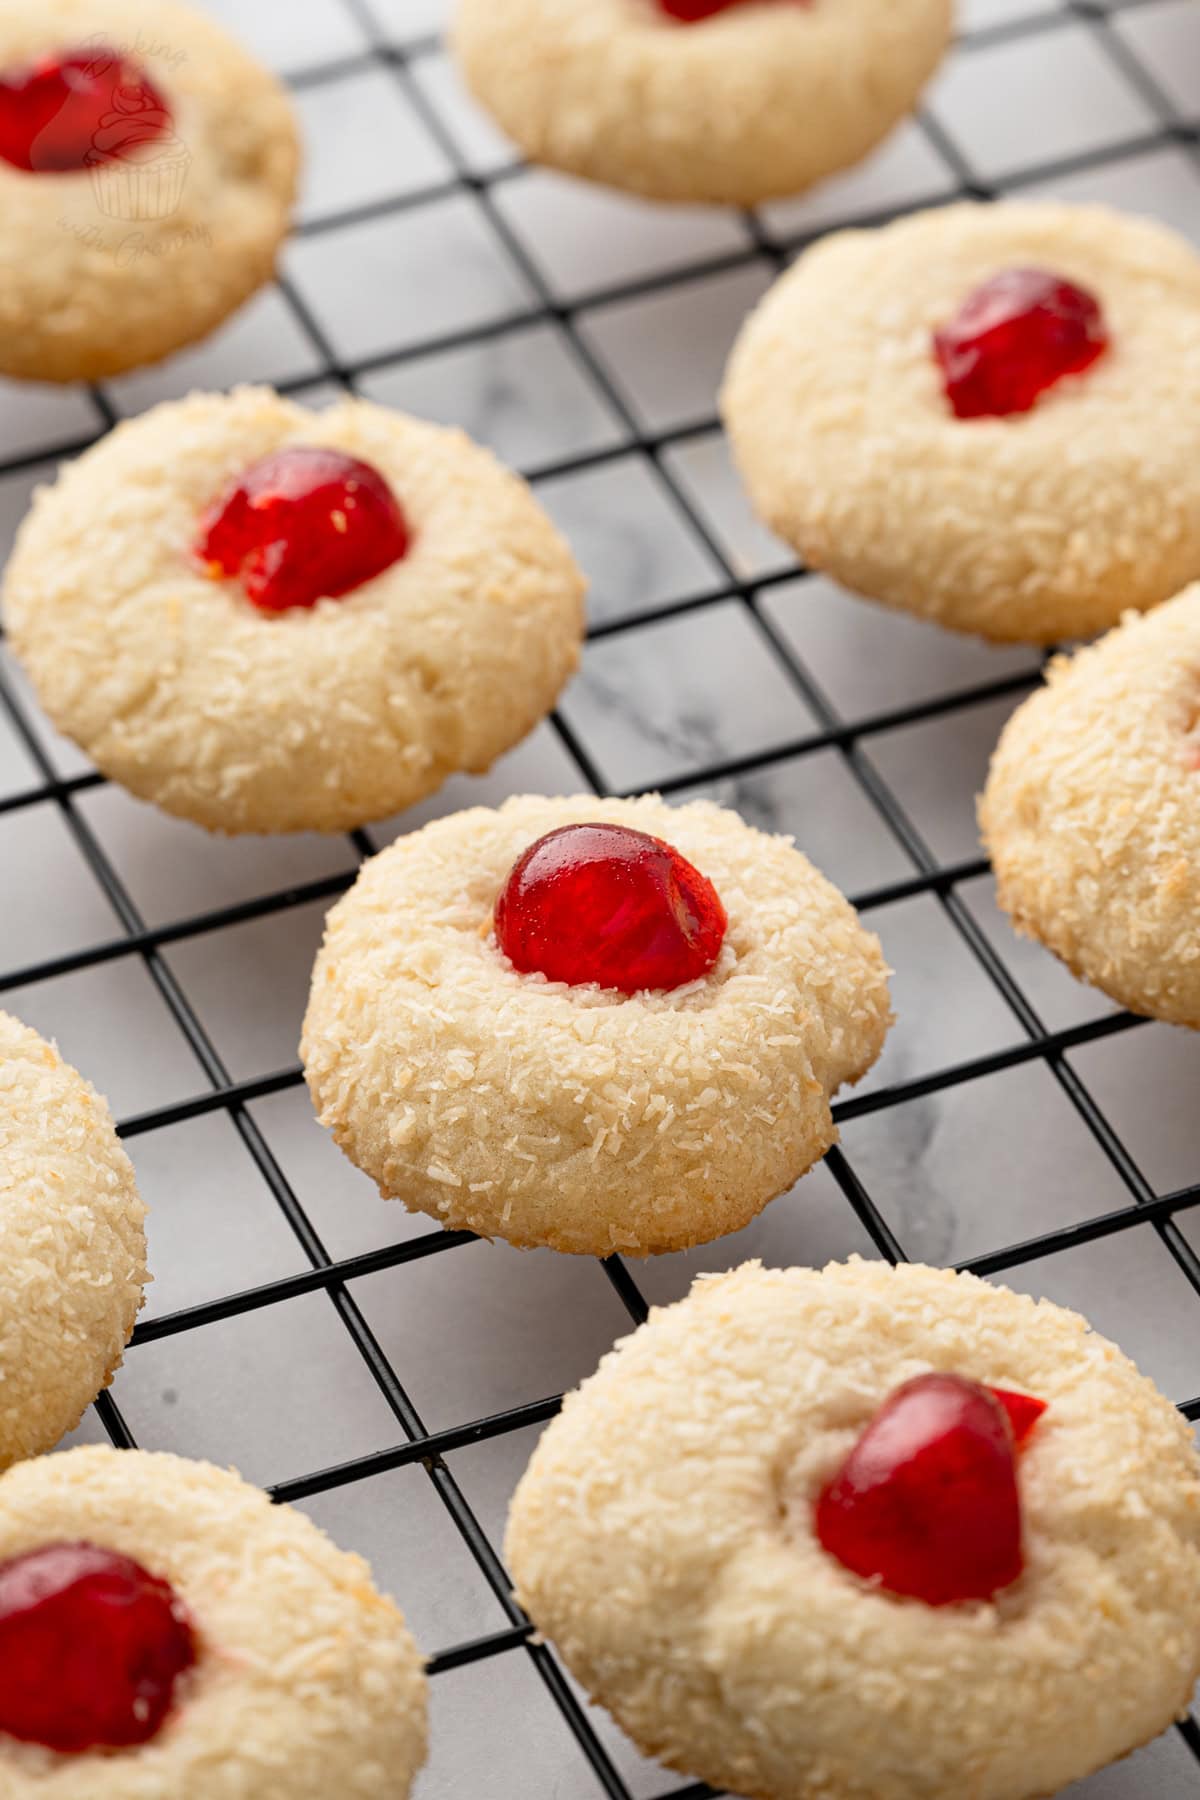
- Coating: Desiccated coconut or porridge oats.
- Topping: Glacé cherry.
- Best Tip: Use damp hands – the dough is soft and slightly sticky.
- Best Eaten: Within 3 days, while the texture is at its best.
Summarise & Save this Recipe on:
What Are Melting Moments?
Melting Moments are an old-fashioned British biscuit with a rich, buttery flavour and a lovely crisp outside with a slightly softer, melt-in-the-mouth middle. The dough is rolled into wee balls, coated in desiccated coconut or oats, then topped with a glacé cherry before baking.
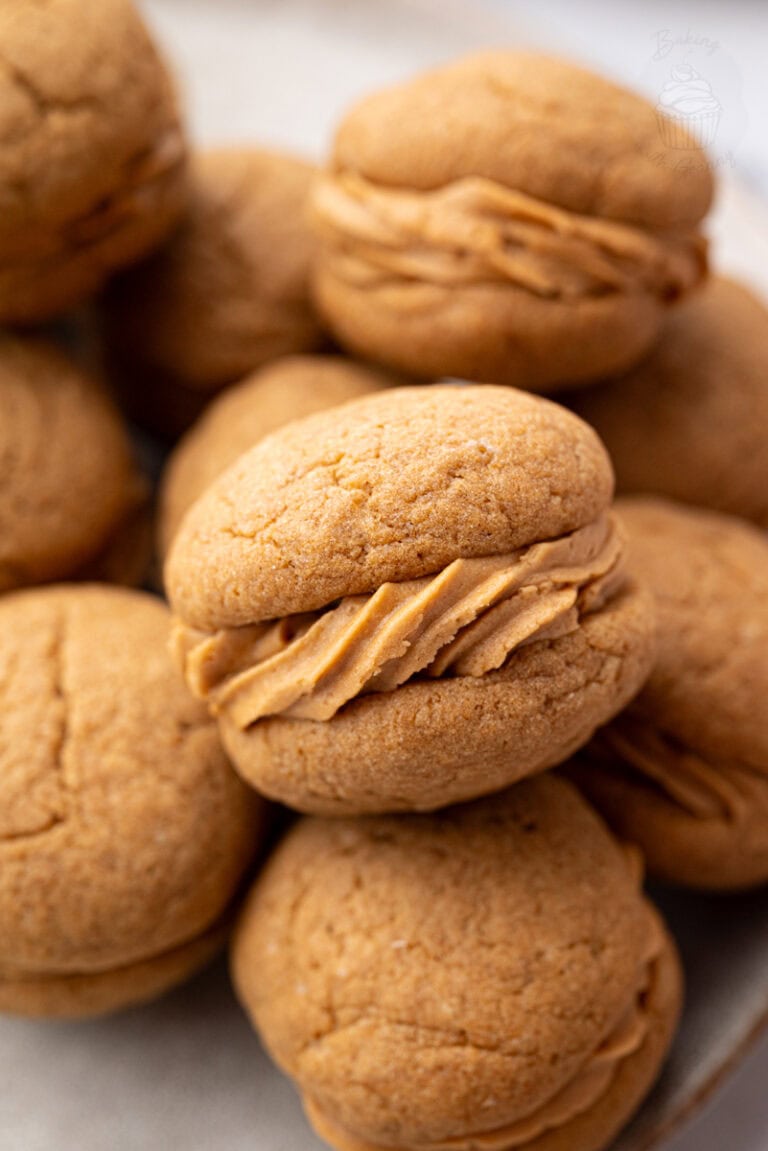
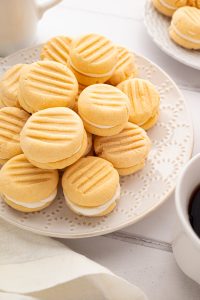
If you’re reading from the US, these are the British kind of biscuits – what you’d usually call cookies – rather than an American biscuit. You might also come across a very different Australian-style Melting Moment, which is usually made from two short, buttery biscuits sandwiched together with buttercream, much more like we’d call a homemade Custard Cream. This recipe is the traditional British style of Melting Moments that I grew up knowing.
These are the sort of easy, nostalgic bake I love the most, much like my traditional Scottish Shortbread and Empire Biscuits – recipes that don’t need lots of fancy ingredients to be really good.
Old-fashioned Melting Moments & Be-Ro
Melting Moments is a recipe I remember popping up all over the place when I was younger – from Home Economics lessons in High School to the old baking books, church recipe books and magazine clippings in my Granny’s cookbook collection.
But they’re probably most strongly associated in my mind with Be-Ro Books. Between my Mum and Granny, I’ve inherited at least half a dozen different editions, and they’re still some of my most favourite baking books to look through. Be-Ro recipes have been passed around British kitchens for generations, and Melting Moments appear in various forms across different editions and old recipe collections.
In fact, another recipe I first came across in my old Be-Ro Books is my Victoria Scones – so if you have a collection of these little books yourself, there’s a good chance that recipe will look familiar too.
My own Melting Moments recipe started with those old-fashioned versions from Granny’s cookbook collection, before I adapted it into the recipe I use today. I first published my version on Baking with Granny in 2017, and it’s had a few little tweaks over the years as I’ve continued making it, as well as taking on some of the feedback I’ve received on my recipe too.
You’ll find old versions made with slightly different quantities and coatings, which I think is part of the fun in recipes like this. Some will use desiccated coconut, others will use oats – both are traditional options. However, I personally prefer coconut for the extra flavour and texture, but either makes a proper old-fashioned Melting Moment.
Key Ingredients
See the recipe card for a full ingredients list, required quantities and cup conversions.
Substitutions & Additions
Coconut or Oats: Both are traditional coatings for Melting Moments – it’s just a case of which you prefer. I like using desiccated coconut for the extra flavour and texture, but oats are just as good if that’s what you prefer. If using oats, ordinary porridge oats (rolled oats) work best. They’re the same kind I use in my soft and chewy Flapjack recipe and Oatcakes recipe, while the coconut fans might also enjoy my Jam & Coconut School Cake and Scottish Snowballs recipe.
Cornflakes: Crushed cornflakes are another old-school option and give the biscuits a slightly crunchier coating. And if you’re team cornflakes, you might also enjoy my Cornflake Tart recipe and Honey Slice.
Vanilla Extract: Vanilla is the classic flavour, but you could swap it for a little almond or lemon extract, or even add some finely grated lemon zest if you want to change things up a bit. Alternatively, you can leave the biscuits plain if you prefer a more subtle flavour.
Glacé Cherry Alternatives: A glacé cherry is part of the classic Melting Moments look, but you can leave it off completely if you’re not a fan. Or a raisin, a small piece of dried apricot or any other dried fruit would also work well in its place.
Looking for dairy-free, gluten-free or vegan adaptations? See the Free-from & Vegan section below.
Free-from & Vegan
Amy recommends: If you regularly need to adapt baking recipes for gluten-free, dairy-free, egg-free or vegan diets, I highly recommend The Elements of Baking by Katarina Cermelj, creator of The Loopy Whisk. It’s a brilliant resource for understanding how substitutions work, rather than simply swapping ingredients and hoping for the best.
Gluten-free Options:
To make these gluten-free Melting Moments, you can swap the flour like-for-like with gluten-free self-raising flour. Some gluten-free flour can be a little drier, so you may find you need slightly less flour to reach the same soft, slightly sticky dough. And if you’re coating the biscuits in oats, make sure you use oats labelled gluten-free too.
Nut-free Adjustments:
This recipe contains no nuts, but as always, be sure to double-check the allergen lists for your individual ingredients.
Dairy-free Swaps:
Use a dairy-free block margarine in place of the butter/margarine. Avoid soft, spreadable margarine, as the higher water content can cause the dough to be too soft and the biscuits to spread too much.
Egg-Free Adaptations:
I haven’t yet tested this recipe egg-free, but as it only uses one egg in the dough, it should work just fine with a vegan egg replacer, such as Oggs or Bob’s Red Mill Egg Replacer.
Vegan Substitutions:
Use a dairy-free block margarine together with an egg replacer. Also be sure to check that your glacé cherries and any other toppings you use are suitable for a vegan diet too.
Allergy Disclaimer & Resources:
Any advice or suggestions to make recipes “free-from” or vegan are purely suggestions. Please double-check all packaged ingredients individually, taking extra caution when baking for those with allergies or intolerances.
For official guidance on food allergies, please see Food Standards Agency (food.gov.uk) | For more info on coeliac disease, please see Coeliac UK (coeliac.org.uk) | For more info on a vegan diet, please see The Vegan Society (vegansociety.com)
How to Make Melting Moments
Melting Moments are really simple to make, but the dough is quite soft and sticky, so damp hands make shaping them much easier. Follow the step-by-step below, or head to the recipe card at the bottom for the full printable recipe.
- Prepare the trays. Preheat your oven to 180°C (160°C fan, Gas Mark 4 or 350°F) and line a couple of baking trays with greaseproof paper.
- Cream the margarine/butter and sugar. Cream block margarine/butter and caster sugar together until light and fluffy. Add the egg and vanilla, then beat again until combined.
- Add the flour. Sift in the self-raising flour and mix until everything comes together into a soft, slightly sticky dough.
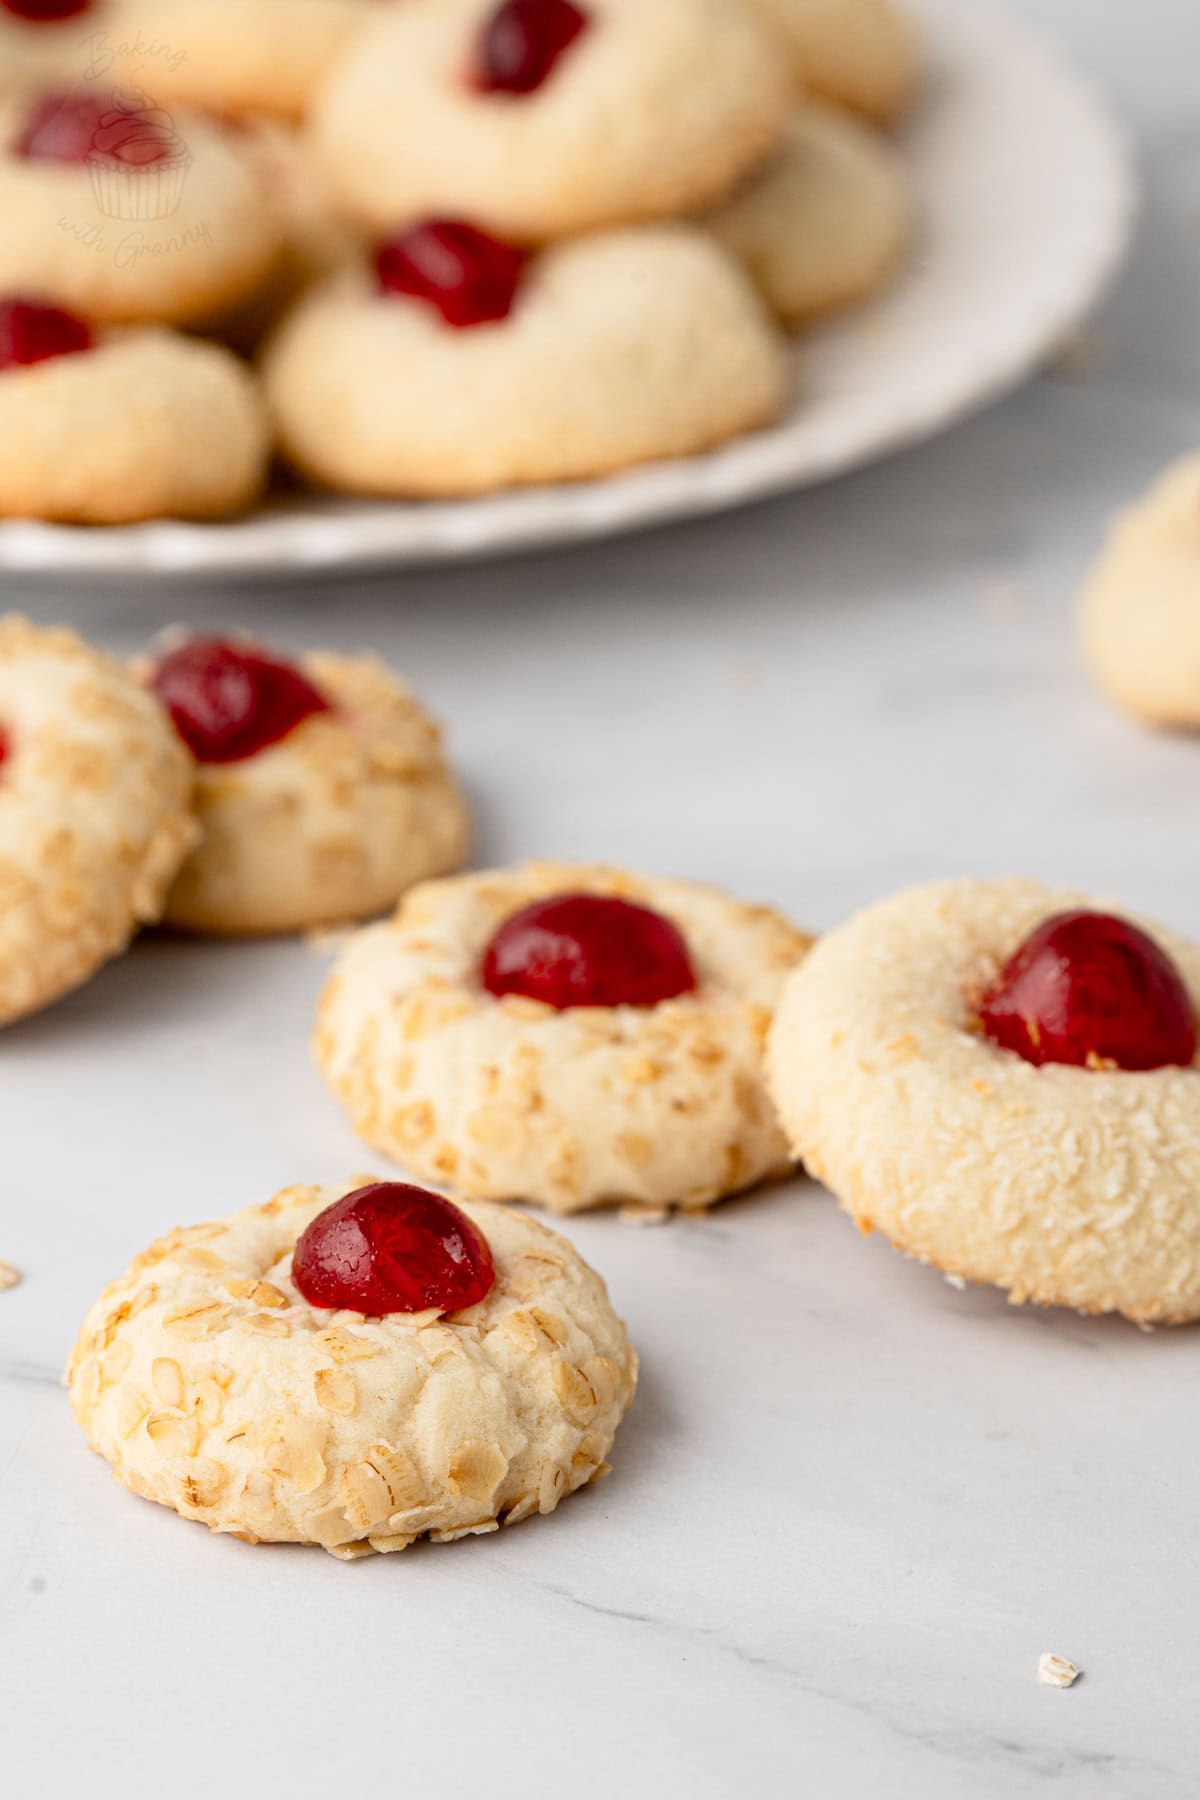
- Shape and coat. With damp hands, take a heaped teaspoon of dough at a time and roll it into a ball. Roll each ball in the desiccated coconut or oats until coated, re-dampening your hands as needed.
- Flatten and add the cherries. Place the coated balls onto the prepared trays, leaving plenty of room between them as they will spread during baking. Gently press the tops down slightly so they form thick little discs rather than perfect balls, then top each one with a piece of glacé cherry.
- Bake. Bake for 20-22 minutes, until the biscuits have spread and turned golden. Don’t worry if they still feel soft when they first come out of the oven – they will firm up as they cool.
- Cool. Leave the Melting Moments on the baking trays until they are cool enough to touch, then transfer them to a wire cooling rack to cool completely.
Top Tips for perfect Melting Moments
- Use Block Margarine or Butter: Soft baking margarine has a higher water content and can make the dough too soft and the biscuits spread too much. For biscuits like these, stick with a block margarine or unsalted butter.
- Don’t Make the Dough too Dry: The finished dough should be soft and slightly sticky. So resist the temptation to keep adding flour simply because it sticks to your hands – damp hands are the trick for stick-free shaping it.
- Keep Your Hands Damp: Wet your hands, shake off the excess so they’re only damp, then roll the dough. You’ll probably need to re-dampen them a few times as you work.
- Leave Plenty of Room Between Biscuits: Melting Moments spread quite a bit in the oven (roughly doubling in width), so make sure you give them enough space on the baking tray.
- Use Similar Amount of Dough for Each Biscuit: A heaped teaspoon is about right. Keeping them roughly the same size means they should bake at the same rate. If you want to be extra precise, you can weigh the dough and divide it by 16 for perfectly even biscuits.
- Don’t Judge Them While They’re Hot: The biscuits will still feel soft when they first come out of the oven. Leave them on the tray until they’re cool enough to touch before moving them to a wire rack to cool completely.
Storage & Freezing
- Storage: Melting Moments are best eaten within about 3 days, while they still have that lovely crisp outside and slightly softer middle. Keep them in an airtight container at room temperature. Like most homemade biscuits, the texture will gradually soften and change the longer they’re stored.
- Freezing: These are best frozen before baking. Shape and coat the biscuits as usual, flatten them slightly and add the glacé cherry, then freeze them in a single layer on a tray. Once solid, transfer them to a freezer bag or airtight container. Thaw them before baking, then bake as normal.
With thanks to Naomi Seiler for creating these photos.
Melting Moments FAQs
Melting Moments appear in various old Be-Ro recipe books, and that’s also where I too first came across them in my Granny’s cookbook collection. My recipe started with a combo of those old-fashioned versions but has been adapted over the years, so this isn’t intended to be exactly the same as one particular Be-Ro edition.
The name suits their texture perfectly. A good Melting Moment should have a lightly crisp outside with a softer, crumbly middle that almost melts in your mouth as you eat it.
The most common culprit is using a soft or spreadable margarine instead of block margarine or butter. Soft spreads contain more water and can make biscuit dough spread excessively. The fat should also be softened enough to cream but not warm or partly melted. I go into more detail about this common baking problem in my Margarine Ingredients Guide.
Yes. Desiccated coconut and oats are both traditional options, and I’ve made them successfully with both. Coconut is my personal favourite for the extra flavour and texture, but ordinary porridge oats make lovely Melting Moments too.
No, not usually. Traditional British Melting Moments are individual biscuits commonly coated in coconut or oats and topped with a glacé cherry. The Australian version is generally a much shorter, buttery biscuit made with cornflour and often sandwiched together with buttercream – much more like my Custard Creams recipe.
More Traditional British Biscuits
If you loved these traditional Melting Moments, here are some more of my favourite British biscuit recipes for you to try next:
Save this recipe!
Want to save this recipe for later? Pop your email below and come back to it when you’re ready to bake.

Melting Moments
INGREDIENTS
- 100 g Caster Sugar
- 150 g Block Margarine or Butter (at room temperature)
- 1 Free-range Egg (at room temperature; see Egg Size note below)
- 1 tsp Vanilla Extract
- 200 g Self-raising Flour (see Self-raising Flour note below)
- 50 g Desiccated Coconut or Porridge Oats (either or both)
- Glacé Cherries (halved or quartered)
EQUIPMENT
INSTRUCTIONS
- Preheat your oven to 180°C (or 160°C for a fan-assisted oven, Gas Mark 4 or 350°F) and line a couple of
baking trays withgreaseproof paper . - In a large bowl, cream together the sugar and butter/margarine until light and fluffy in both colour and texture. Add the vanilla and egg, then beat together until combined.100 g Caster Sugar; 150 g Block Margarine or Butter; 1 Free-range Egg; 1 tsp Vanilla Extract
- Sift in the flour before mixing together until combined, and you have a dough.200 g Self-raising Flour
- Take a heaped teaspoon-sized ball of dough and, with wet hands, roll each piece into a ball before rolling it in the coconut or oats.50 g Desiccated Coconut or Porridge Oats
- Place each coated ball onto your pre-lined
baking trays , leaving some space between them, and gently press each down a little with your fingers. Top each squished ball with a small piece of cherry.Glacé Cherries - Bake in your preheated oven for 20-22 minutes, until the biscuits have spread and turned golden.
- Remove from the oven and leave on the
baking trays until cool enough to touch before transferring to a wire cooling rack to cool completely.
IMPORTANT NOTE:
All my recipes are developed using a digital scale and the metric system (grams and millilitres). Cup measurements are available as a conversion, but these, unfortunately, won’t always be as accurate. For best results, I always recommend baking with a digital scale.
RECIPE NOTES:
LIKE THIS RECIPE?
Leave a comment and rating below!Originally published in May 2017.