
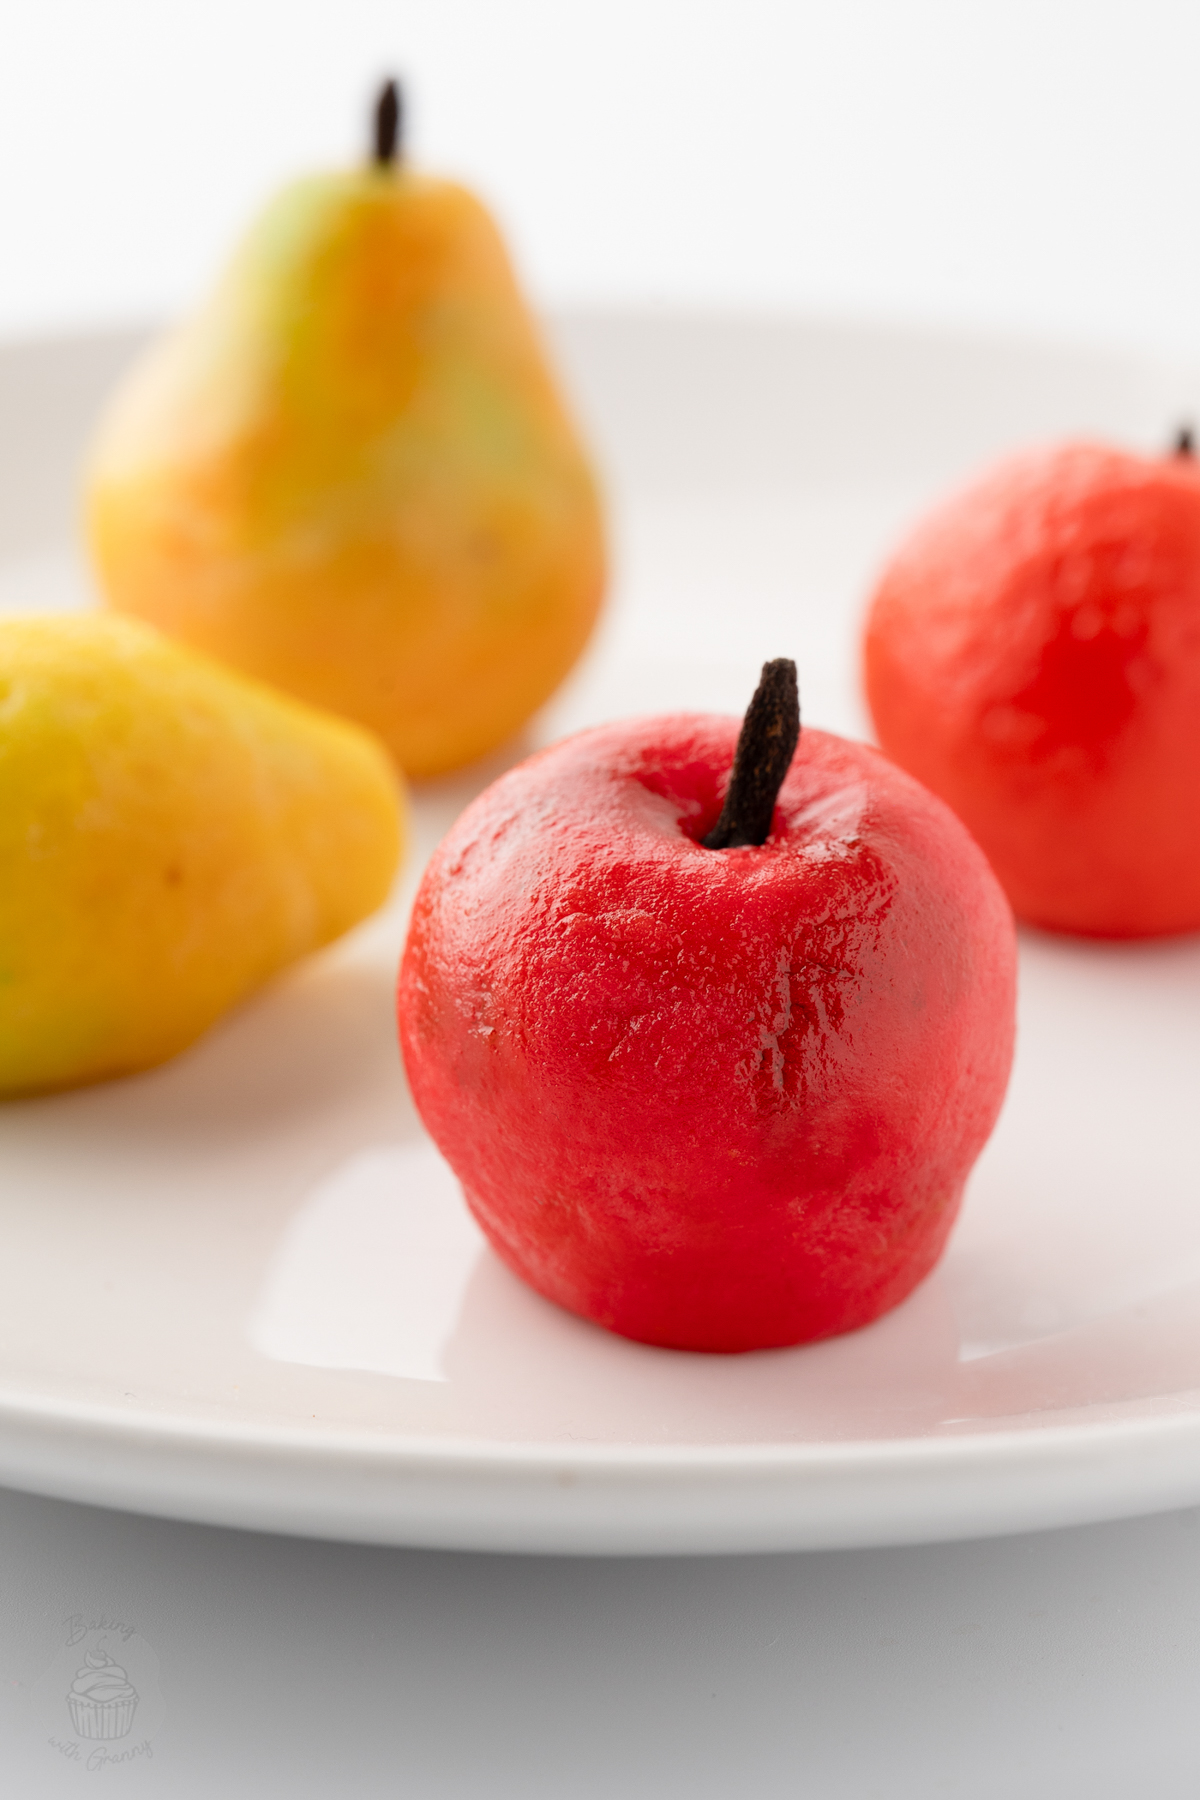
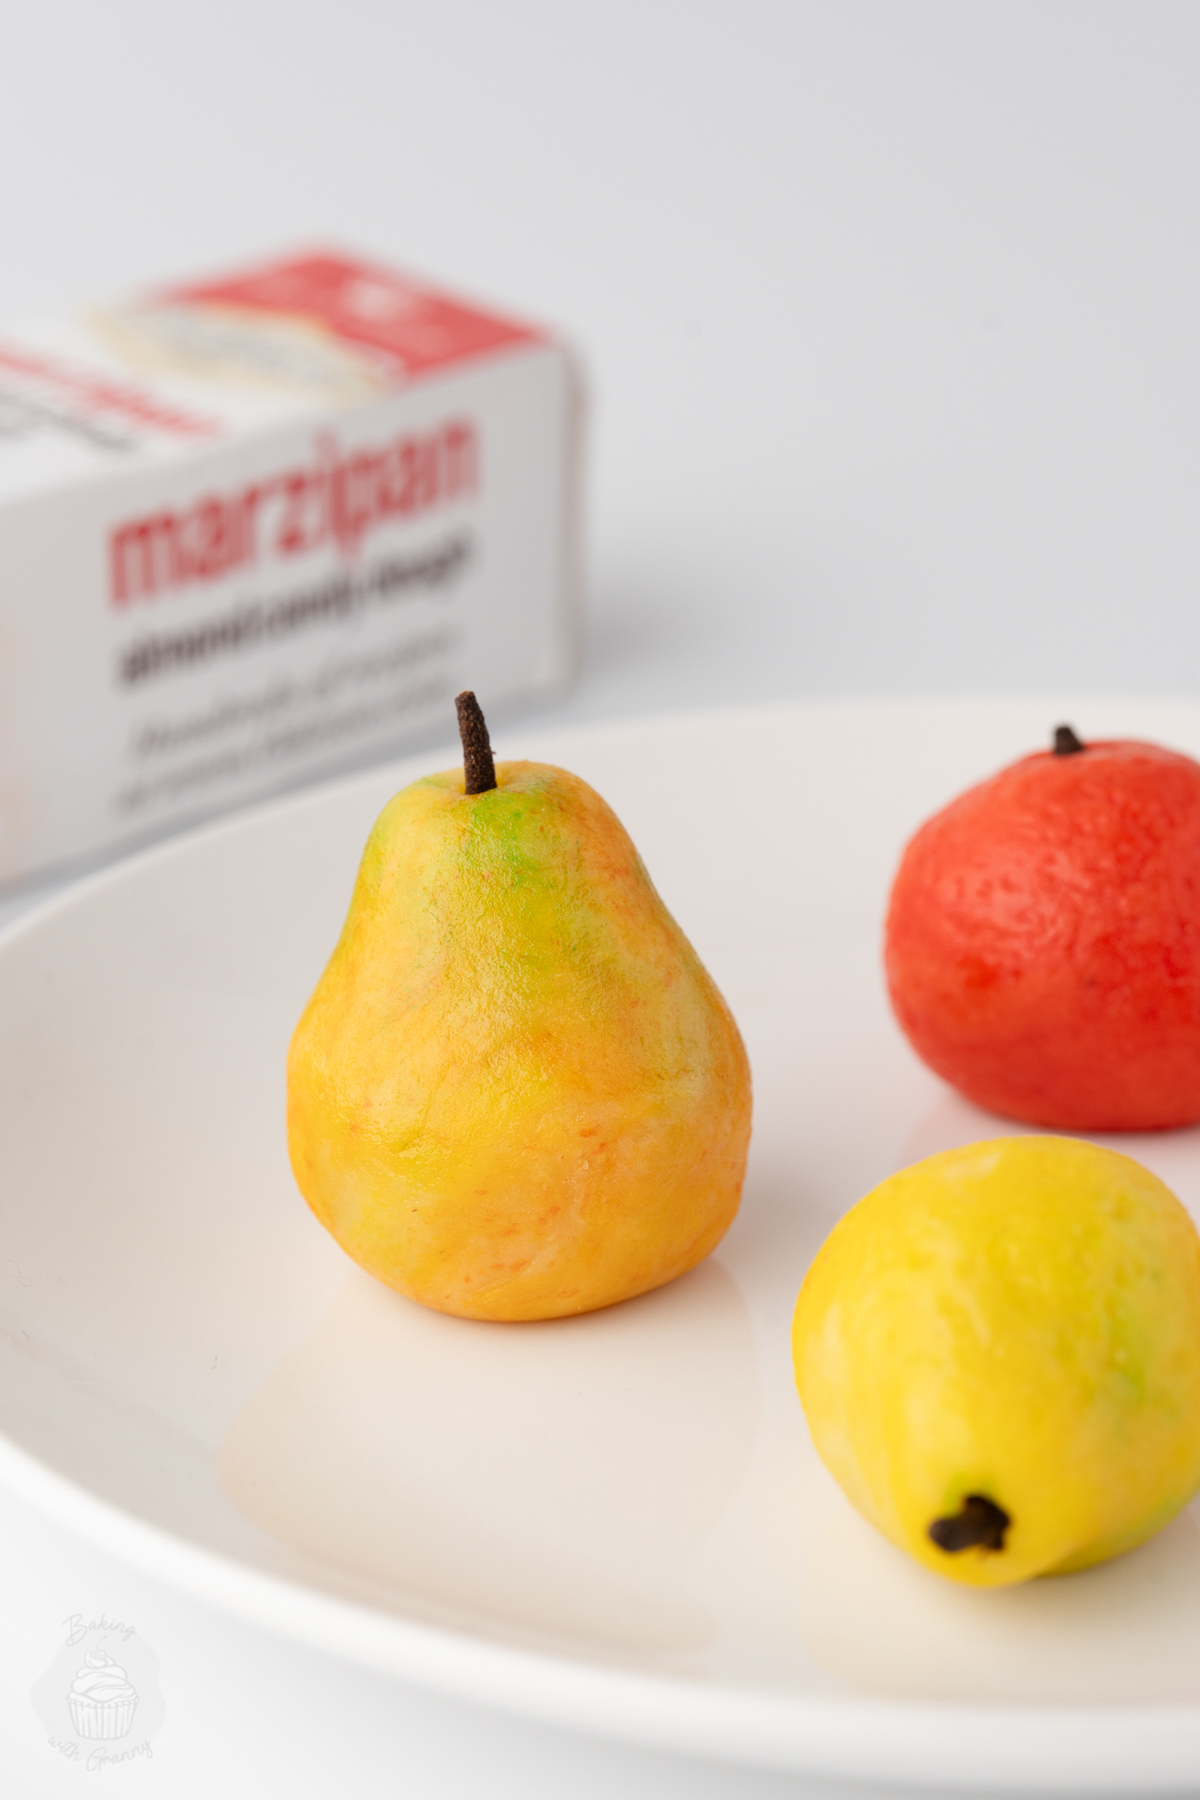
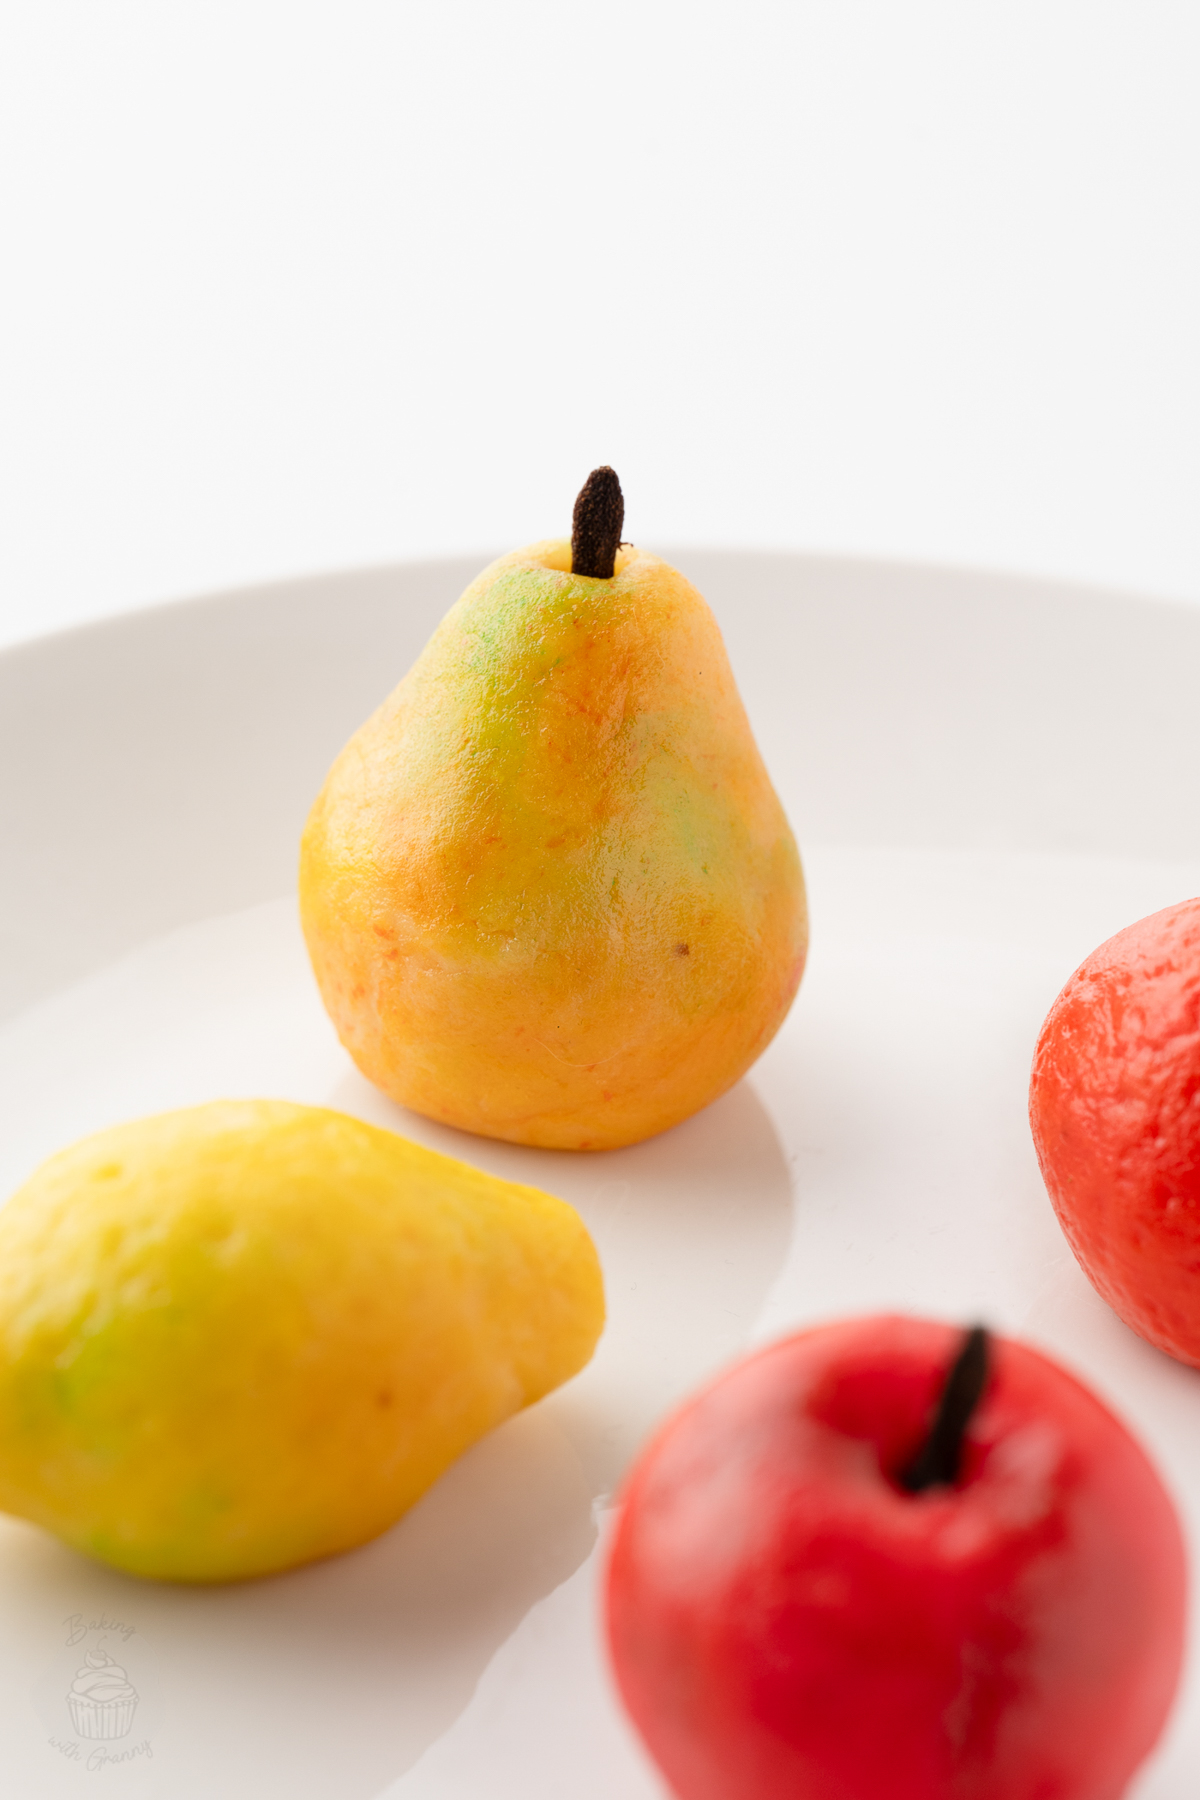
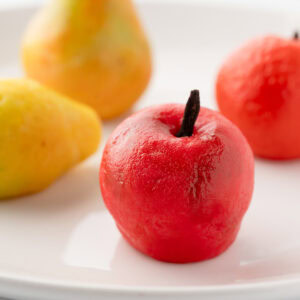
A little bit of marzipan, a wee bit of food colouring and some patience are all you need to make your own homemade Marzipan Fruits. I’ll show you how to shape apples, pears, oranges and lemons, with a few extra details if you want to make them look more realistic. A traditional Christmas treat which can also be used to decorate cakes and bakes.
Marzipan Fruits Recipe Snapshot
- Recipe: Traditional marzipan sweets, coloured and shaped to look like miniature fruits.
- Makes: Approximately 16-18 fruits from 200g of marzipan.
- Prep Time: Around 1 hour, depending on how much detail you add.
- Drying Time: 12-24 hours.
- Baking: None required.
- Key Ingredients: Ready-made marzipan, gel food colouring and cloves, with optional powdered food colouring for extra detail.
- Fruit Shapes: Apples, pears, oranges and lemons.
- Difficulty: Simple enough for beginners, with the option to spend more time adding extra realistic details.
Summarise & Save this Recipe on:
What are Marzipan Fruits?
Marzipan Fruits are traditional little sweets made from marzipan, coloured and shaped to resemble miniature pieces of fruit. Despite their name and appearance, there’s actually no fruit involved – just the sweet almond paste, food colouring and a few finishing touches to make them look like little pieces of fruit.
They’re particularly popular at Christmas here in the UK, enjoyed either as sweets on their own or used as edible cake decorations. You might recognise them from the top of my traditional Tunis Cake recipe, where a selection of colourful marzipan fruits sits on top of a thick layer of chocolate – delicious!
Marzipan is also used in plenty of other traditional bakes, from Battenberg Cake and Simnel Cake to the classic Christmas Cake.
From Home Economics to Christmas Traditions
Just like Rock Buns, I first made Marzipan Fruits in my Home Economics class at high school, where I actually got told off for spending too much time on the details and making them look super realistic! These days there’s no Ms Ireland telling me to hurry up, so I can spend as long as I like making my little fruits look as perfect as possible.
My Granny also absolutely loved Marzipan Fruits and always had to have some at Christmas. The funny thing is, I don’t actually like the taste of marzipan myself! But I’ve always enjoyed making them, and there’s something quite satisfying about turning a lump of marzipan into something that looks like a real piece of fruit.
And if you’re putting together some homemade Christmas gifts, you could package up a few Marzipan Fruits alongside my Christmas Truffles or Chocolate and Orange Shortbread.
Key Ingredients
You only need a handful of ingredients to make Marzipan Fruits, and most of the fun comes from shaping and decorating them!
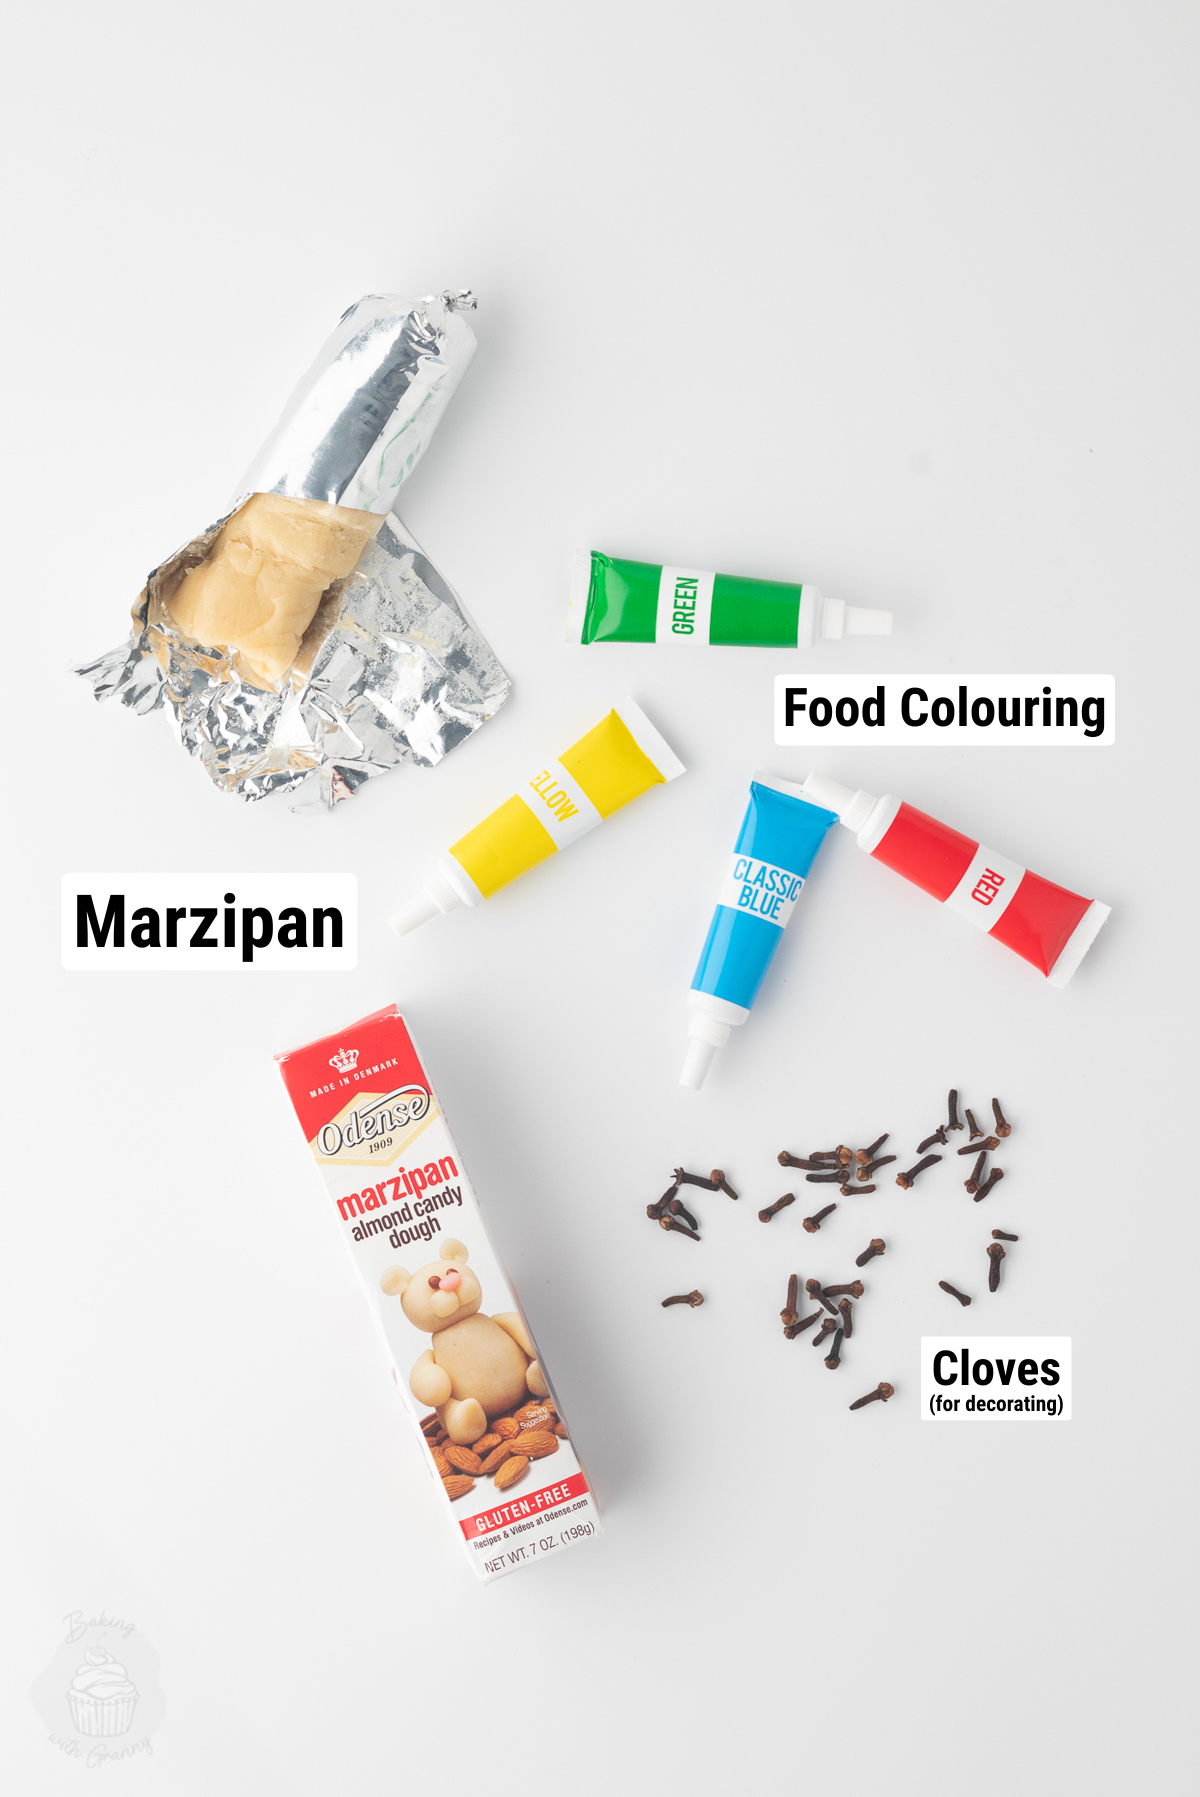
See the recipe card for a full ingredients list, required quantities and cup conversions.
Need cups, a different batch size or an ingredient swap?
Head to the recipe card for US measurements and adjustable ingredient quantities. For advice on ingredients and suitable substitutions, check the key ingredients and substitutions sections.
Substitutions & Additions
Fruit Flavourings: Traditionally, Marzipan Fruits taste simply of marzipan, regardless of which fruit they’re shaped like. But if you’d like to give them a fruity flavour too, you can add a little lemon or orange flavouring to the marzipan. Add a small amount at a time, just to avoid making the marzipan too sticky.
Different Fruits: I’ve included instructions for apples, pears, oranges and lemons, but you can experiment with making other fruits too. Once you’ve got the hang of colouring and shaping the marzipan, there’s plenty of room to get very creative!
Looking for dairy-free, gluten-free or vegan adaptations? See the Free-from & Vegan section below.
Free-from & Vegan
Amy recommends: If you regularly need to adapt baking recipes for gluten-free, dairy-free, egg-free or vegan diets, I highly recommend The Elements of Baking by Katarina Cermelj, creator of The Loopy Whisk. It’s a brilliant resource for understanding how substitutions work, rather than simply swapping ingredients and hoping for the best.
Gluten-free Options:
Most shop-bought marzipan is naturally gluten-free, so no adjustments should be necessary. Just check the packaging of your marzipan and decorations to be sure.
Nut-free Adjustments:
As marzipan is made from almonds, it’s not suitable for anyone with a nut allergy. However, you can use ready-made fondant icing instead, colouring and shaping it in much the same way. They won’t technically be Marzipan Fruits, but they’ll look just as lovely! If you’d like to recreate the almond flavour, you could add a little nut-free almond flavouring, such as Foodie Flavours or Badia. Always double-check allergen information, particularly when making these for someone with an allergy.
Dairy-free Swaps:
Most ready-made marzipan is dairy-free, but it’s worth checking the ingredients, as recipes can vary between brands.
Egg-Free Adaptations:
Most ready-made marzipan is egg-free, but it’s worth checking the ingredients, as recipes can vary between brands.
Vegan Substitutions:
Marzipan is usually suitable for vegans – just make sure your chosen marzipan and food colourings are vegan-friendly, as some varieties may contain animal-derived ingredients.
Allergy Disclaimer & Resources:
Any advice or suggestions to make recipes “free-from” or vegan are purely suggestions. Please double-check all packaged ingredients individually, taking extra caution when baking for those with allergies or intolerances.
For official guidance on food allergies, please see Food Standards Agency (food.gov.uk) | For more info on coeliac disease, please see Coeliac UK (coeliac.org.uk) | For more info on a vegan diet, please see The Vegan Society (vegansociety.com)
How to Make Marzipan Fruits
Making homemade Marzipan Fruits is mostly about shaping and colouring your marzipan. But there are a few simple tricks to make each fruit look more realistic – I’ll show you how to make apples, oranges, pears and lemons, but you can make as many or as few of each as you like.
Follow the step-by-step instructions below, or head to the recipe card at the bottom of the page for the full printable recipe.
Preparing and Colouring the Marzipan
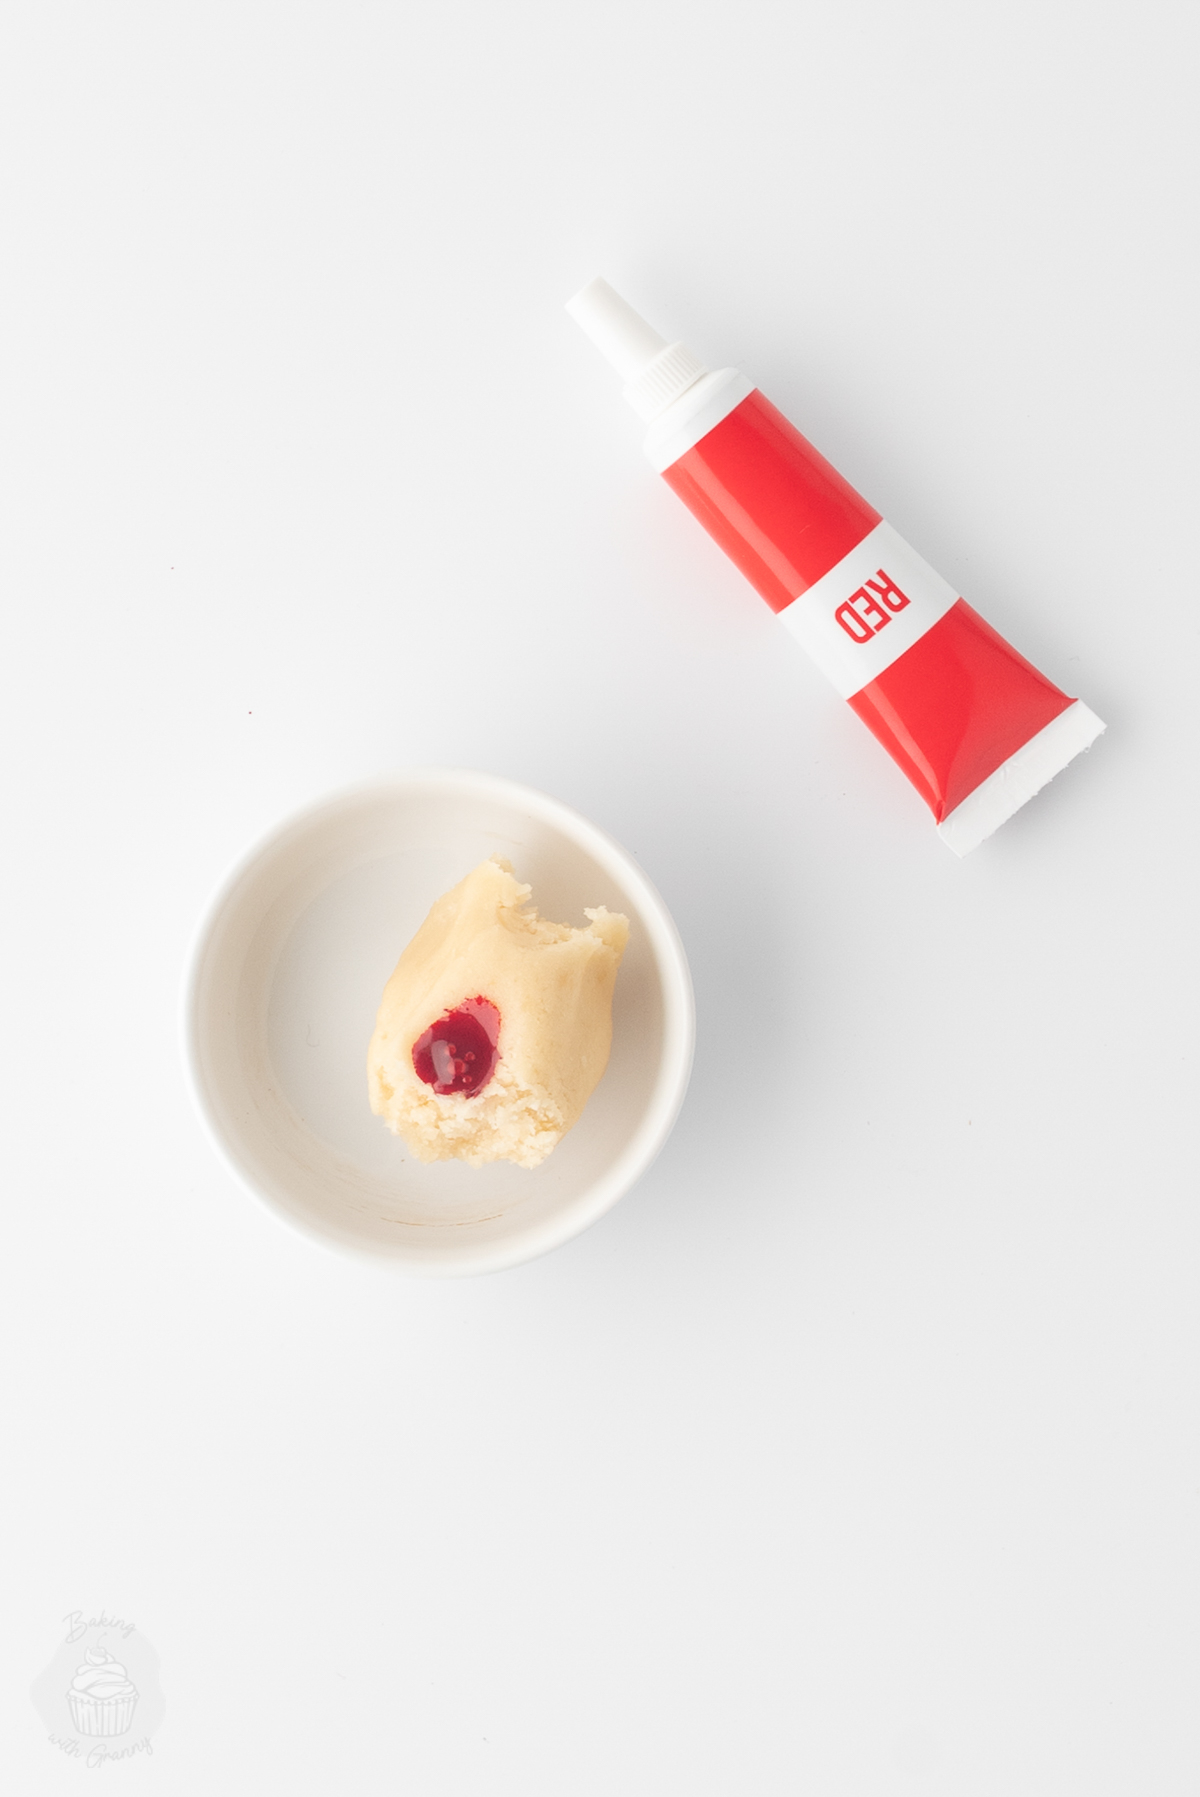
- Colour the marzipan: Take a small piece of marzipan and add a little food colouring. Knead it through until evenly distributed, adding more if needed.
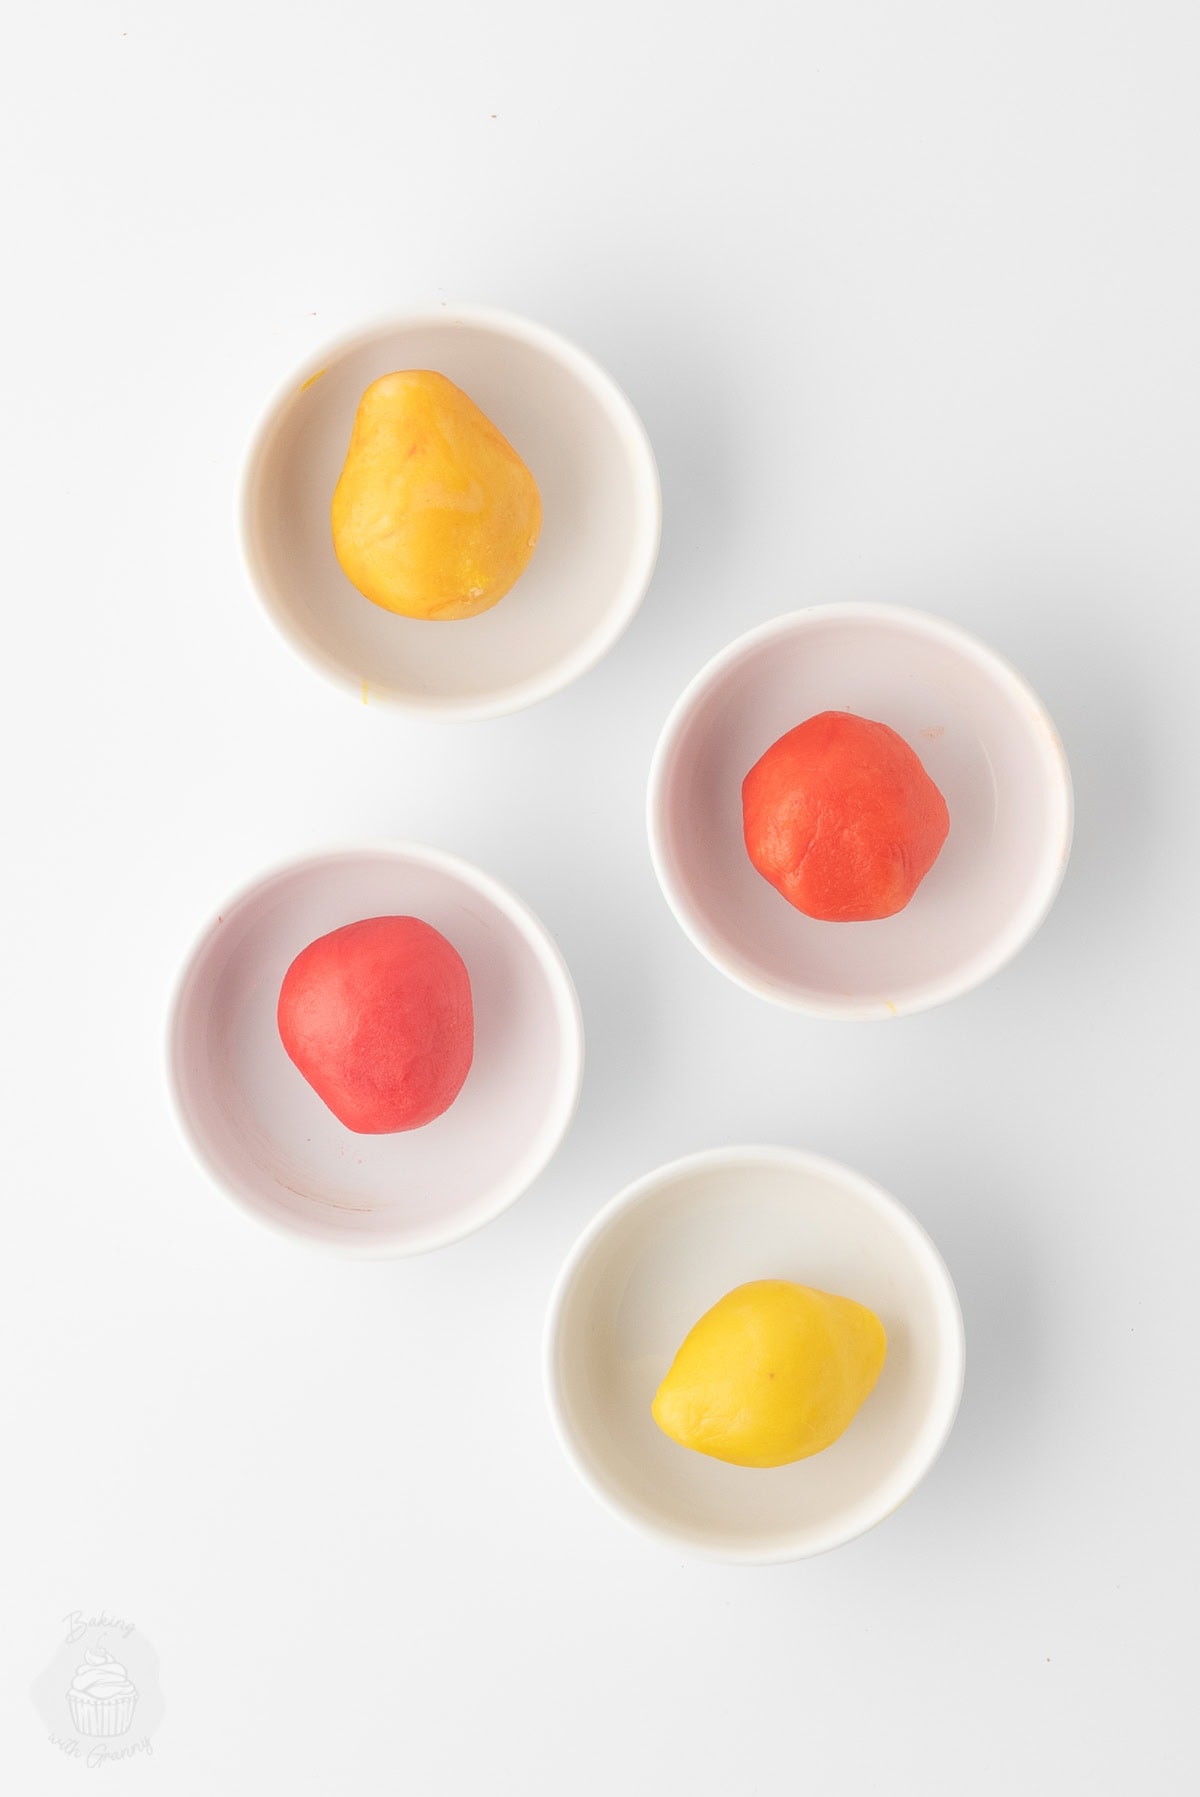
- Prepare your colours: Repeat with the remaining marzipan, making whichever colours you’ll need for your chosen fruits.
Shaping the Marzipan Fruits
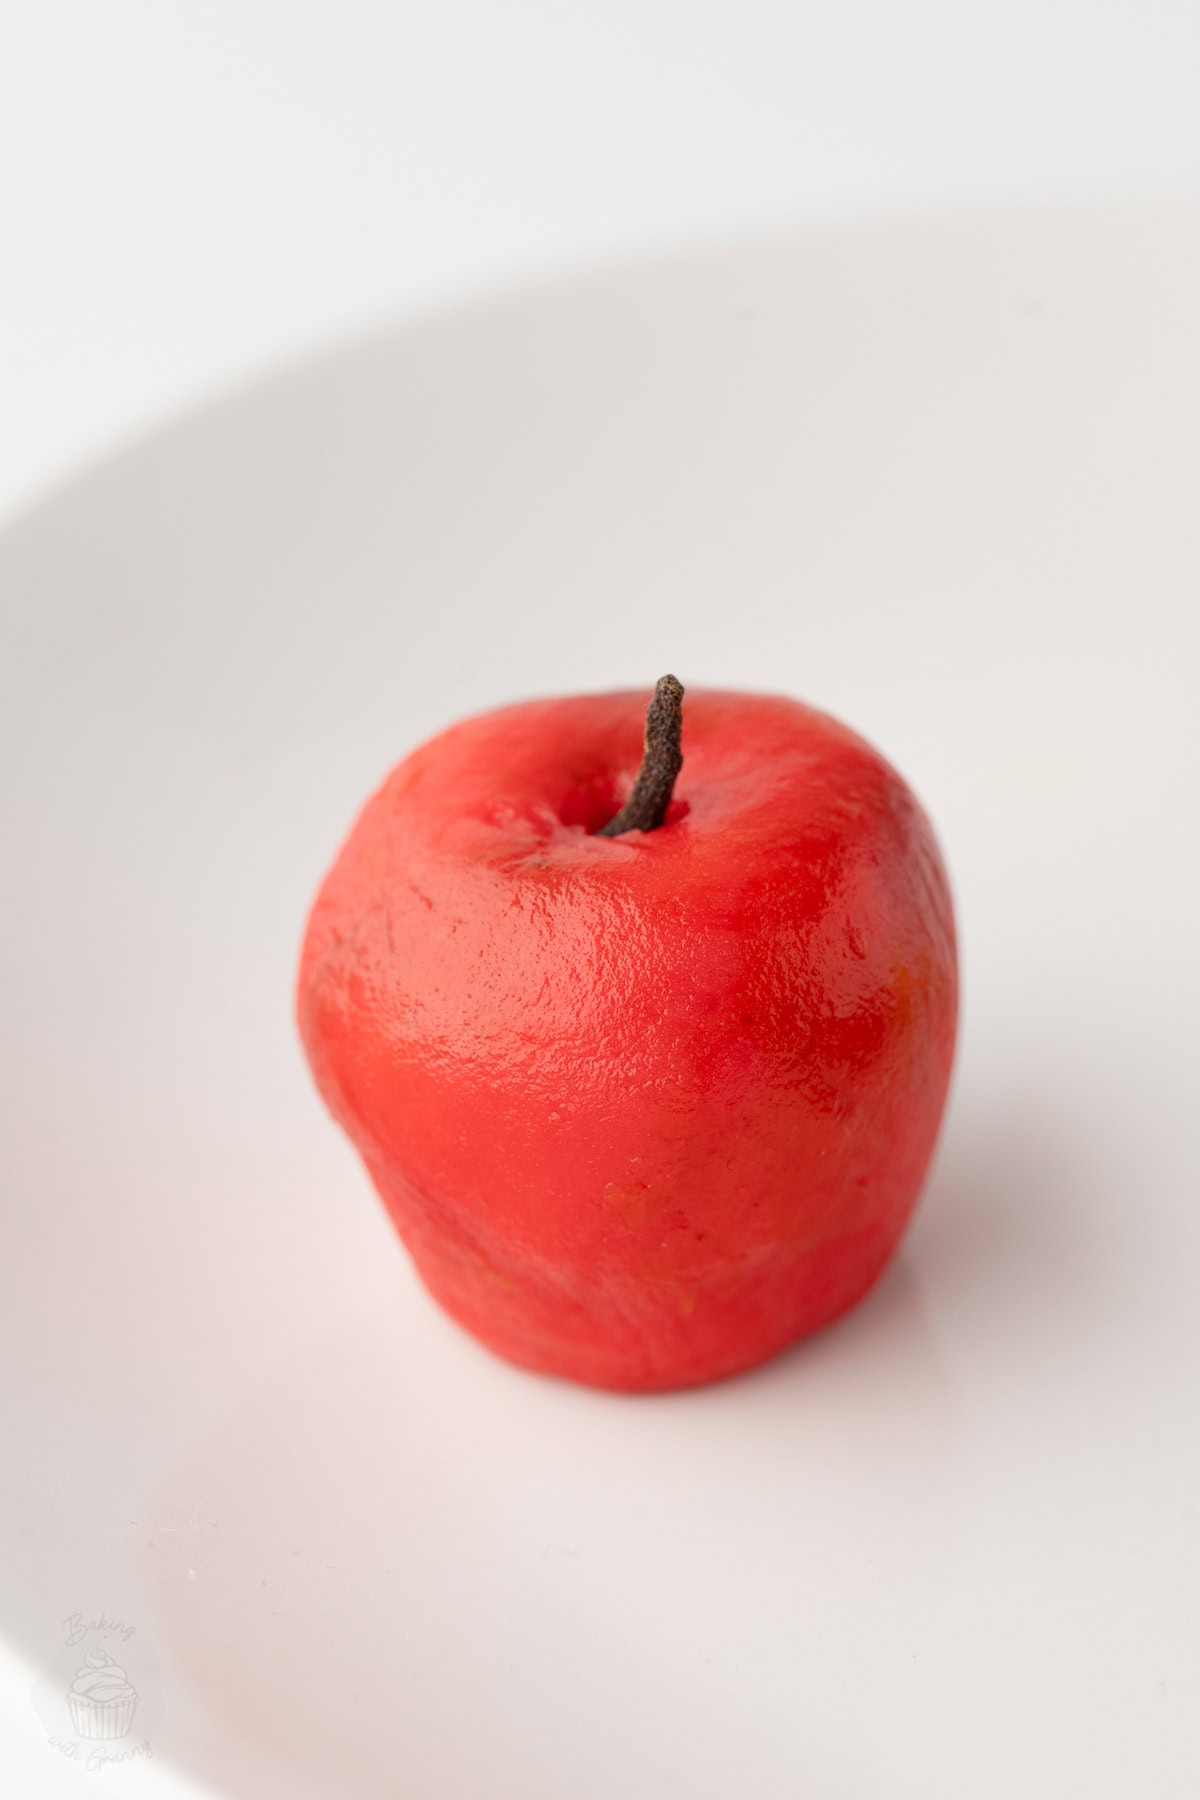
- Apples: Roll a piece of red or green marzipan into a ball, shaping it slightly to resemble an apple. Gently make a small indentation at the top, where the stalk will go.
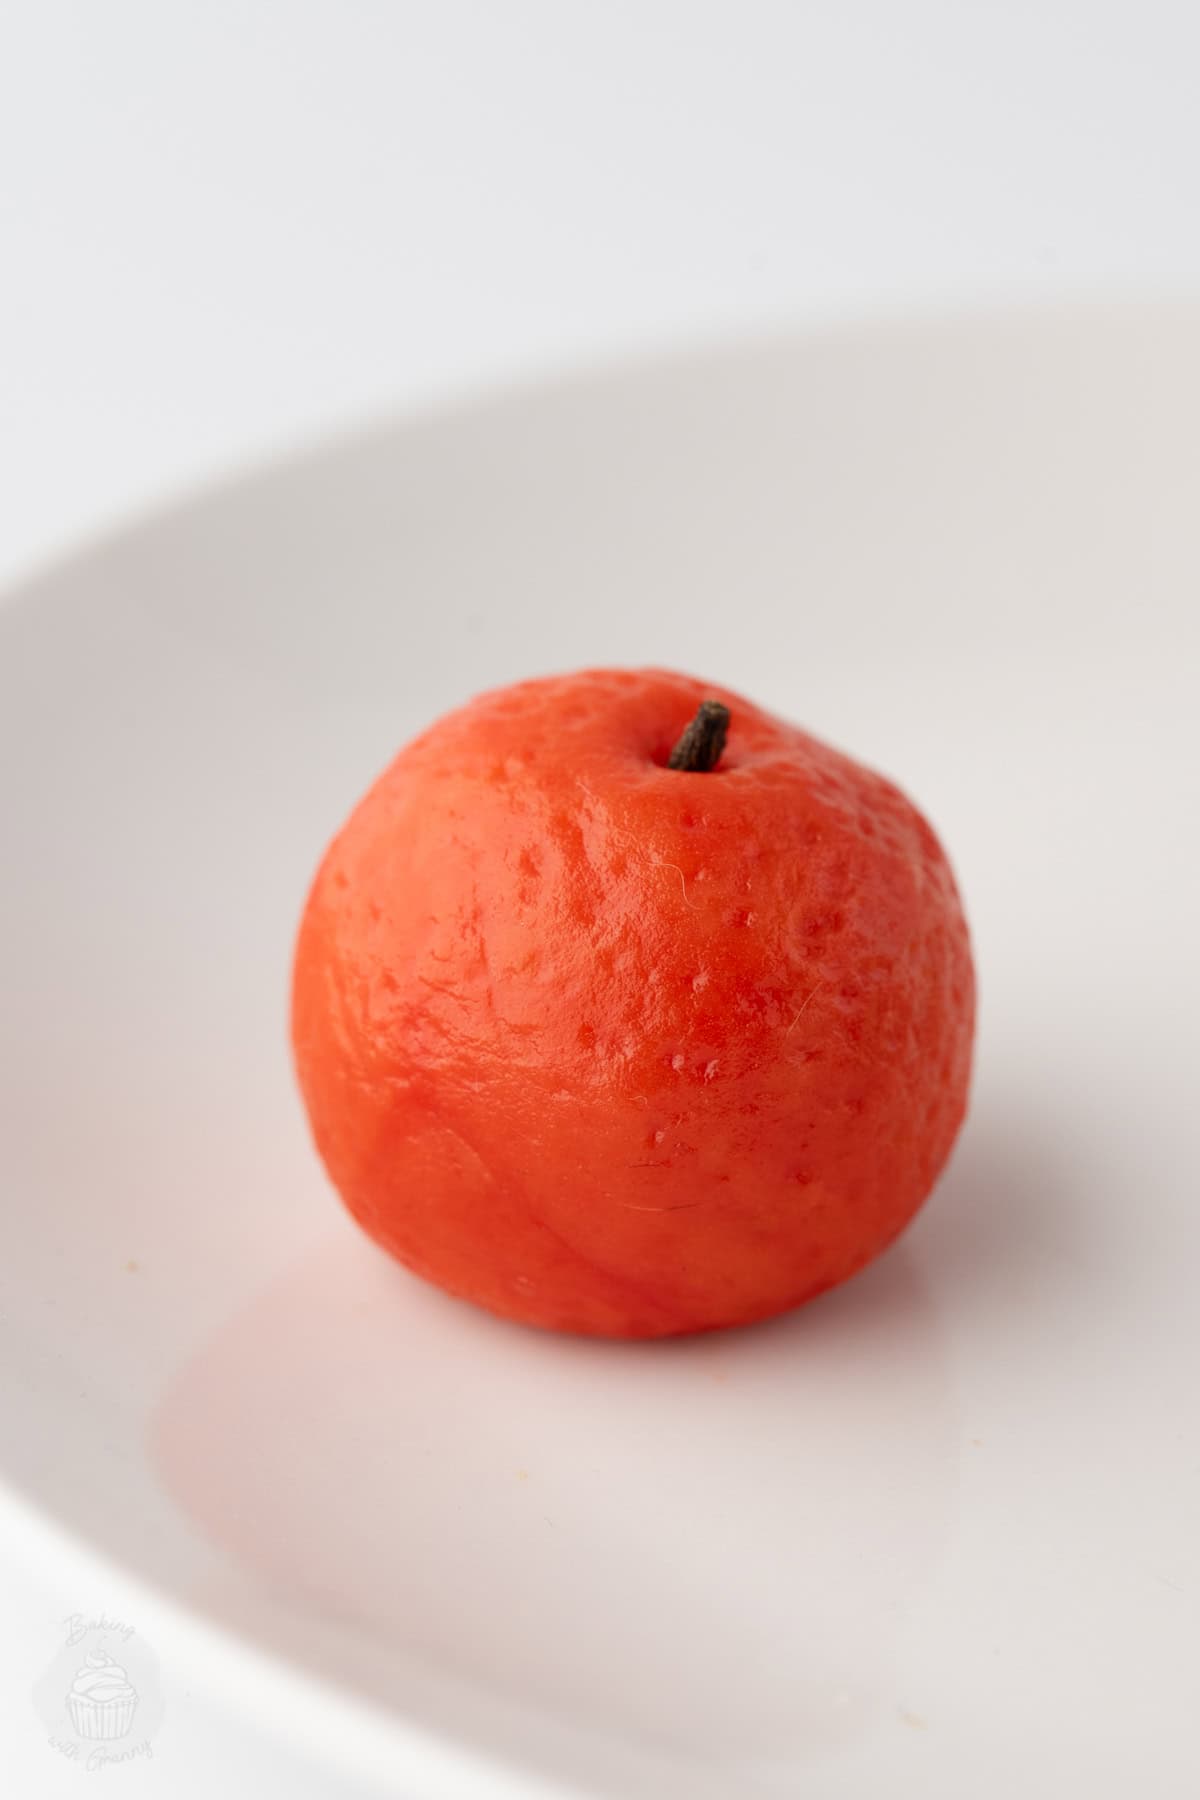
- Oranges: Roll a piece of orange marzipan into a ball, then gently roll it over the spiky, star-shaped side of a box grater to create the dimpled texture of orange peel.
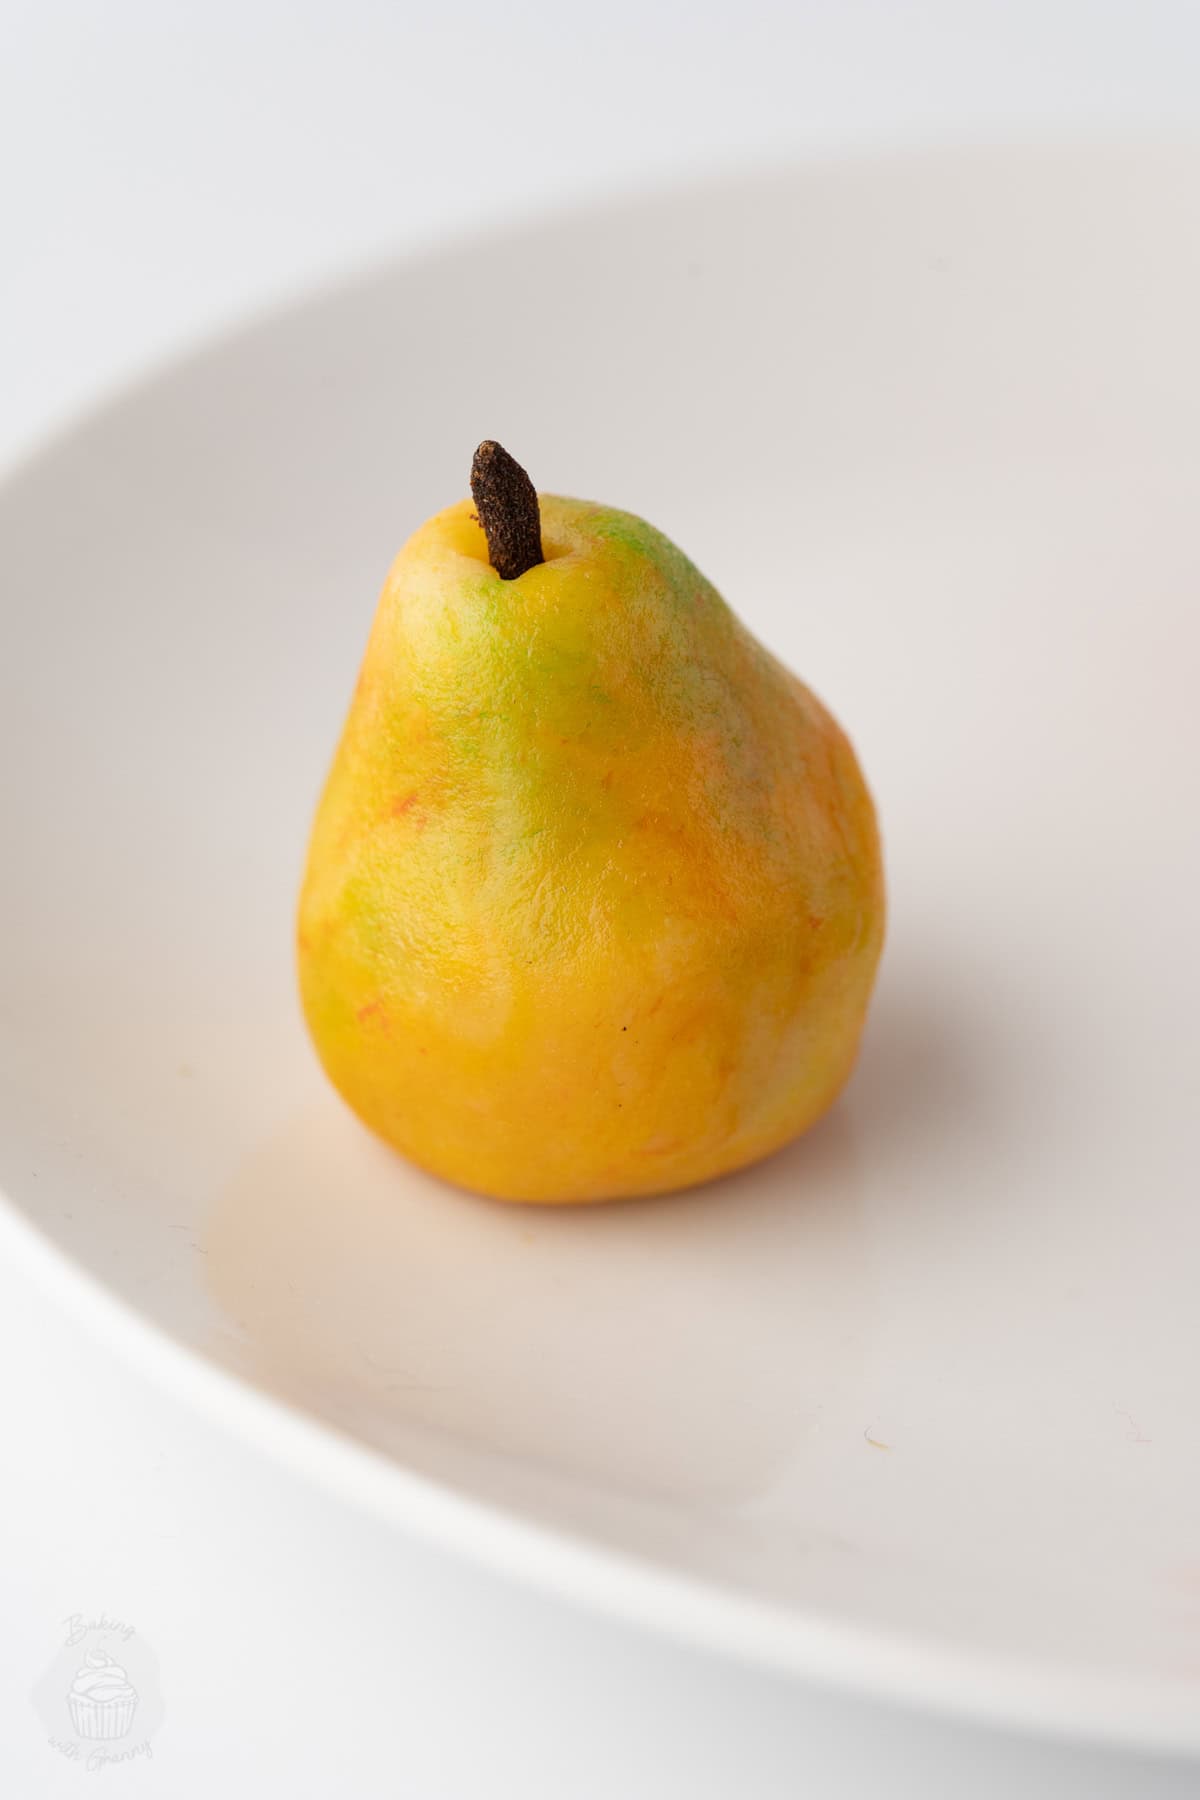
- Pears: Shape a piece of green or yellow marzipan into an egg-like shape, keeping one end wider and the other narrower to resemble a pear.
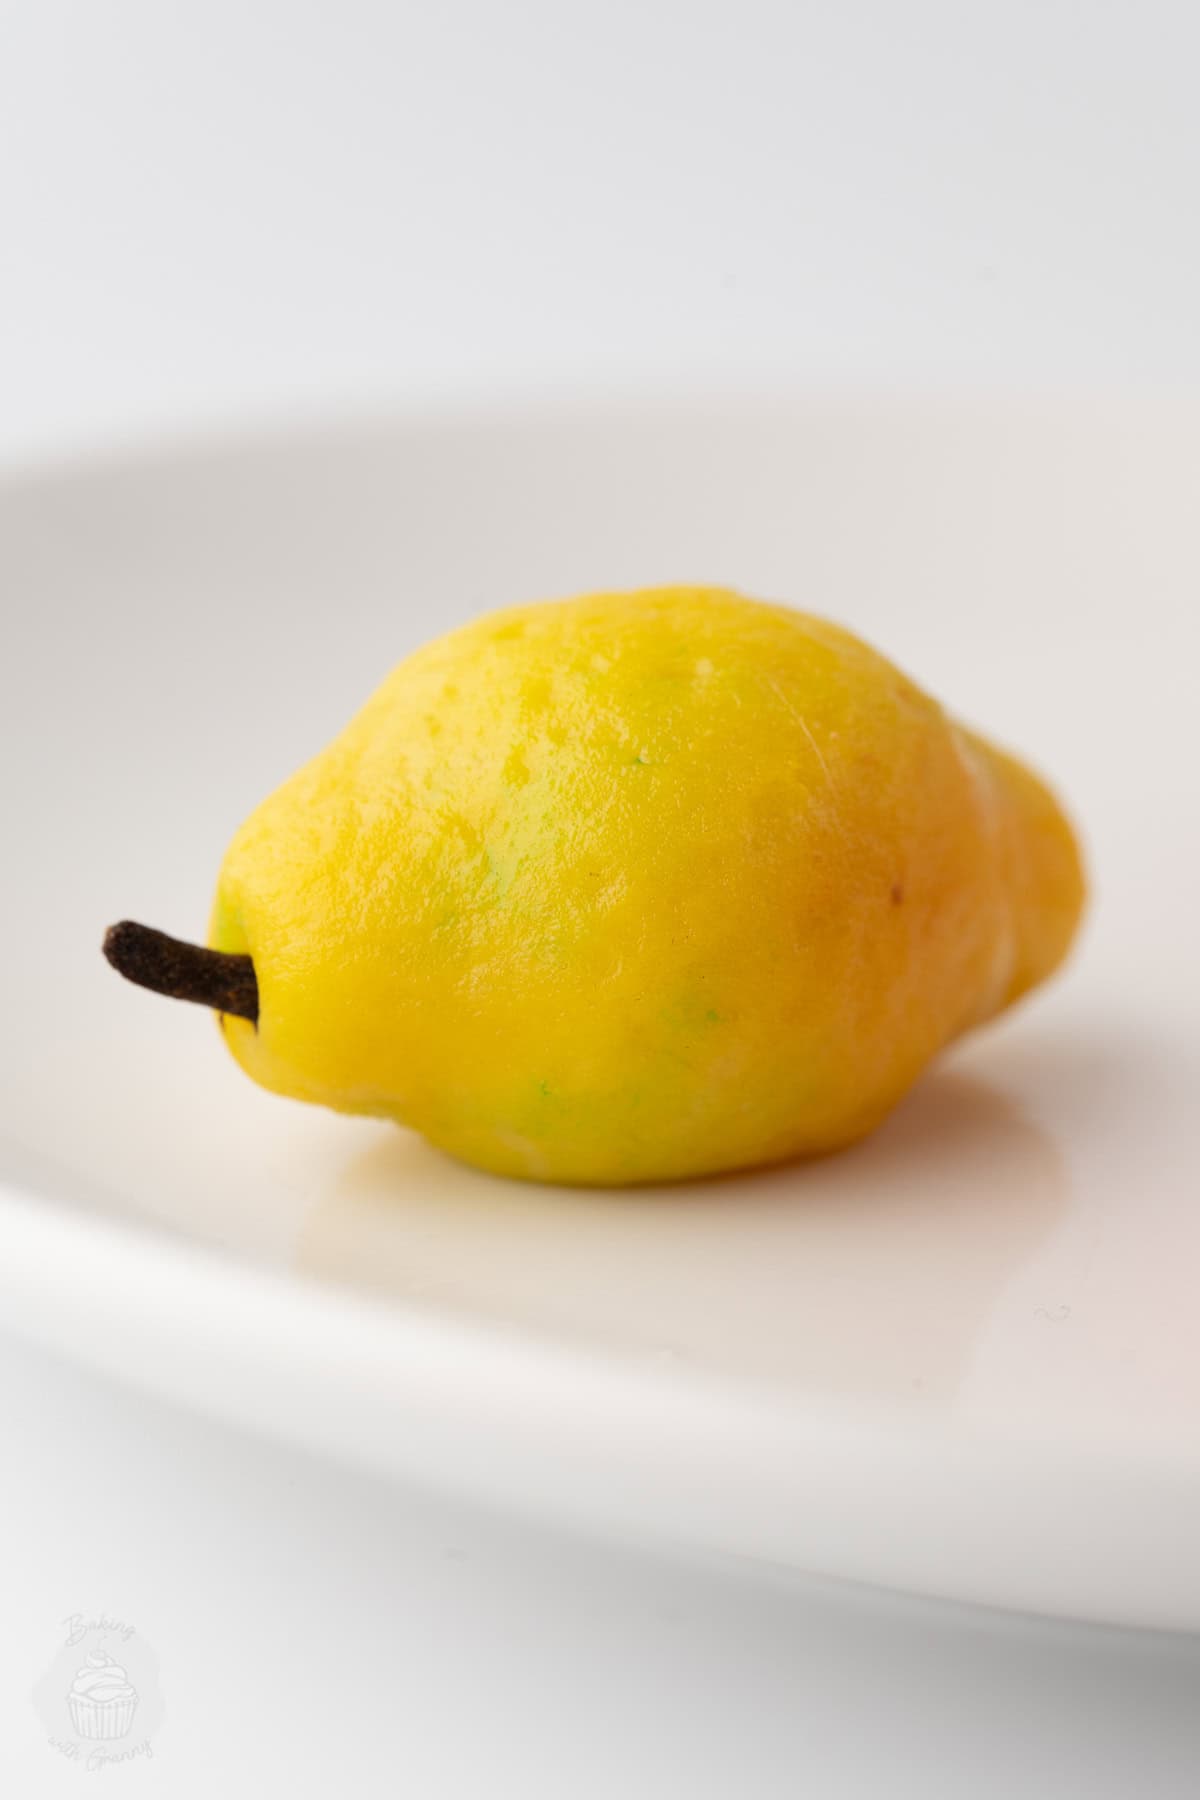
- Lemons: Roll a piece of yellow marzipan into an oblong shape, gently shaping the ends to give it the appearance of a lemon.
Adding the Finishing Details
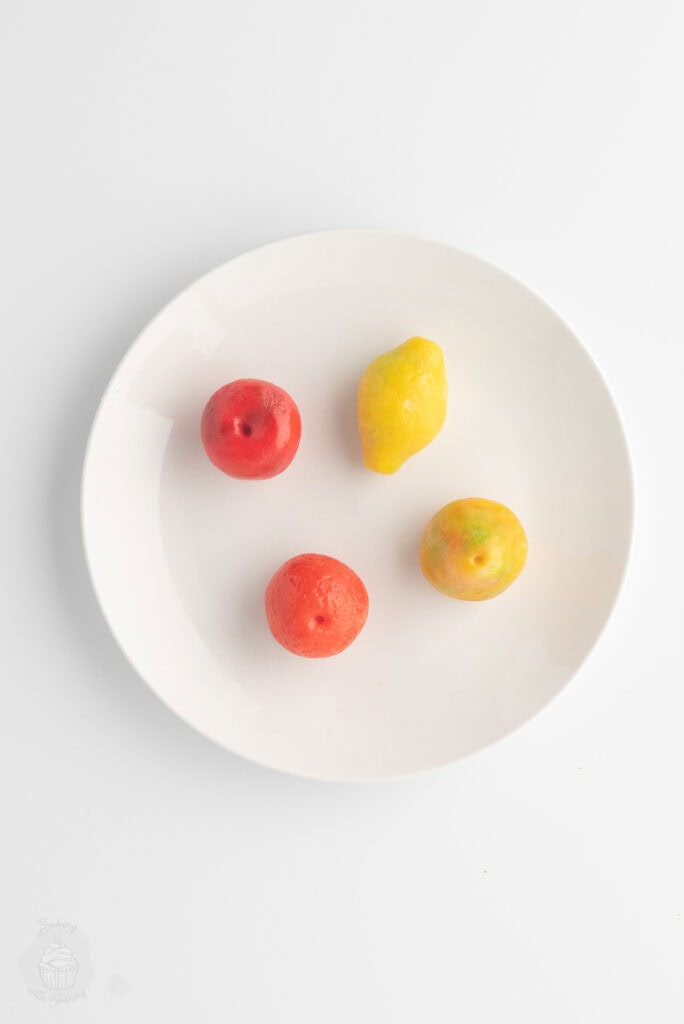
- Add some shading (optional): To make your fruits look more realistic, use a soft, fluffy brush to apply a little powdered food colouring.
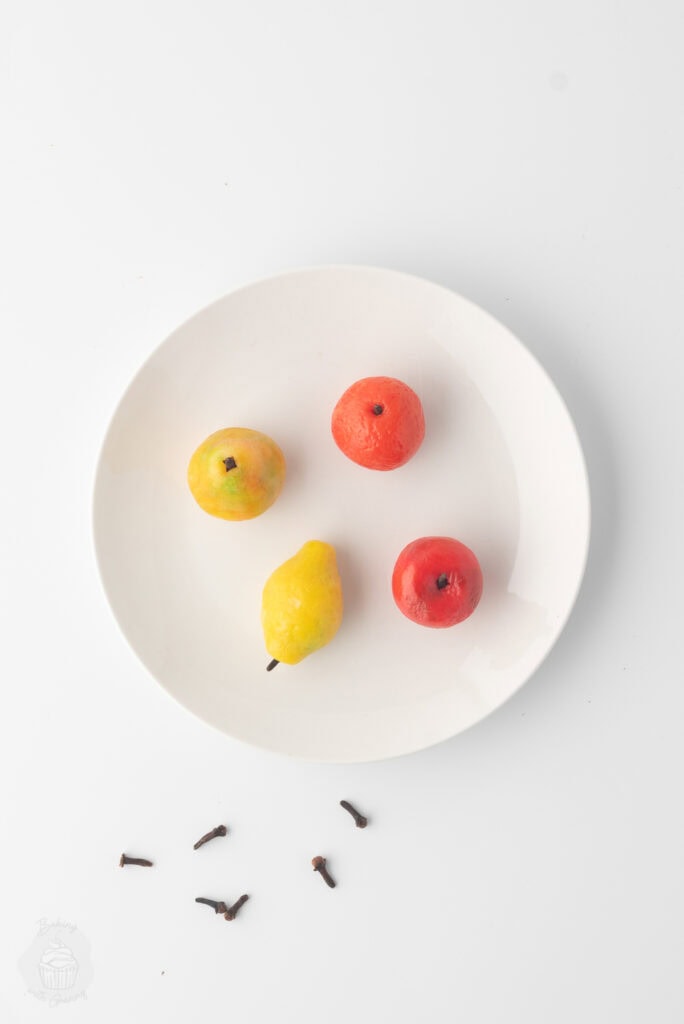
- Add the stalks: For apples, pears and lemons, remove the head from a whole clove and push the remaining stalk into the top of each fruit.
For oranges, push a whole clove into the top, leaving the head slightly exposed.
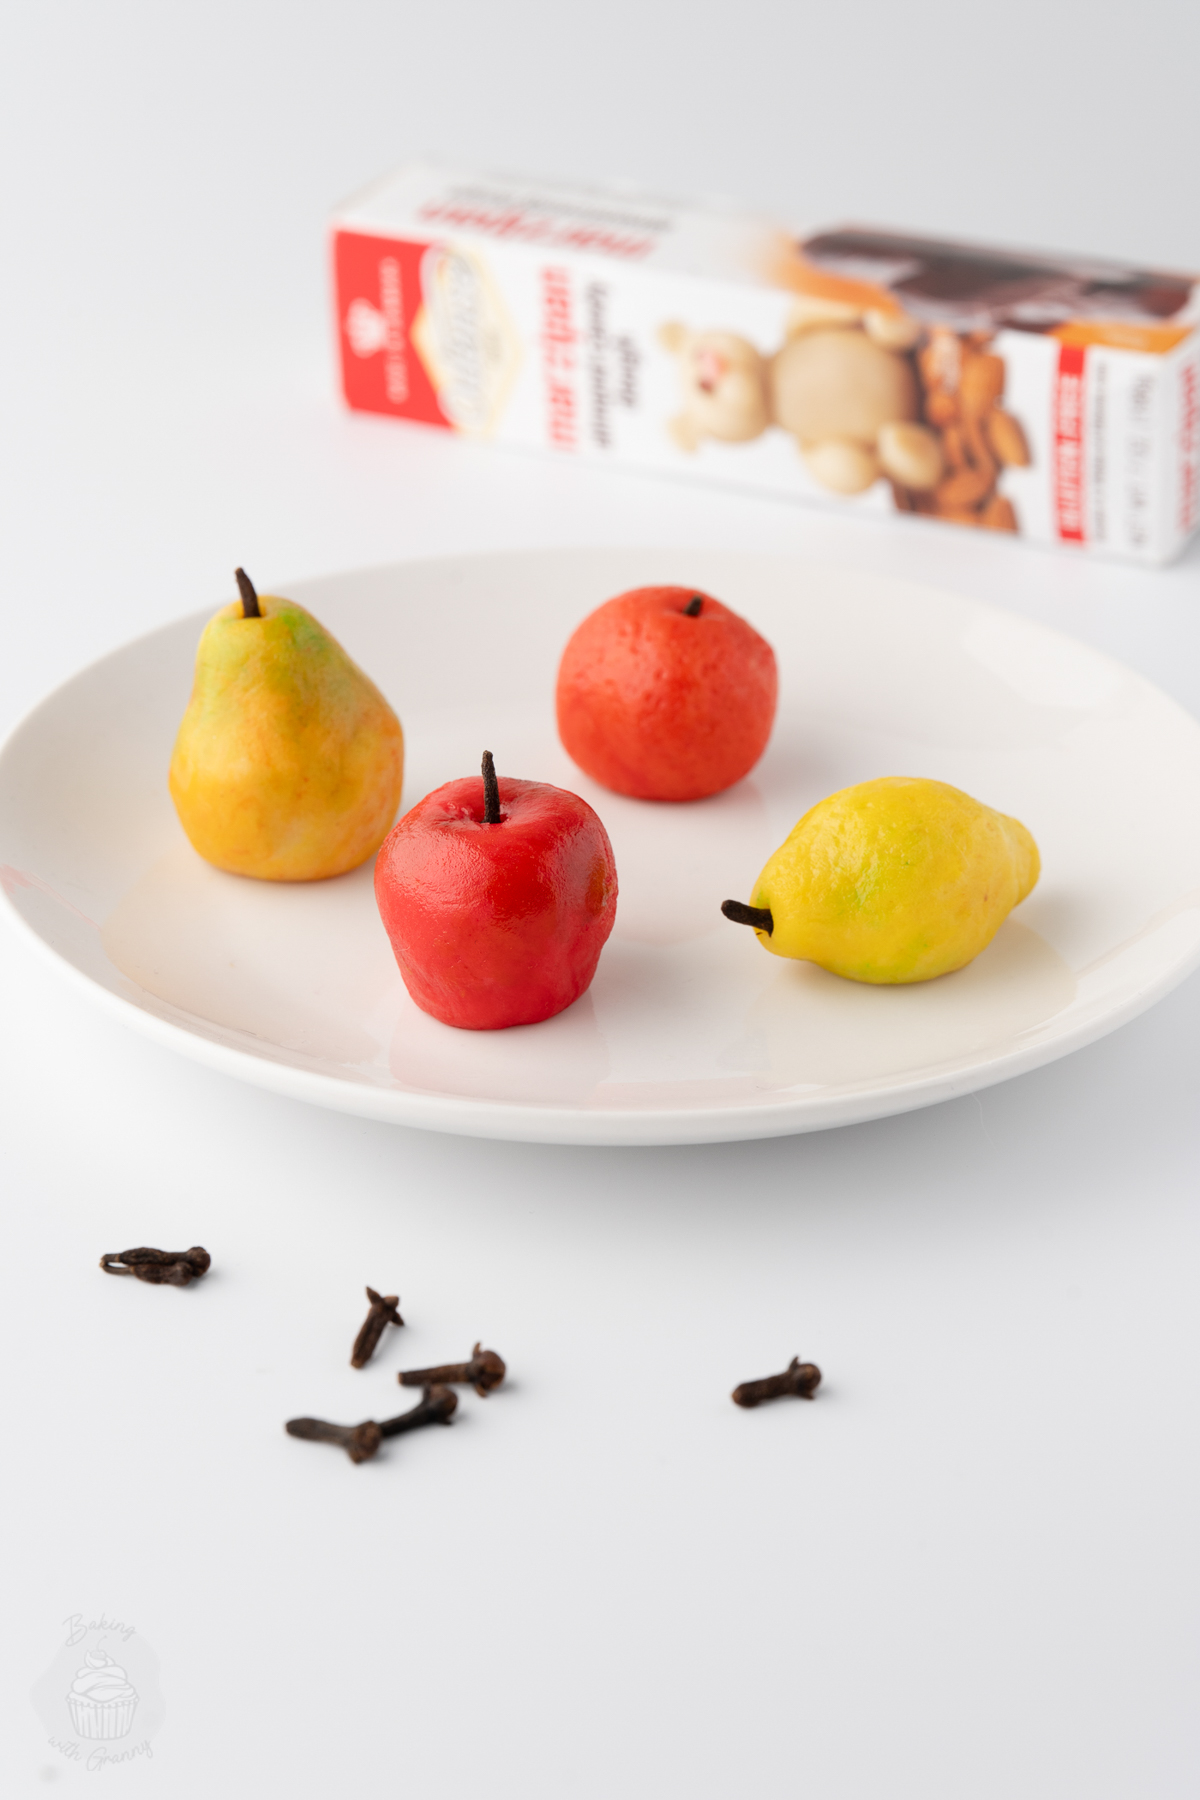
- Allow to dry: Leave your finished Marzipan Fruits at room temperature for 12-24 hours to dry slightly before storing or packaging them.
Top Tips for Making Marzipan Fruits
- Go Easy on the Food Colouring: Start with a small amount and gradually build up the colour. It’s much easier to add more than to try and lighten marzipan that’s become too dark.
- Let Sticky Marzipan Rest: If your marzipan becomes sticky after adding the food colouring, leave it for a few minutes before trying to shape it. This should make it easier to handle.
- Don’t Worry About Perfection: Real fruit comes in all sorts of shapes and sizes, so your marzipan versions don’t need to be identical either! A little variation can actually make them look more realistic.
- Take Care with the Orange Peel: When using the box grater to create the texture of orange peel, use a gentle touch. You want to mark the surface without squashing your carefully shaped orange.
- Remember to Remove the Cloves: Although they make lovely little stalks, the cloves are purely decorative and should be removed before eating, particularly if you’re making these for children.
Storage, Freezing & Make Ahead
- Storage: Once your Marzipan Fruits have been left to dry for 12-24 hours, you can transfer them to an airtight container and keep them at room temperature. If you’re stacking them in layers, place a piece of greaseproof paper (parchment paper) between each layer to prevent them from sticking together.
They will keep for several weeks, although the longer they’re stored, the more they’ll gradually dry out. Avoid keeping them in the fridge, as the moisture can cause the marzipan to ‘sweat’ and become sticky. - Freezing: I wouldn’t recommend freezing Marzipan Fruits, as they can become sticky when defrosted, spoiling their texture and appearance.
- Make Ahead: You can make your Marzipan Fruits around 3-4 weeks in advance, making them a great option for homemade Christmas gifts. Just make sure they’ve had time to dry before packaging them up, and keep them in an airtight container until you’re ready to give them away.
With thanks to Naomi Seiler for creating these photos.
Marzipan Fruits FAQs
There’s no set size, and you can go as big or small as you like, but I find that 200g of marzipan makes approximately 16-18 little fruits. That’s around 11-13 grams of marzipan per fruit, if you wanted to weigh out your portions. But you can make them bigger or smaller, depending on what you’re using them for.
Not at all! You can make whichever fruits you like, in whatever quantities you prefer. You might want a mixture of apples, pears, oranges and lemons, or just one particular fruit if you have a favourite.
Yes! As we’re using ready-made marzipan, there’s no cooking required. The 12-24 hour drying time simply allows the surface of the fruits to dry out a little, making them easier to handle and store. Just remember to remove any decorative cloves before eating.
More Homemade Sweets & Treats
If you loved these homemade Marzipan Fruits, here are some more of my favourite sweets and treats recipes for you to try next:

Save this recipe!
Want to save this recipe for later? Pop your email below and come back to it when you’re ready to make them.
Marzipan Fruits
INGREDIENTS
- 200 g Marzipan
- Food Colouring (gel food colouring preferable; yellow, red, green, orange…)
- Whole Cloves (for stalk decorations)
INSTRUCTIONS
Preparing and Colouring the Marzipan
- Take a small amount of marzipan and add a little food colouring. Knead it until the colour is evenly distributed, gradually adding more colouring until you reach the desired shade.
- Repeat with the remaining marzipan, preparing whichever colours you need for your chosen fruits.
Making Marzipan Apples
- Roll a piece of red or green marzipan into a ball, shaping it slightly to resemble an apple. Gently make a small indentation at the top, where the stalk will go.
Making Marzipan Oranges
- Roll a piece of orange marzipan into a ball, then gently roll it over the spiky, star-shaped side of a box grater to create the dimpled texture of orange peel.
Making Marzipan Pears
- Shape a piece of green or yellow marzipan into an egg-like shape, keeping one end wider and the other narrower to resemble a pear.
Making Marzipan Lemons
- Roll a piece of yellow marzipan into an oblong shape, gently shaping the ends to resemble a lemon.
Adding the Finishing Details
- If you want to make your fruits look more realistic, use a soft, fluffy brush to apply a little edible powdered food colouring, adding extra shading and detail.
- For apples, pears and lemons, remove the rounded head from a whole clove and push the remaining stalk into the top of each fruit. For oranges, push a whole clove into the top, leaving the rounded head slightly exposed.
- Leave your finished Marzipan Fruits at room temperature for 12-24 hours to dry slightly before storing or packaging.
IMPORTANT NOTE:
All my recipes are developed using a digital scale and the metric system (grams and millilitres). Cup measurements are available as a conversion, but these, unfortunately, won’t always be as accurate. For best results, I always recommend baking with a digital scale.














ABOUT THE AUTHOR
Amy Beth Reid
Amy Beth Reid is an award-winning food blogger, mother, wife and cookbook author. Inspired by her childhood in the kitchen with her Mum – a professional baker and her children’s Granny – Amy now shares her tried-and-tested traditional home baking recipes with bakers of all abilities around the world. She lives in Scotland with her husband, two sons and her small pack of Siberian huskies.