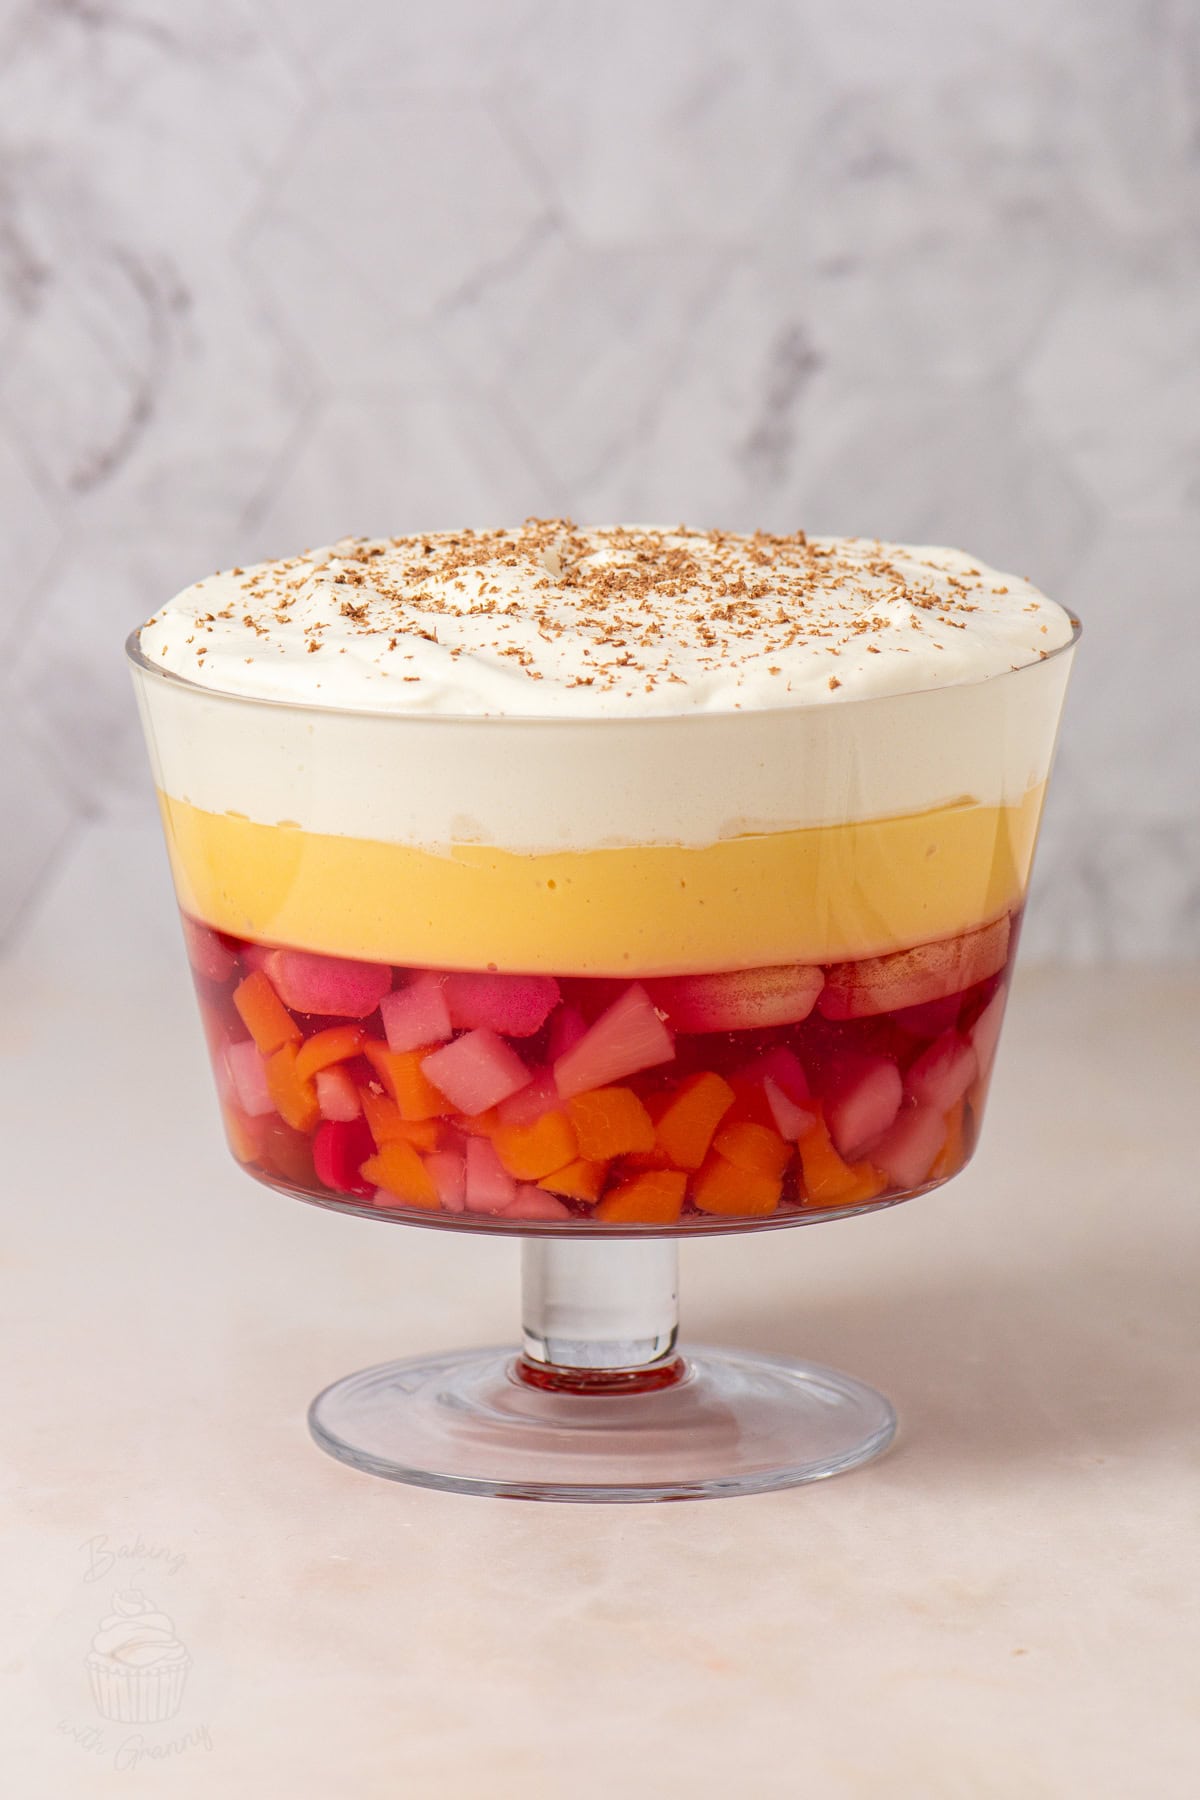
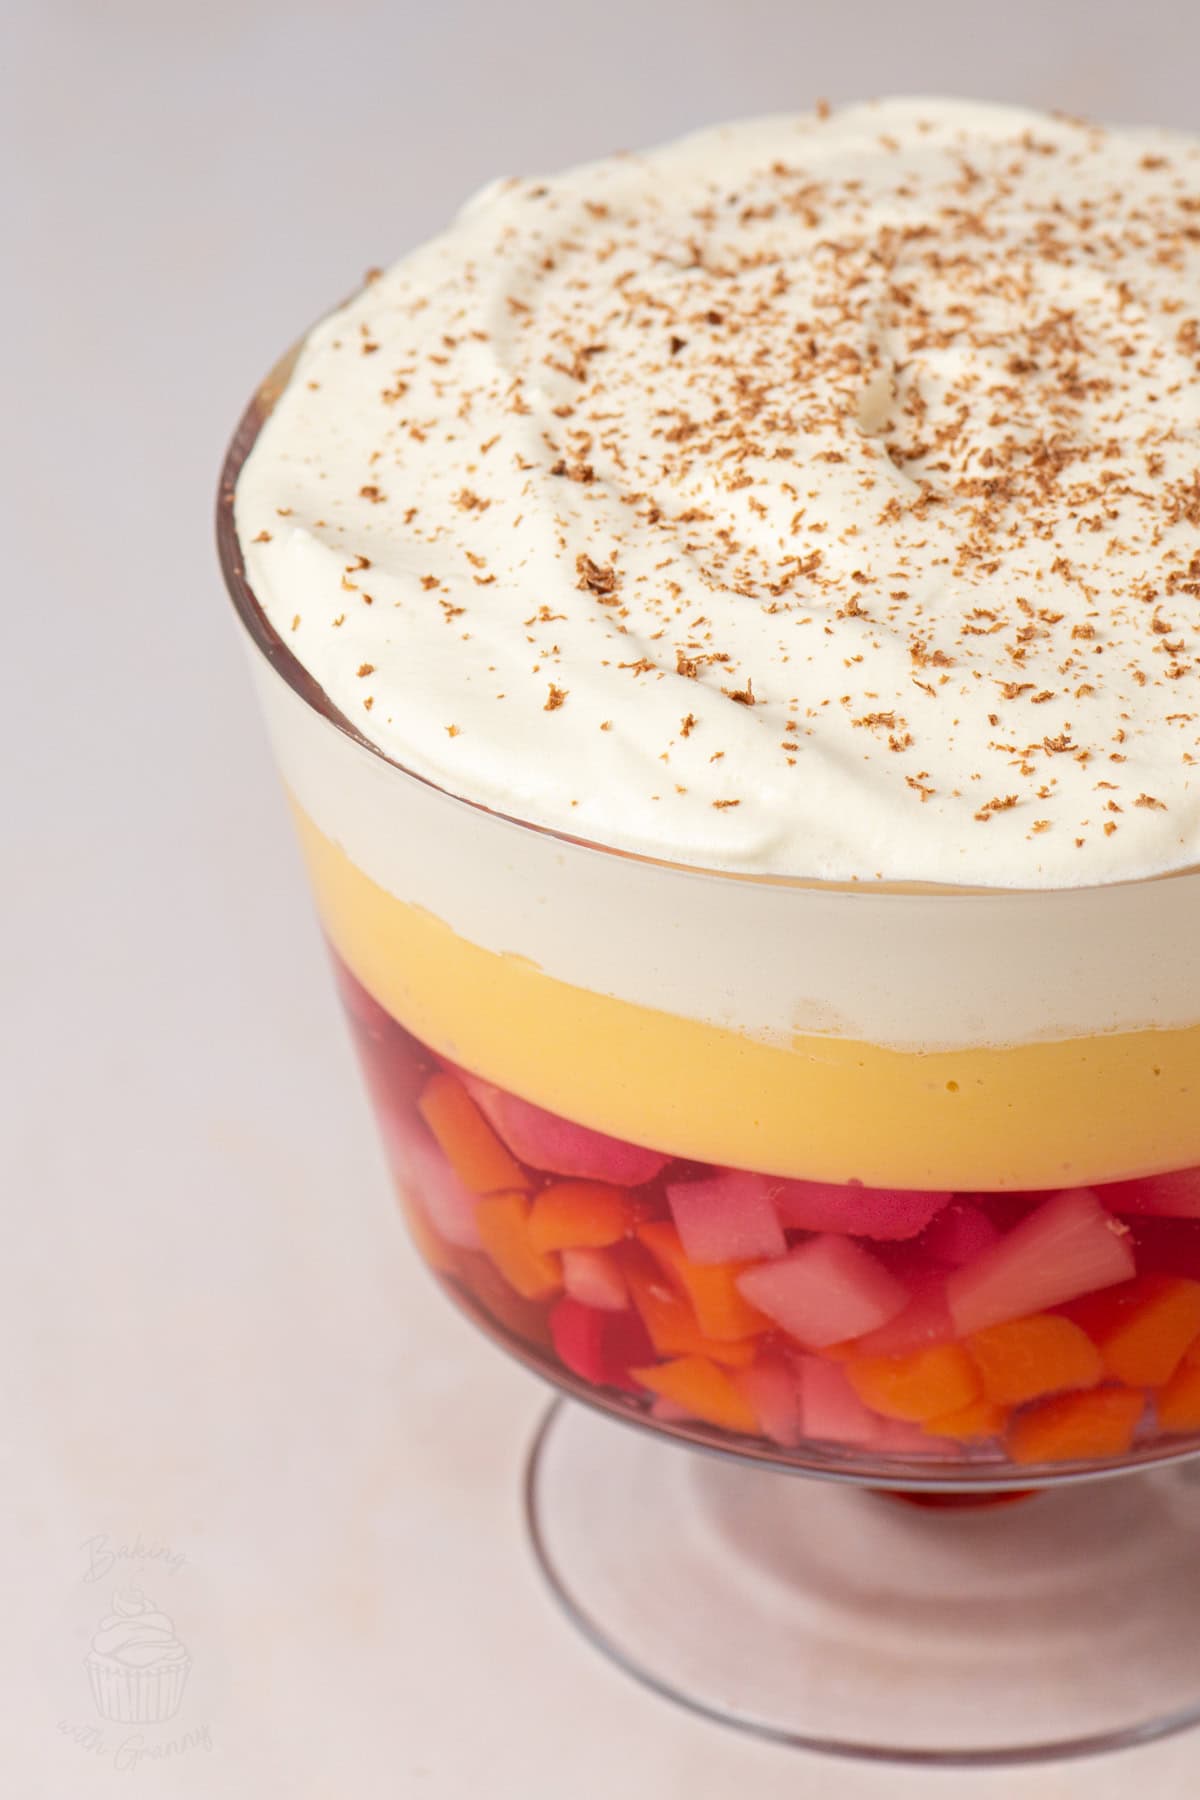
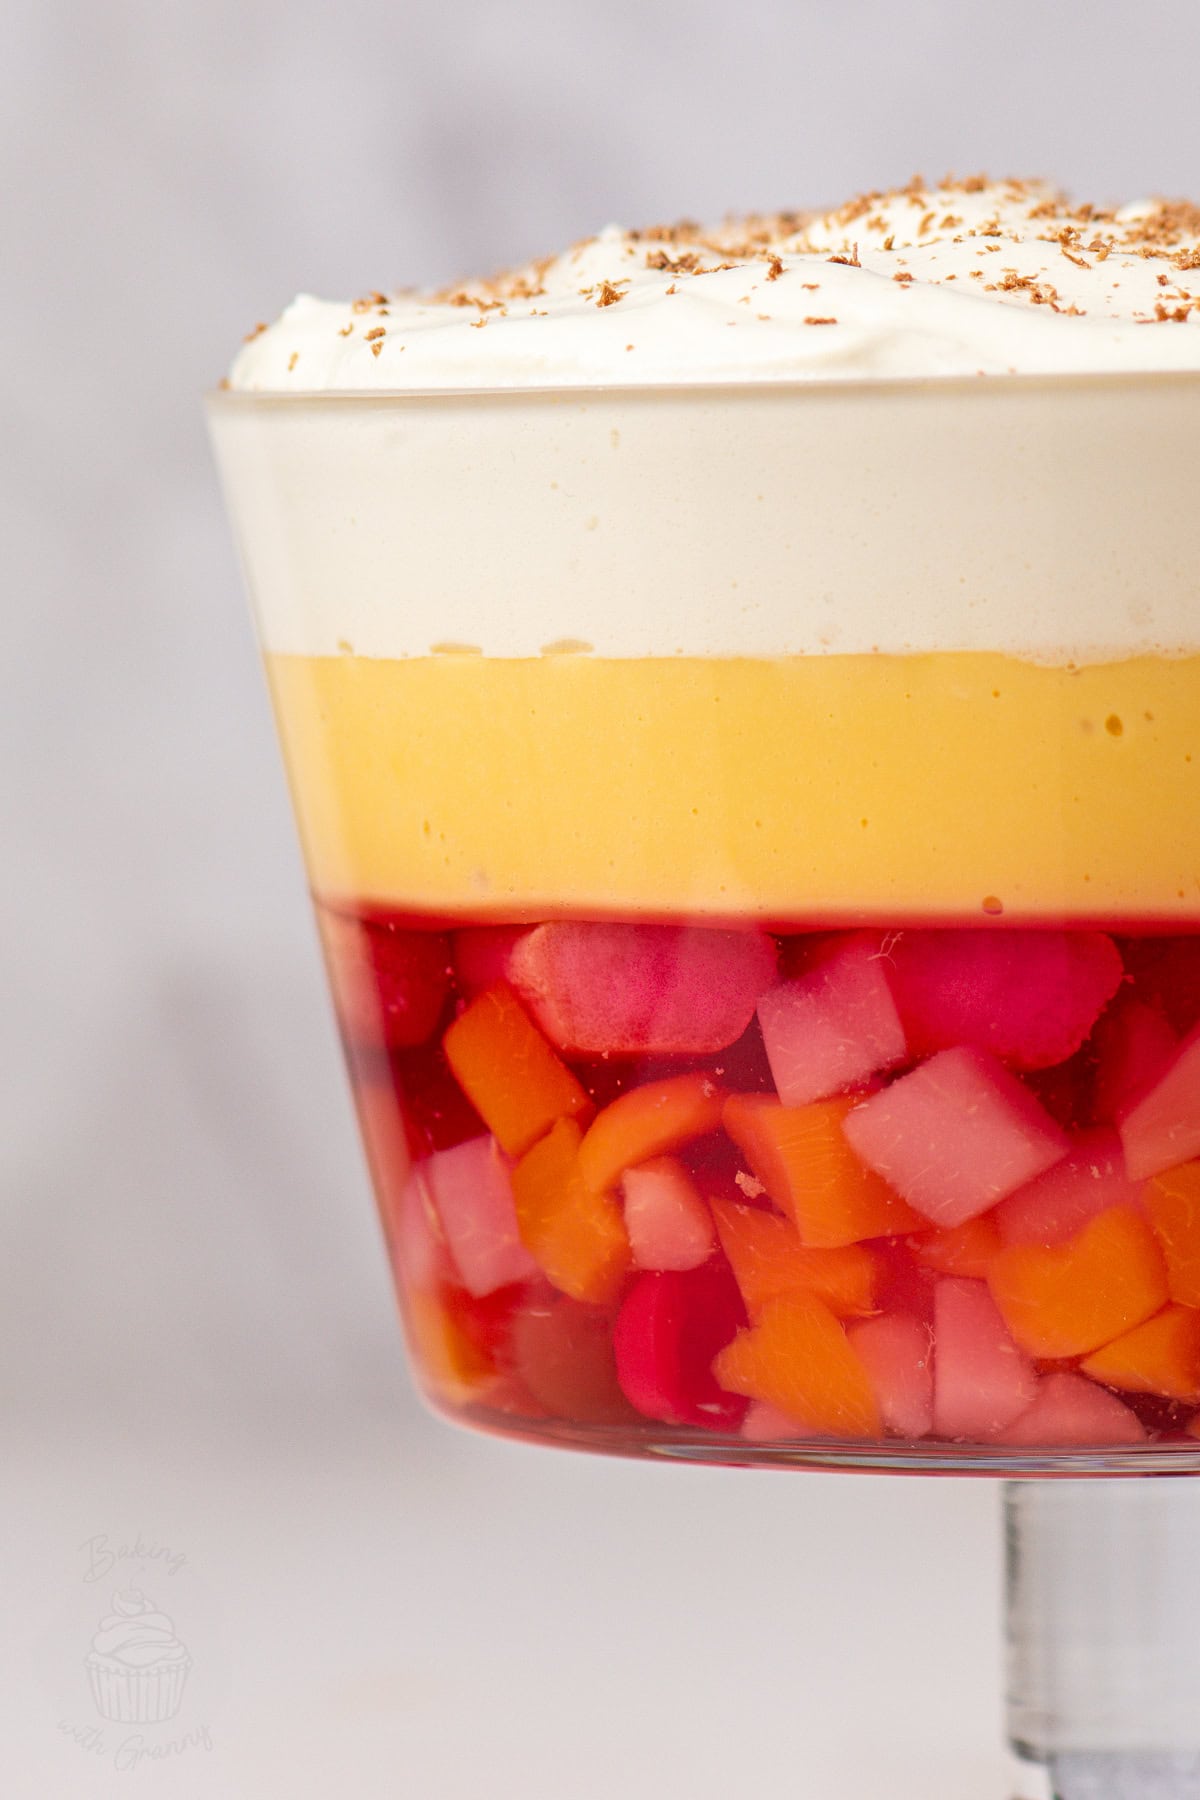
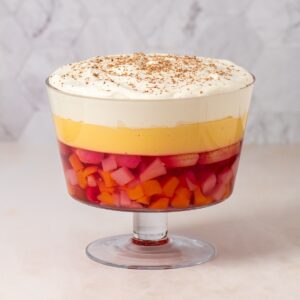
This easy Trifle recipe is the one my Mum has made for decades, with fruit and sponge set in jelly, topped with custard, whipped cream and a wee scatter of sprinkles or chocolate. Made with the simplest, shop-bought ingredients, it’s an old-school British dessert and one of my personal favourite Christmas traditions.
Easy Trifle Recipe Snapshot
- Recipe: Classic British trifle with jelly, fruit, sponge, custard and whipped cream.
- Difficulty: Easy, with no baking required.
- Hands-on Time: Around 40 minutes, split between the three layers.
- Setting & Cooling: Usually around 2 hours for the jelly (check your packet), then at least 1 hour for the custard layer, plus 5-10 minutes cooling before adding it.
- Serves: 8.
- Bowl: A 2-litre trifle bowl.
- Make Ahead: Prepare up to a day ahead. I usually set the jelly overnight, add custard in the morning and finish with cream nearer serving.
- Finishing Touches: Add sprinkles or chocolate just before serving.
- Storage: Keep refrigerated and eat within 2 days. Do not freeze.
Summarise & Save this Recipe on:
What is Trifle?
If you’re a Friends fan, you probably can’t hear the word “trifle” without thinking of Rachel’s rather memorable – and somewhat unfortunate – Thanksgiving dessert. Rest assured, there’s no beef sautéed with peas and onions in this one!
Trifle is a classic British dessert made with layers of sponge, fruit, custard and whipped cream, often with jelly and sometimes a splash of sherry. This is the version with the sponge and fruit set into the jelly – the wobbly dessert known as Jell-O in the US.
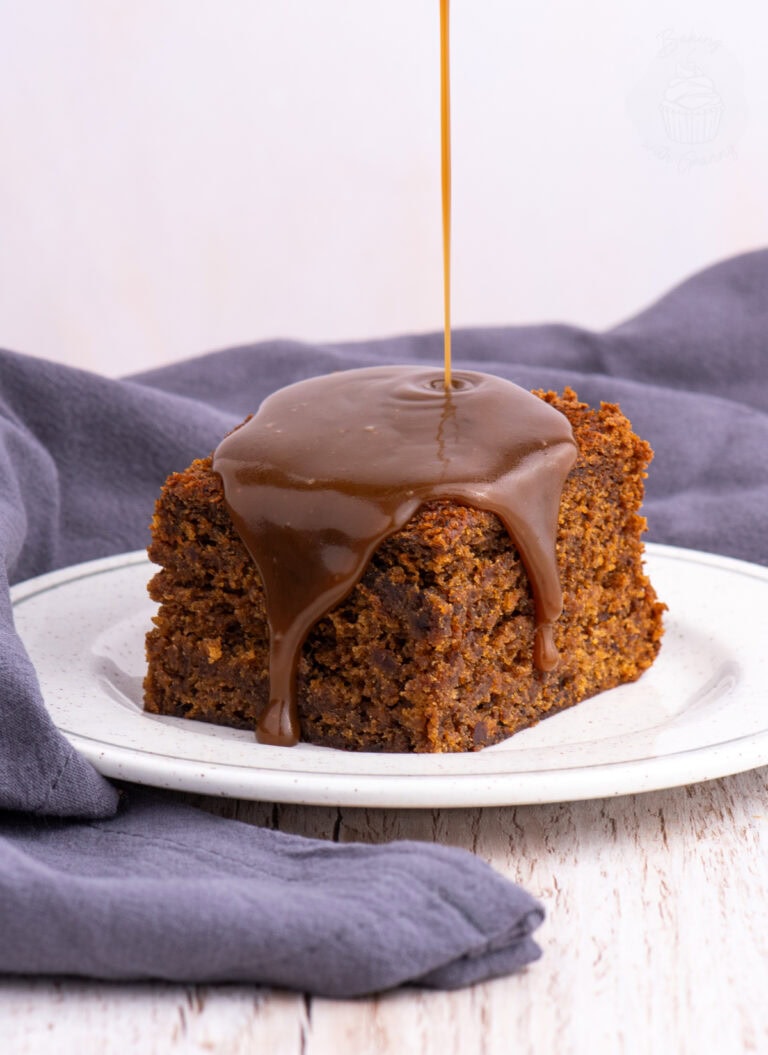
Before my Sticky Toffee Pudding took over as the family favourite, my Mum’s trifle was always the Christmas dessert I looked forward to most. And if you’re thinking and planning your own Christmas desserts, my traditional Christmas Pudding and Chocolate Yule Log are a couple more classics you may want to consider 😋
Granny’s Easy Trifle Recipe
I can still remember admiring my Mum’s Christmas trifle in its beautiful bowl, counting down the minutes until I could get a spoon into that custard layer 🤤 That was always my favourite part! The jelly was almost always raspberry, because it’s my Dad’s favourite – and mine too.
For my Mum, this was a dessert was very much built around convenience. In fact, her recipe very much follows the same style as a Bird’s Trifle Kit! There was already plenty to do at Christmas, so something made with ingredients we already had to hand and very little preparation ahead was ideal. She would often use sponge off-cuts from her cake making too, turning something that might otherwise go to waste into a much-loved dessert.
Of course, trifle has been around considerably longer than Mum’s version. Hannah Glasse’s 1751 recipe layered wine-soaked biscuits and cakes with custard and syllabub – a frothy cream topping. Her Grand Trifle, published around 1760, even included a jelly base. So while many families might disagree about what belongs in the bowl, jelly has a longer trifle history than you might think!
Key Ingredients
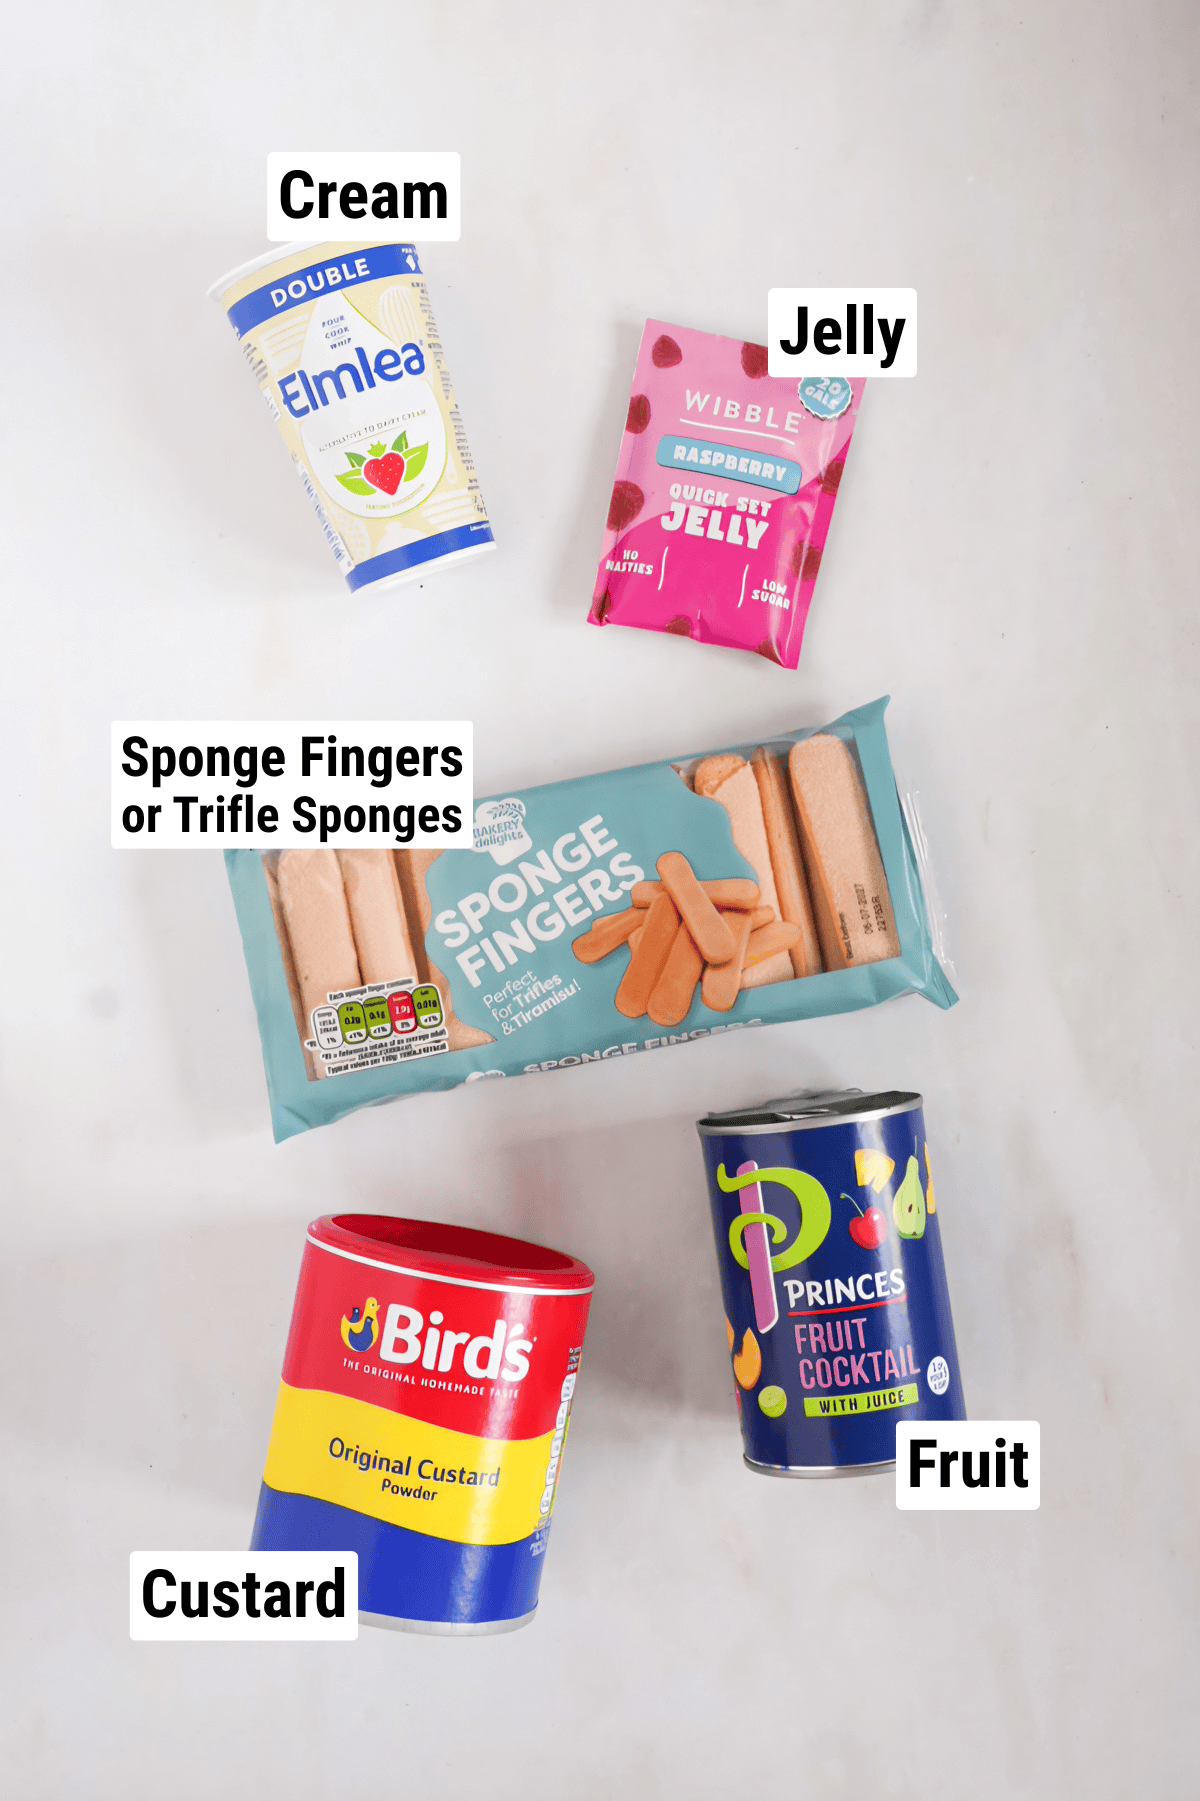
See the recipe card for a full ingredients list, required quantities and cup conversions.
Need cups, a different batch size or an ingredient swap?
Head to the recipe card for US measurements and adjustable ingredient quantities. For advice on ingredients and suitable substitutions, check the key ingredients and substitutions sections.
Substitutions & Additions
Fruits: I like to use a tinned fruit cocktail, but you can use whatever fruit you like or already have. Whether it’s tinned, fresh or even frozen. However, you need to avoid using fresh pineapple, kiwi, mango and papaya – they contain enzymes that prevent jelly from setting (although they are fine in tinned fruit, oddly enough!).
Sponge Cakes: Although trifle sponges and sponge fingers are both quite traditional and super convenient, you can use just about any kind of sponge cake in a trifle. Slices of strawberry Swiss Roll are a particularly popular choice. My Mum would often use whatever off-cuts she had from other cakes – usually a simple Victoria Sponge or classic Madeira Cake. And even shop-bought sponge cakes, cut into pieces, are absolutely fine!
Custards: Tinned custard, cartons and the fresh custards from the supermarket fridge can all be used instead of a custard made with Bird’s powder. Their thickness can vary though, so try to choose one with enough body to support the cream layer. Homemade egg custard is also an option if you’d like to make that part from scratch.
Retro Cream Topping: Mum often used Elmlea in the 90s, so Elmlea double cream is another option for that familiar creamy topping – and truthfully, it’s what I usually still opt for today. And for an even more old-school finish, you can use Bird’s Dream Topping too. Sometimes it’s better not to question what is actually in these things… 😅
Sherry (or Fruit Juice): For a boozy trifle, soak the sponges in sherry while you prepare the jelly. Alternatively, you can use a little fruit juice – the juice drained from your tinned fruit is ideal. Soaking helps prevent the sponges from floating above the jelly when you add them, but it’s entirely optional, and they will soon stop floating as much once they start absorbing the jelly.
Looking for dairy-free, gluten-free or vegan adaptations? See the Free-from & Vegan section below.
Free-from & Vegan
Amy recommends: If you regularly need to adapt baking recipes for gluten-free, dairy-free, egg-free or vegan diets, I highly recommend The Elements of Baking by Katarina Cermelj, creator of The Loopy Whisk. It’s a brilliant resource for understanding how substitutions work, rather than simply swapping ingredients and hoping for the best.
Gluten-free Options:
Use gluten-free sponge fingers or pieces of gluten-free sponge cake in the jelly base. Fruit and most jellies are gluten-free, but check the labels, along with your custard. Custard powder is generally made with gluten-free ingredients, as are most tinned custards, like Ambrosia Devon custard.
Nut-free Adjustments:
There are no nuts in this trifle, and I finish mine with sprinkles or chocolate rather than the flaked almonds you’ll see on some versions – choose ingredients and decorations suitable for anyone you’re serving with a nut allergy.
Dairy-free Swaps:
Check your sponges first – most shop-bought sponge fingers and trifle sponges are made without dairy, but some aren’t. For the custard, use Bird’s Original Custard Powder with dairy-free milk – I find soya and oat milk both work well. Alpro’s ready-made soya custard is another convenient option. For the topping, I like Elmlea Double Plant Cream, but Oatly Whippable Creamy Oat and The Coconut Collab Double Cream also work well – just make sure you choose a cream alternative intended for whipping.
Egg-Free Adaptations:
Shop-bought sponge fingers and trifle sponges usually contain eggs. You can make your own egg-free sponge fingers with School Night Vegan’s Vegan Ladyfingers recipe – alternatively, you can simply use pieces of an egg-free sponge cake instead. Bird’s Original Custard Powder is made without eggs, as are many ready-made custards, but check the ingredients carefully. Fresh custard and homemade egg custard will usually contain eggs.
Vegan Substitutions:
It’s incredibly easy to adapt a trifle to be vegan! First, choose a vegetarian or vegan jelly, as many standard jelly cubes and powders contain animal-derived gelatine. You’ll then want to use egg-free and dairy-free sponge fingers, and School Night Vegan’s Vegan Ladyfingers recipe is perfect for this – alternatively, any plain vegan sponge cake will also work. Make the custard with Bird’s Original Custard Powder and your favourite dairy-free milk alternative, or simply use Alpro’s vegan custard. Finally, finish with a plant-based whipping cream, like Elmlea Double Plant Cream, Oatly Whippable Creamy Oat or The Coconut Collab Double Cream. And if you are adding any sprinkles or chocolate to the top, just check that these are vegan, too.
Allergy Disclaimer & Resources:
Any advice or suggestions to make recipes “free-from” or vegan are purely suggestions. Please double-check all packaged ingredients individually, taking extra caution when baking for those with allergies or intolerances.
For official guidance on food allergies, please see Food Standards Agency (food.gov.uk) | For more info on coeliac disease, please see Coeliac UK (coeliac.org.uk) | For more info on a vegan diet, please see The Vegan Society (vegansociety.com)
How to Make Trifle
There are three main stages to making this trifle: the jelly base, the custard layer and the cream topping. Give each layer time to set or chill before adding the next.
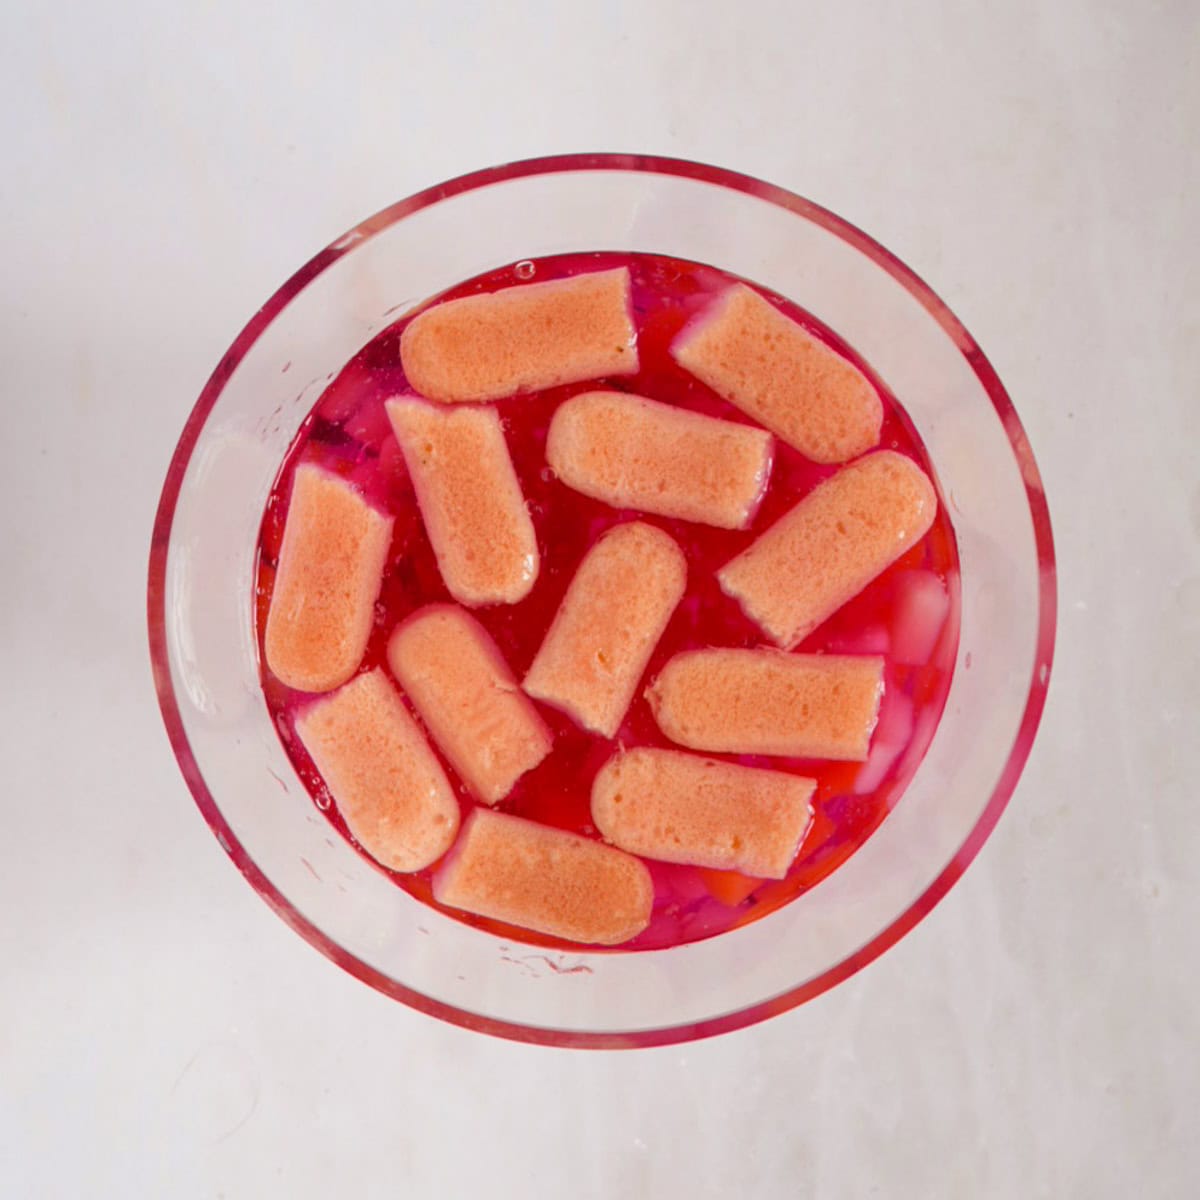
- Make the jelly base. Prepare the jelly according to the packet instructions and pour it into your trifle bowl. Add the sponge pieces and drained fruit, then refrigerate until fully set.
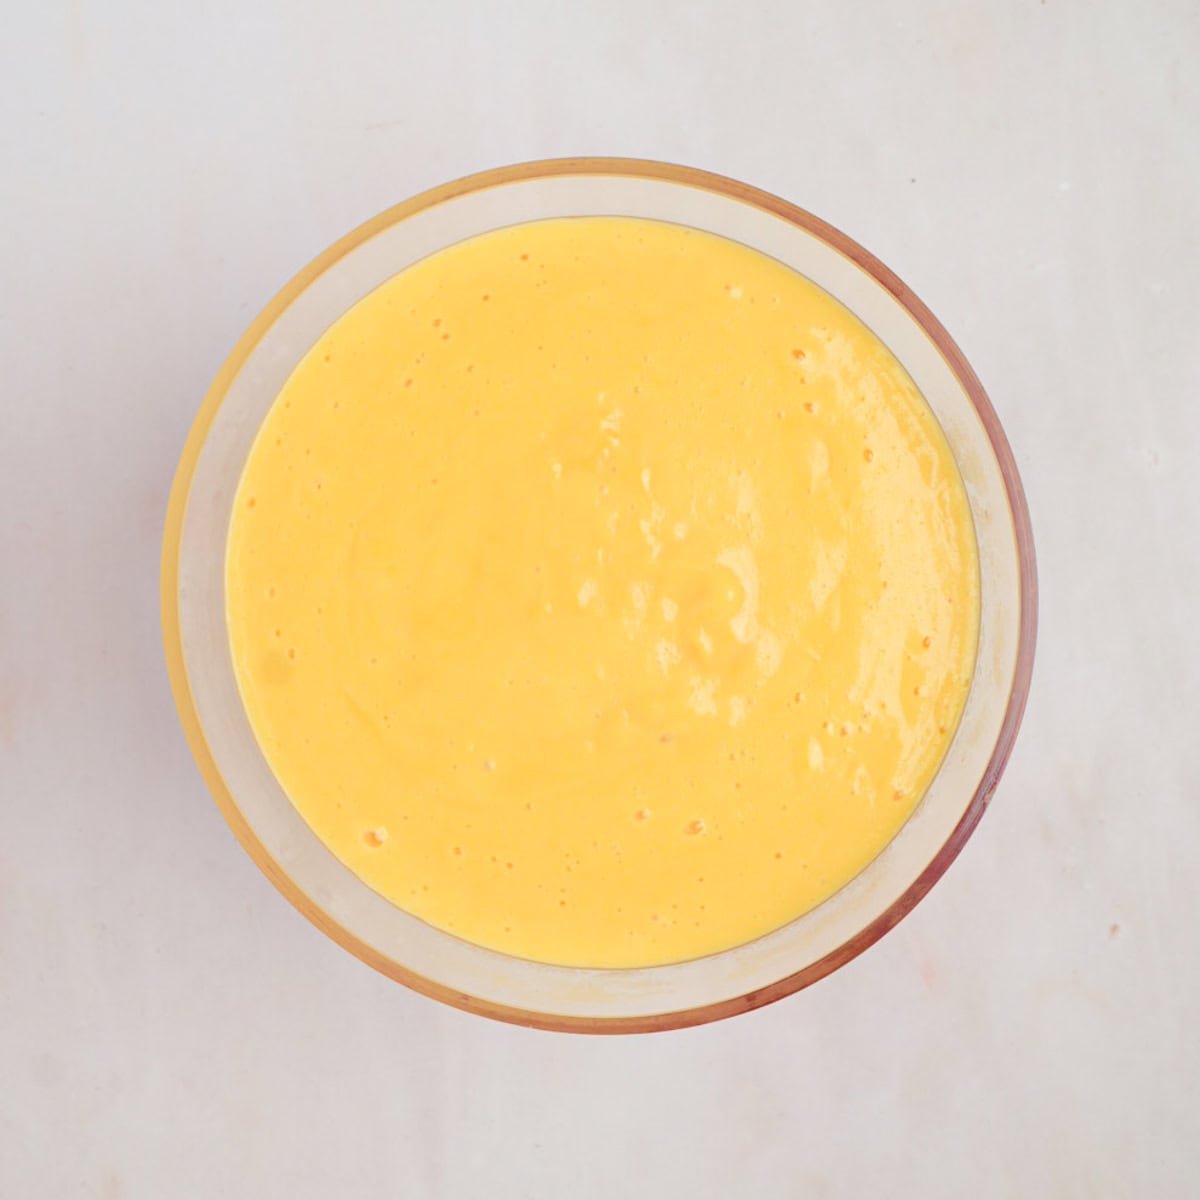
- Add the custard. Prepare the custard, pour and spread over the set jelly and refrigerate for at least 1 hour, until cold and slightly set.
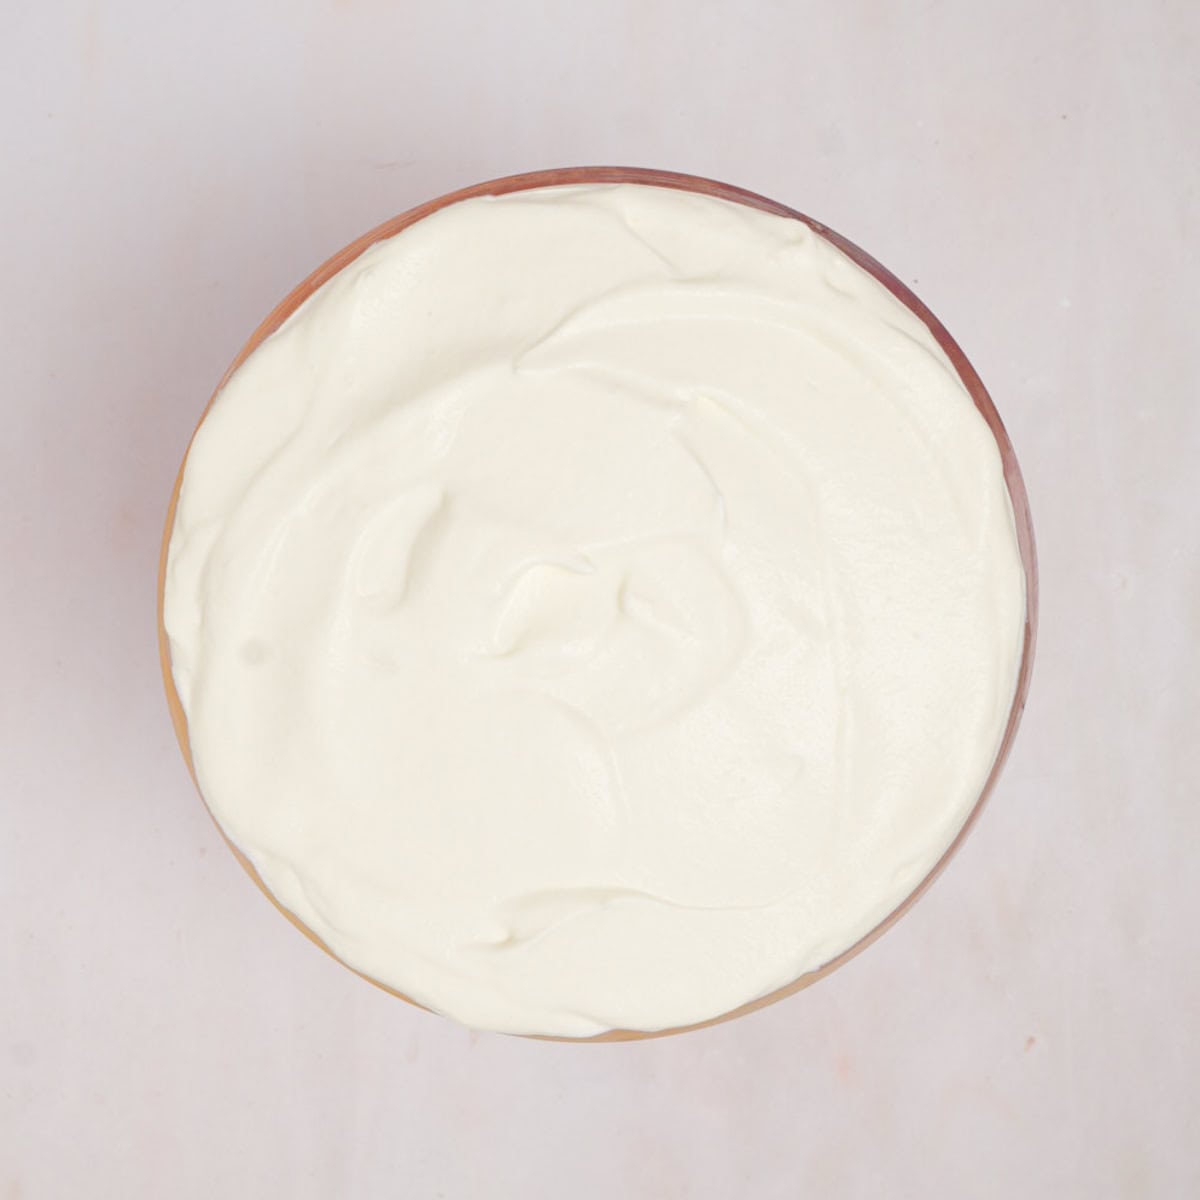
- Top with cream. Whip the cream to stiff peaks, then spread over the cold custard layer. Keep in the fridge until ready to serve.
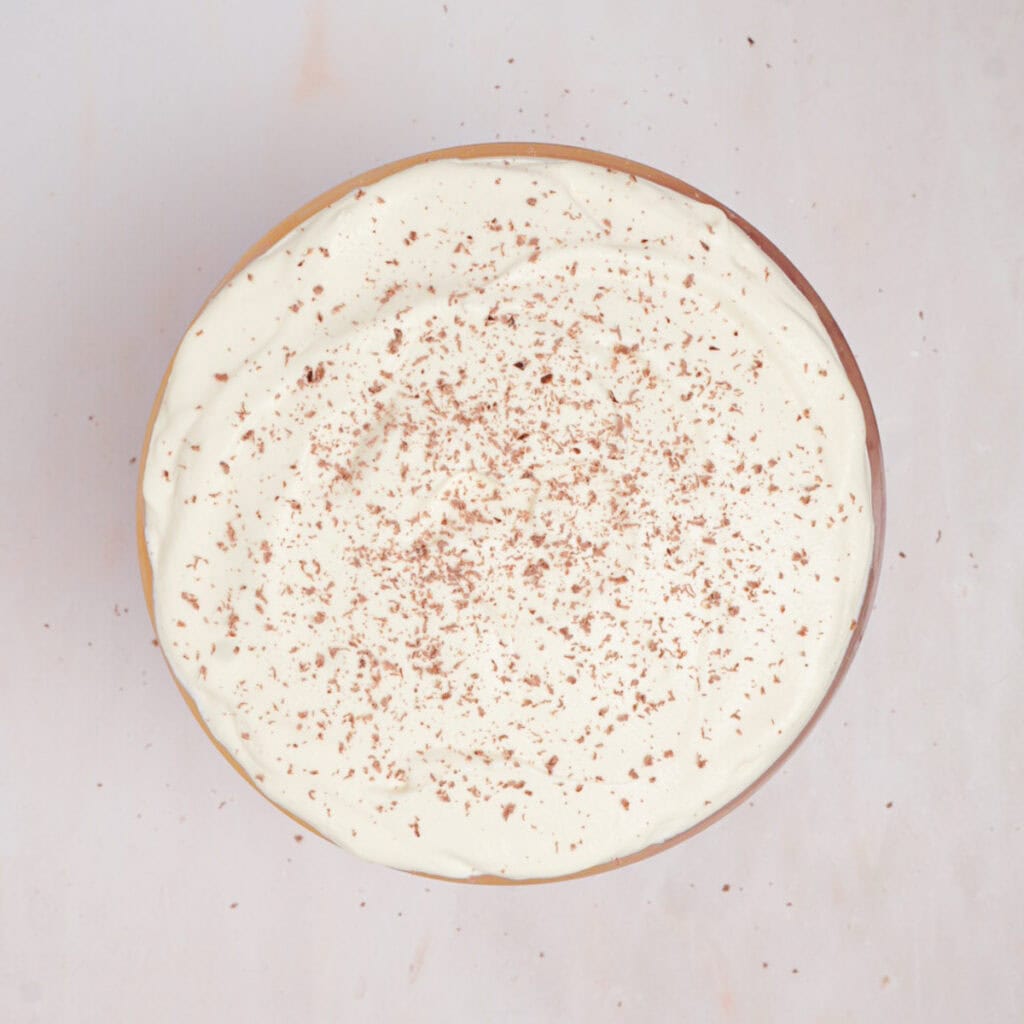
- Decorate and serve. Just before serving, finish with a scattering of sprinkles or crumbled chocolate flakes. Scoop through all the layers when serving.
Top Tips for Trifle
- Let the Jelly Fully Set: Check the jelly itself before adding the custard, rather than relying only on the clock. It needs to hold the next layer without everything mixing together.
- Make the Custard Thick Enough: A trifle should have a custard that holds its shape, not one that runs into the jelly. If you’re using custard powder, marginally reduce the milk or add an extra sprinkle of powder for a slightly thicker consistency. Or, if you are making custard from scratch, cook it until it starts to coat the back of a spoon.
- Cool Custard: If you pour piping hot custard over jelly, it will start to melt the jelly. Allow the custard to cool slightly (so it’s warm but not steaming) before adding it to the trifle. And give it a whisk before too, just to smooth out any lumps that have formed while cooling.
- Don’t Rush the Cream: Stop whisking the cream once it holds stiff peaks. Double cream in particular can quickly go from beautifully whipped to over-whipped, so take care towards the end. And, if you like, you can pipe the cream for a neat finish, or just spoon/spread it on for a more rustic look.
- Decorate Right Before Serving: Sprinkles can bleed their colours into the cream as they sit in the fridge, so add them, or some crushed-up chocolate flakes, just before bringing the trifle to the table.
Storage, Freezing & Make Ahead
- Make Ahead: You can make this trifle the day before serving, although I wouldn’t recommend starting earlier than that. I usually prepare the jelly base the night before, add the custard in the morning, and finish with cream closer to serving time. The cream topping can also be added up to 24 hours ahead. Either way, keep the trifle refrigerated and leave the sprinkles or chocolate flakes until just before serving.
- Storage: Keep your trifle covered in the fridge and eat within 2 days of making. Leftovers can stay in the trifle bowl or be transferred to a smaller covered container.
- Freezing: I don’t recommend freezing this trifle.
Trifle FAQs
Check that you’ve used the amount of water specified on your jelly packet and drained any tinned fruit. Fresh pineapple, kiwi and papaya can also prevent the jelly from setting, so avoid using these. If you’ve done everything right, it may just need longer in the fridge. Wait until the jelly is fully set before adding the custard.
Dry sponge fingers can float when first added to the liquid jelly. They should settle as they absorb it, but soaking them in a little fruit juice or sherry beforehand can help. There’s no need to arrange them perfectly – they’re going to be covered with custard anyway!
This recipe serves around 8 people in a 2-litre bowl – this is the exact trifle bowl I use. For a larger trifle, increase the ingredients in the same proportions and choose a bowl with enough room for all the layers. Allow plenty of setting time, checking that the jelly is firm before continuing.
More Classic Desserts
If you loved this traditional Trifle, here are some more of my favourite Dessert recipes for you to try next:
Save this recipe!
Want to save this recipe for later? Pop your email below and come back to it when you’re ready to bake.
Easy Trifle
INGREDIENTS
- 1 pint (568ml) Jelly (approx.; refer to packet instructions)
- 4-8 Trifle Sponges or Sponge Fingers
- 1 tin Fruit Cocktail (usually 410g / 14oz)
- 1 pint (568ml) Custard (approx.; refer to packet instructions)
- 300 ml Double or Whipping Cream
- Sprinkles or Chocolate Flake (to decorate; optional)
EQUIPMENT
- Saucepan
INSTRUCTIONS
- Prepare approximately 1 pint (568ml) of jelly according to the packet instructions.1 pint (568ml) Jelly
- Pour the prepared jelly into a 2-litre trifle bowl. Add the trifle sponges or sponge fingers, breaking them into smaller pieces if needed. Drain the fruit cocktail and add the fruit to the jelly mixture.1 tin Fruit Cocktail; 4-8 Trifle Sponges or Sponge Fingers
- Place in the fridge until the jelly is fully set. Follow your packet's setting instructions – usually around 2 hours, although you can leave it overnight.
- Once the jelly has set, prepare approximately 1 pint of custard according to the packet instructions. If using Bird's Original Custard Powder, see the quantities in the notes below. Ready-made custard can be used straight from the container.1 pint (568ml) Custard
- Leave freshly prepared custard to cool for 5-10 minutes, then whisk well to smooth out any lumps or skin. Gently spoon or pour the custard over the set jelly, spreading it to the edges of the bowl. Place back in the fridge for at least 1 hour, until cold and slightly set.
- Whisk the cream until it holds stiff peaks, being careful not to over-whip. Spread or pipe the cream over the cold custard layer.300 ml Double or Whipping Cream
- Return to the fridge until ready to serve. Add sprinkles or crumbled chocolate flakes just before serving, then use a large spoon to scoop through all the layers to serve.Sprinkles or Chocolate Flake
IMPORTANT NOTE:
All my recipes are developed using a digital scale and the metric system (grams and millilitres). Cup measurements are available as a conversion, but these, unfortunately, won’t always be as accurate. For best results, I always recommend baking with a digital scale.
RECIPE NOTES:
LIKE THIS RECIPE?
Leave a comment and rating below!Originally published in December 2022.









ABOUT THE AUTHOR
Amy Beth Reid
Amy Beth Reid is an award-winning food blogger, mother, wife and cookbook author. Inspired by her childhood in the kitchen with her Mum – a professional baker and her children’s Granny – Amy now shares her tried-and-tested traditional home baking recipes with bakers of all abilities around the world. She lives in Scotland with her husband, two sons and her small pack of Siberian huskies.