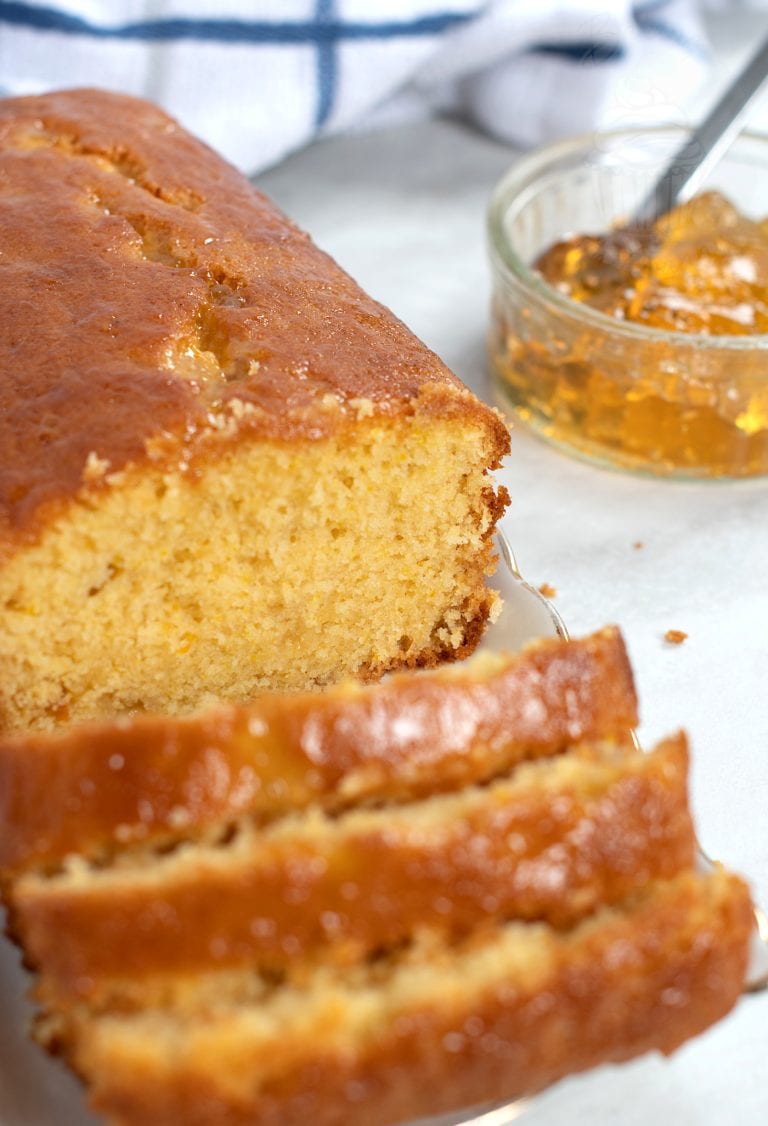
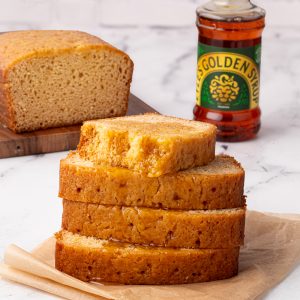
This easy Golden Syrup Cake is everything a proper syrup cake should be – sweet, moist and slightly sticky, with plenty of golden syrup baked into the loaf and a little more poured over the top. It’s wonderfully simple to make and even better after a day or two, when the cake becomes softer and the golden syrup flavour deepens.
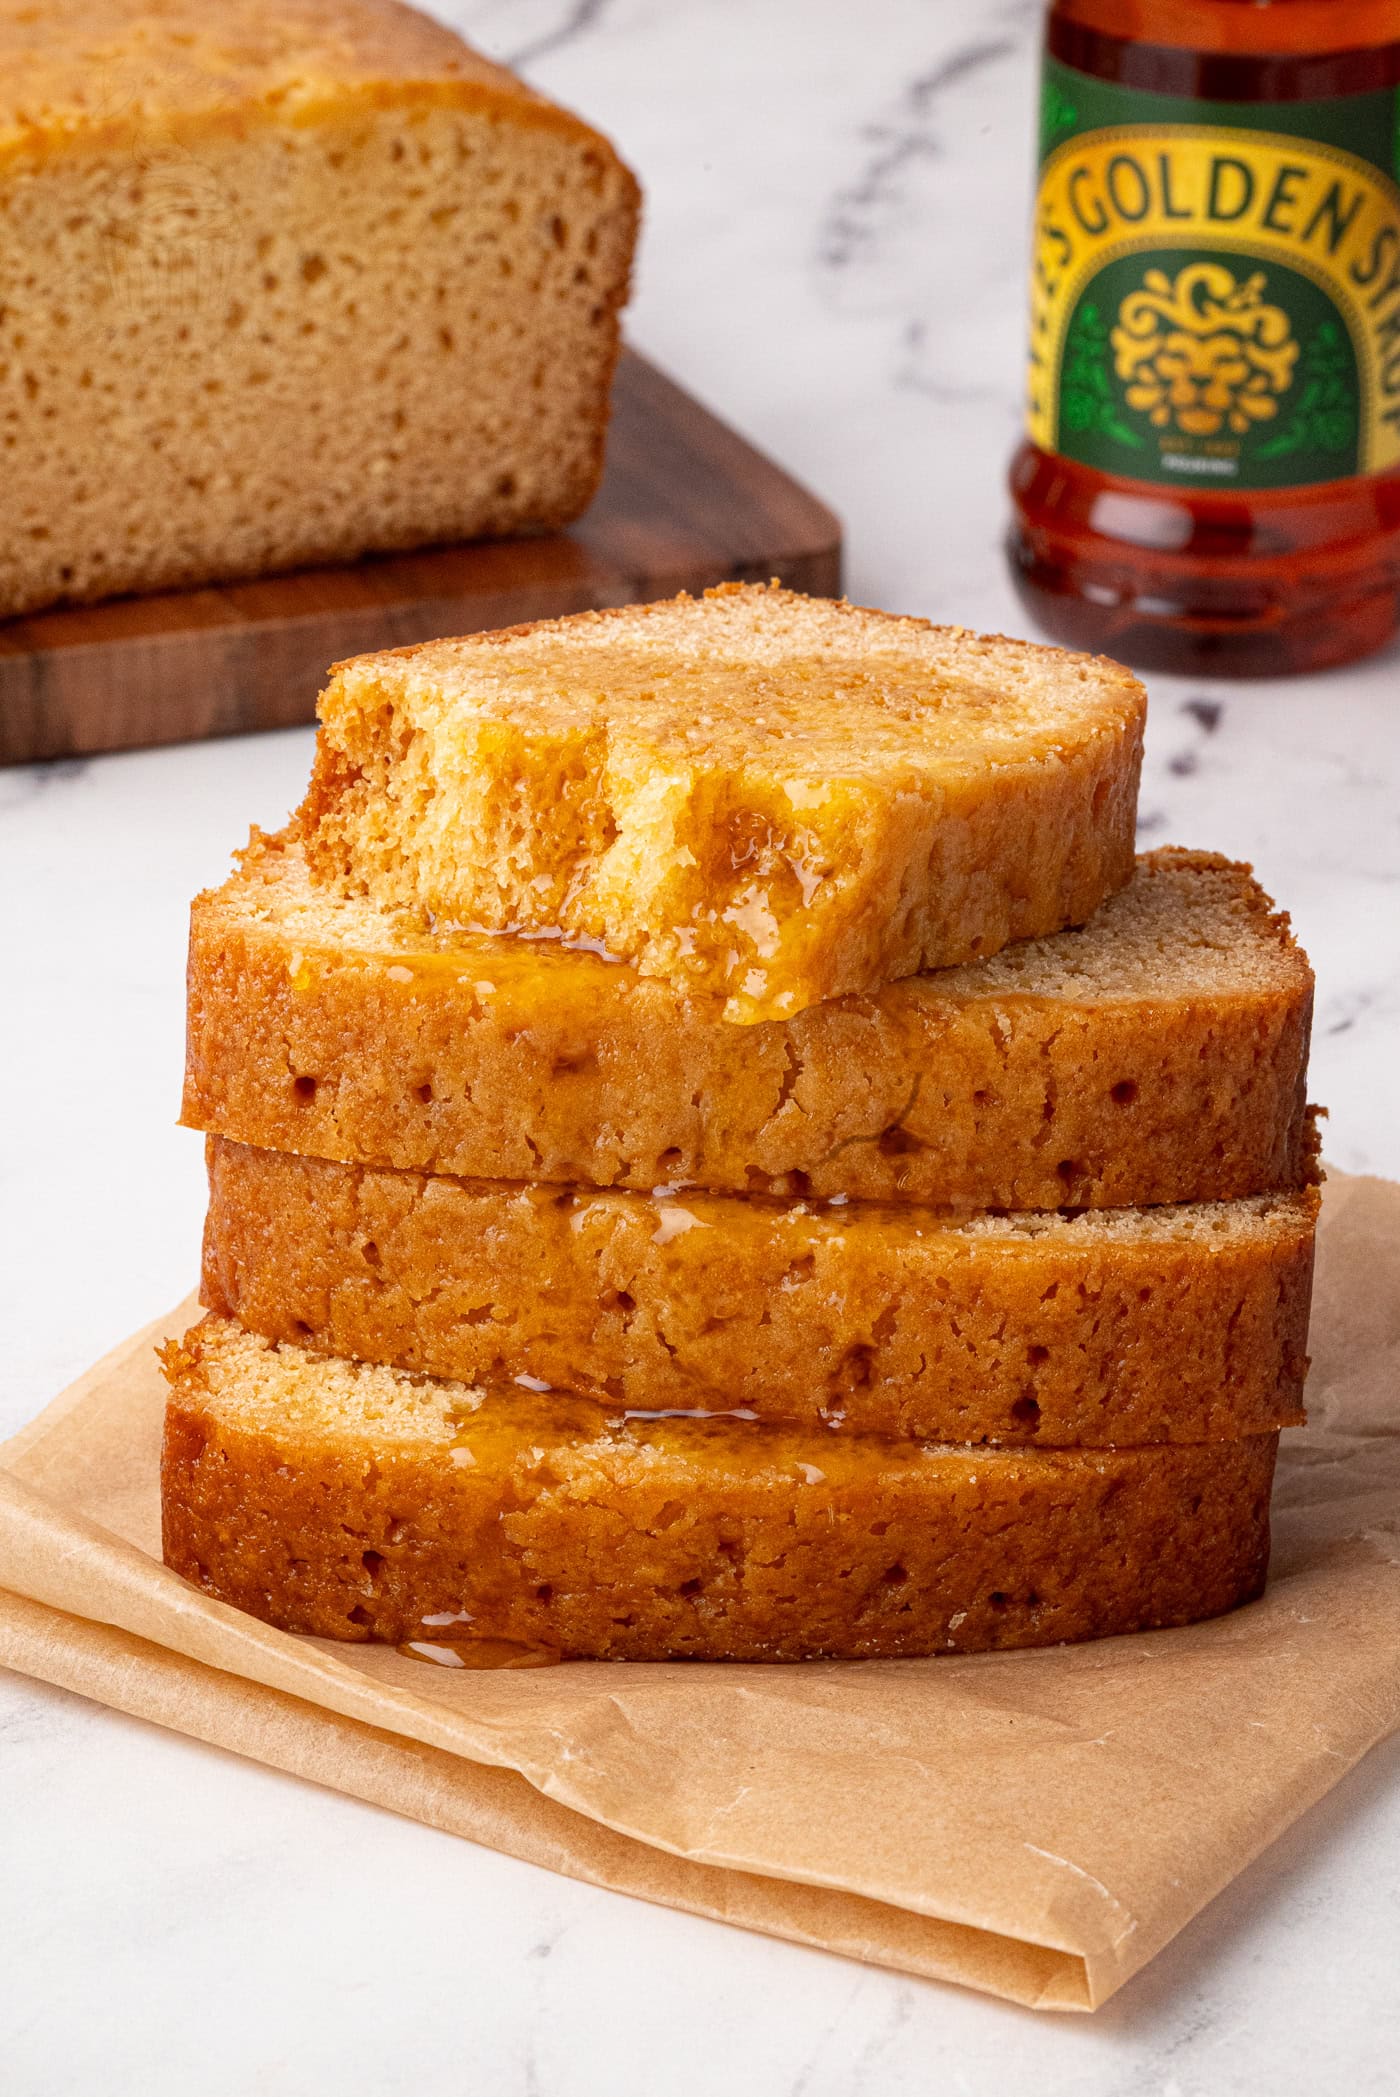
Golden Syrup Cake Recipe Snapshot
- Recipe: Golden Syrup Cake.
- Texture: Moist, soft and slightly dense with a sticky top.
- Flavour: Sweet, rich and unmistakably golden syrup.
- Difficulty: Easy.
- Method: Melting method.
- Prep Time: 20 minutes.
- Bake Time: Approx. 1 hour.
- Tin: 900g (2lb) loaf tin.
- Golden Syrup: 200g in the cake + 2 tbsp on top.
- Best Eaten: After at least 24 hours, but ideally after 2-3 days maturing.
- Keeps For: Around 1 week when stored airtight.
- Best Served: Sliced as it is, or with ice cream or custard if serving as a dessert.
Summarise & Save this Recipe on:
What Is Golden Syrup Cake?
Golden Syrup Cake is a simple British loaf cake made with plenty of golden syrup, giving it a sweet, moist and slightly sticky texture. The syrup is baked into the cake, then a little more is added on top after baking for an extra delicious sticky finish.
This style of syrup cake is made the same way as my Gingerbread Loaf Cake and Honey Nut Cake, by using the melting method – where the margarine/butter, sugar and golden syrup are gently melted together before being mixed in with the remaining ingredients. That gives you a much runnier batter than a traditional creamed sponge, like Sultana Cake or Angel Cake, but also helps create the soft, slightly dense texture that suits Golden Syrup Cake so well.
My recipe uses 200g of golden syrup in the cake, so the flavour is unmistakable rather than just a wee hint in the background. Once baked, another 2 tablespoons are spread over the top, with a few holes pricked into the cake to let some of that syrup soak right in.
It’s lovely once cooled, but this is another cake – like Scottish Dundee Cake and Welsh Bara Brith – that gets even better if you can leave it alone for a day or two. As it matures, the cake softens further, the top becomes stickier, and that lovely golden syrup flavour just seems to deepen even more.
A Baking with Granny Favourite Since 2017
When I first published this Golden Syrup Cake back in 2017, there were surprisingly few recipes for it online – I, for one, struggled to find any. Plenty may have followed since I shared mine, but this simple little syrup cake has remained one of the Baking with Granny recipes that home bakers seem to come back to again and again.
I originally created it because my Dad used to love the Golden Syrup Cake you could buy from the supermarket, but it had become harder to find. Using the sort of traditional baking recipes I’d found in my own Granny’s cookbook and recipe collection as a starting point, I went on a mission to create my own.
Nearly a decade later, this recipe itself hasn’t changed. It’s still intentionally simple, with the golden syrup doing most of the work – giving the cake its sweetness, moisture and slightly sticky texture – and it remains one of my recipes that home bakers regularly tell me is their favourite.
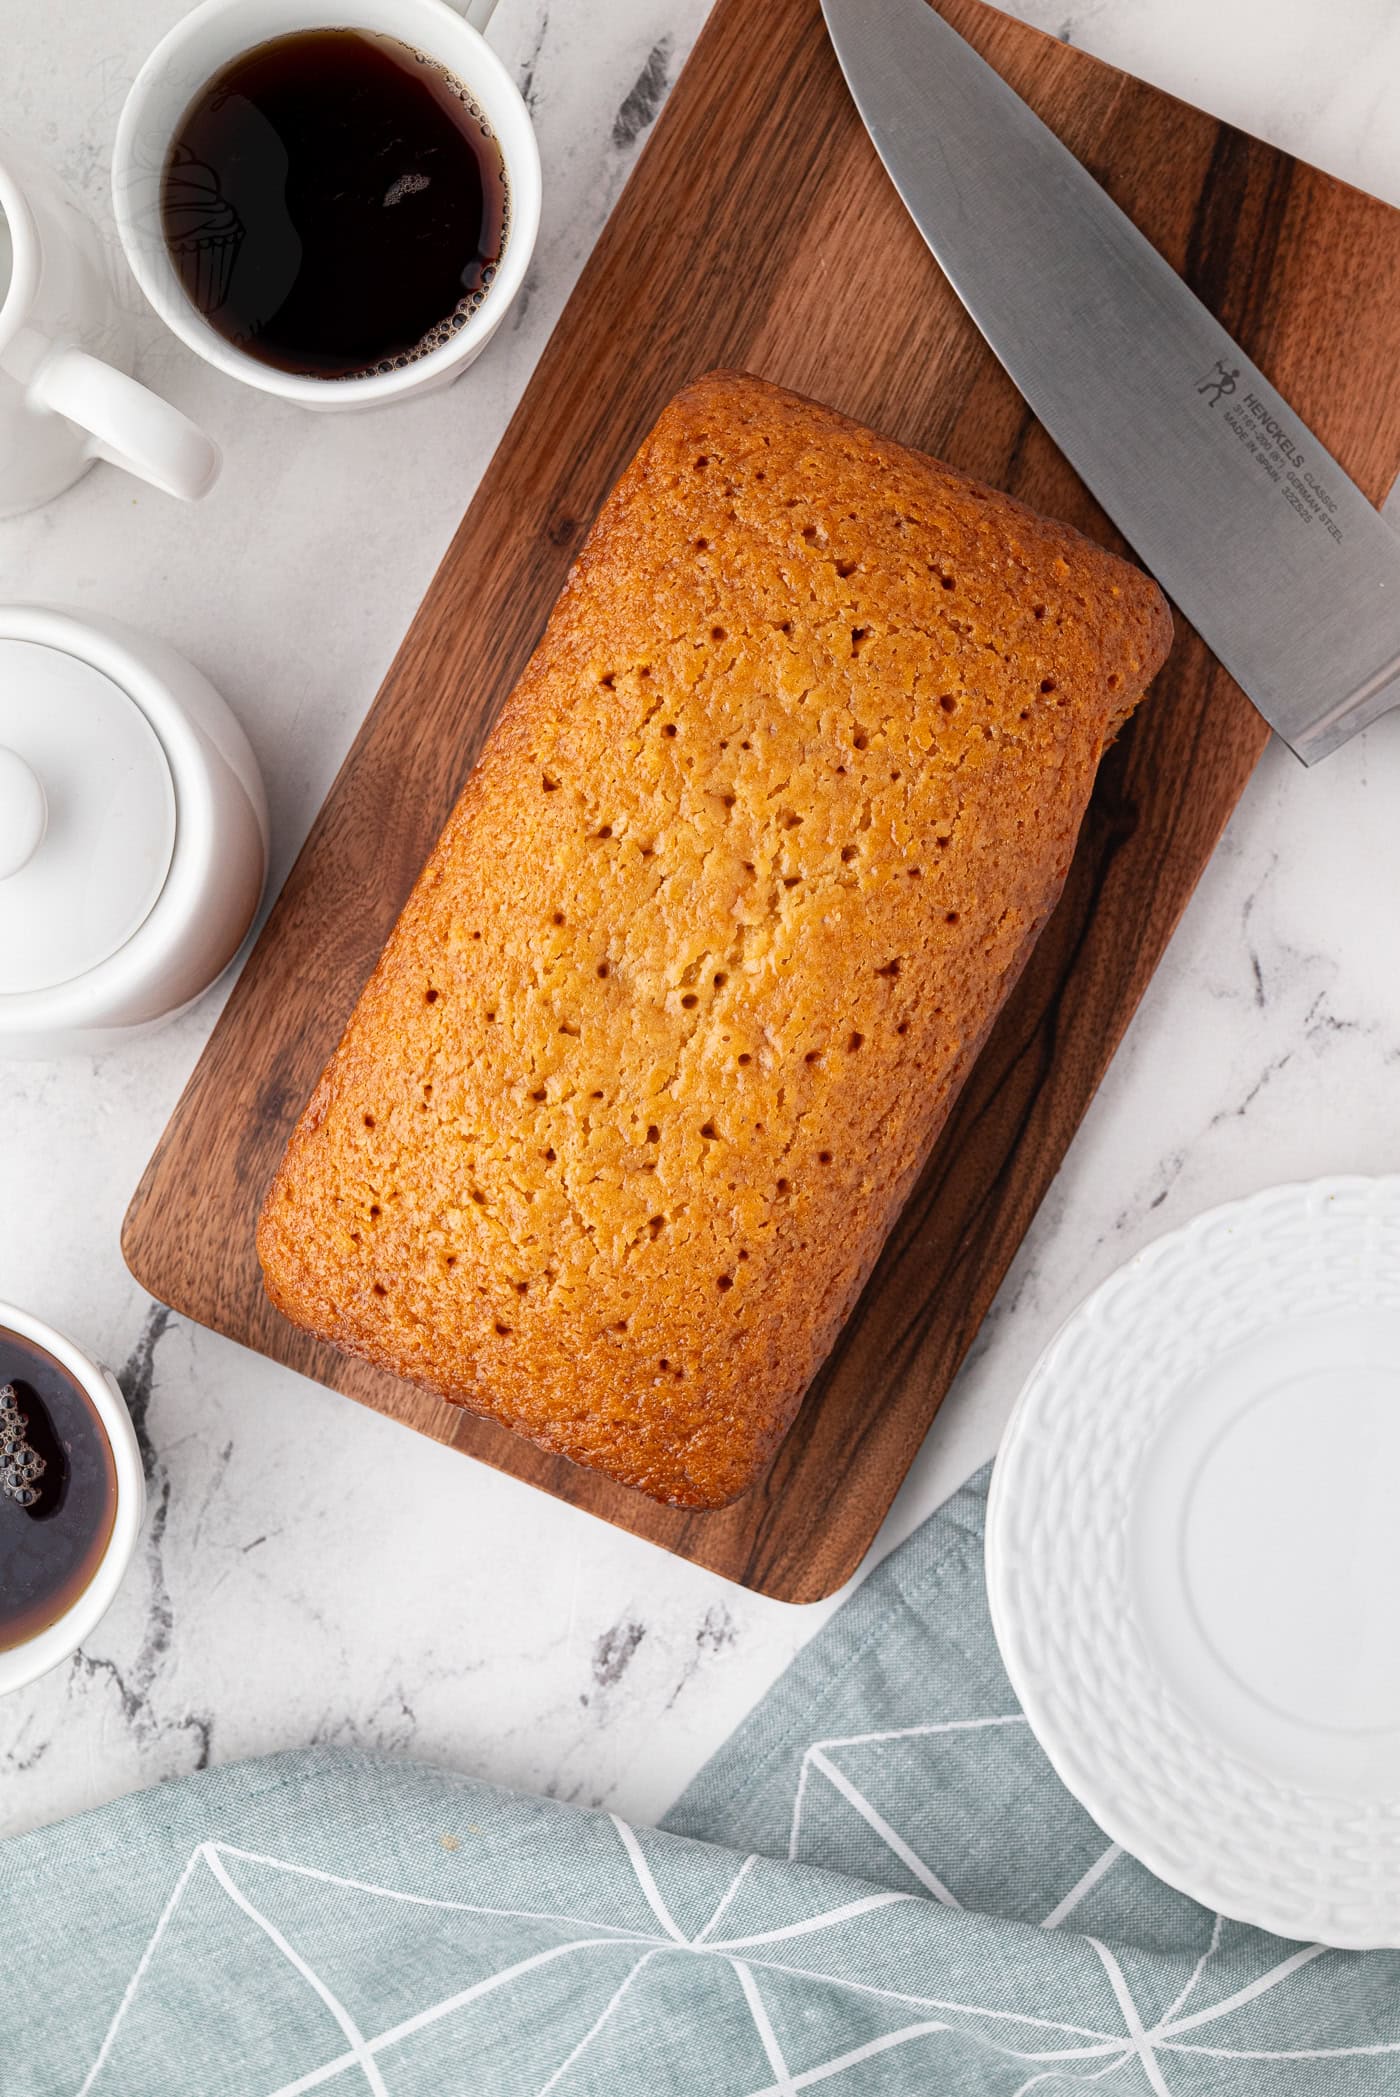
Key Ingredients
There aren’t many ingredients in this cake, which is exactly why getting the balance between them matters. Golden syrup is very much the star of the show, with the remaining ingredients giving you that soft, moist, slightly dense loaf.
See the recipe card for a full ingredients list, required quantities and cup conversions.
Substitutions & Additions
Golden Syrup: If you really can’t get hold of golden syrup, you could use light corn syrup instead, but I wouldn’t particularly recommend it for this recipe. Corn syrup is much milder in flavour, so the finished cake will not only be paler, but it also won’t have that distinctive rich golden syrup taste. And, ultimately, it won’t really be a Golden Syrup Cake! I also wouldn’t recommend using a homemade “golden syrup” here. Most homemade versions are essentially flavoured sugar syrups rather than the same product as genuine golden syrup, and when you’re using 200g of it as the main flavour in a cake, that difference matters. This is one recipe where I think it’s worth tracking down a proper tin of golden syrup. You can read more about what golden syrup is, where to find it and possible alternatives in my Golden Syrup Ingredient Guide.
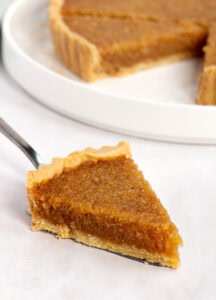
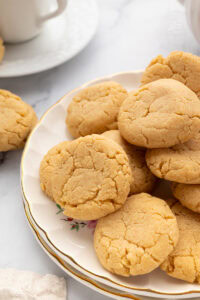
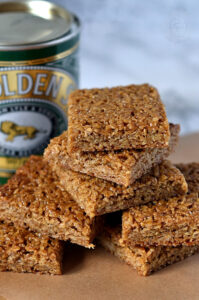
Plus, if you have some syrup leftover, you could use it in my Treacle Tart recipe, Ginger Biscuits, Chewy Flapjack and Perkins Cookies.
Milk: Dairy or non-dairy milk will both work. I’ve made this cake successfully with regular dairy milk and soya milk, and there isn’t really a noticeable difference once everything is baked.
Additions: Golden syrup is very much meant to be the star of this cake, so I generally keep it simple. If you do fancy adding something extra, a handful of sultanas would work well with the sweet, rich flavour.
Looking for dairy-free, gluten-free or vegan adaptations? See the Free-from & Vegan section below.
What is Golden Syrup?
Golden Syrup is a popular baking ingredient in the UK… But what is it? Where can you get it? And what can you use as a substitute?
My in-depth Golden Syrup Ingredient Guide has all the answers to your questions!
Free-from & Vegan
Gluten-free Options:
Swap the self-raising flour for a gluten-free self-raising flour on a like-for-like basis. This should work especially well for Golden Syrup Cake, particularly as this is a very moist, slightly dense cake rather than a super light sponge. And the good news is that golden syrup is also gluten-free!
Nut-free Adjustments:
This recipe contains no nuts, but as always, be sure to double-check the allergen lists for your individual ingredients.
Dairy-free Swaps:
To make this a dairy-free recipe, simply use a dairy-free block margarine in place of the butter/margarine and your favourite non-dairy milk alternative. I’ve made this with soya milk successfully, but other plant-based milks should work too.
Egg-Free Adaptations:
I haven’t yet tested this recipe egg-free, but like with many cake recipes, it should work just fine with a vegan egg replacer, such as Oggs or Bob’s Red Mill Egg Replacer.
Vegan Substitutions:
Combine the dairy-free and egg-free suggestions above, using dairy-free block margarine, non-dairy milk and a suitable vegan egg replacer. And the good news is that golden syrup is also completely vegan!
Allergy Disclaimer & Resources:
Any advice or suggestions to make recipes “free-from” or vegan are purely suggestions. Please double-check all packaged ingredients individually, taking extra caution when baking for those with allergies or intolerances.
For official guidance on food allergies, please see Food Standards Agency (food.gov.uk) | For more info on coeliac disease, please see Coeliac UK (coeliac.org.uk) | For more info on a vegan diet, please see The Vegan Society (vegansociety.com)
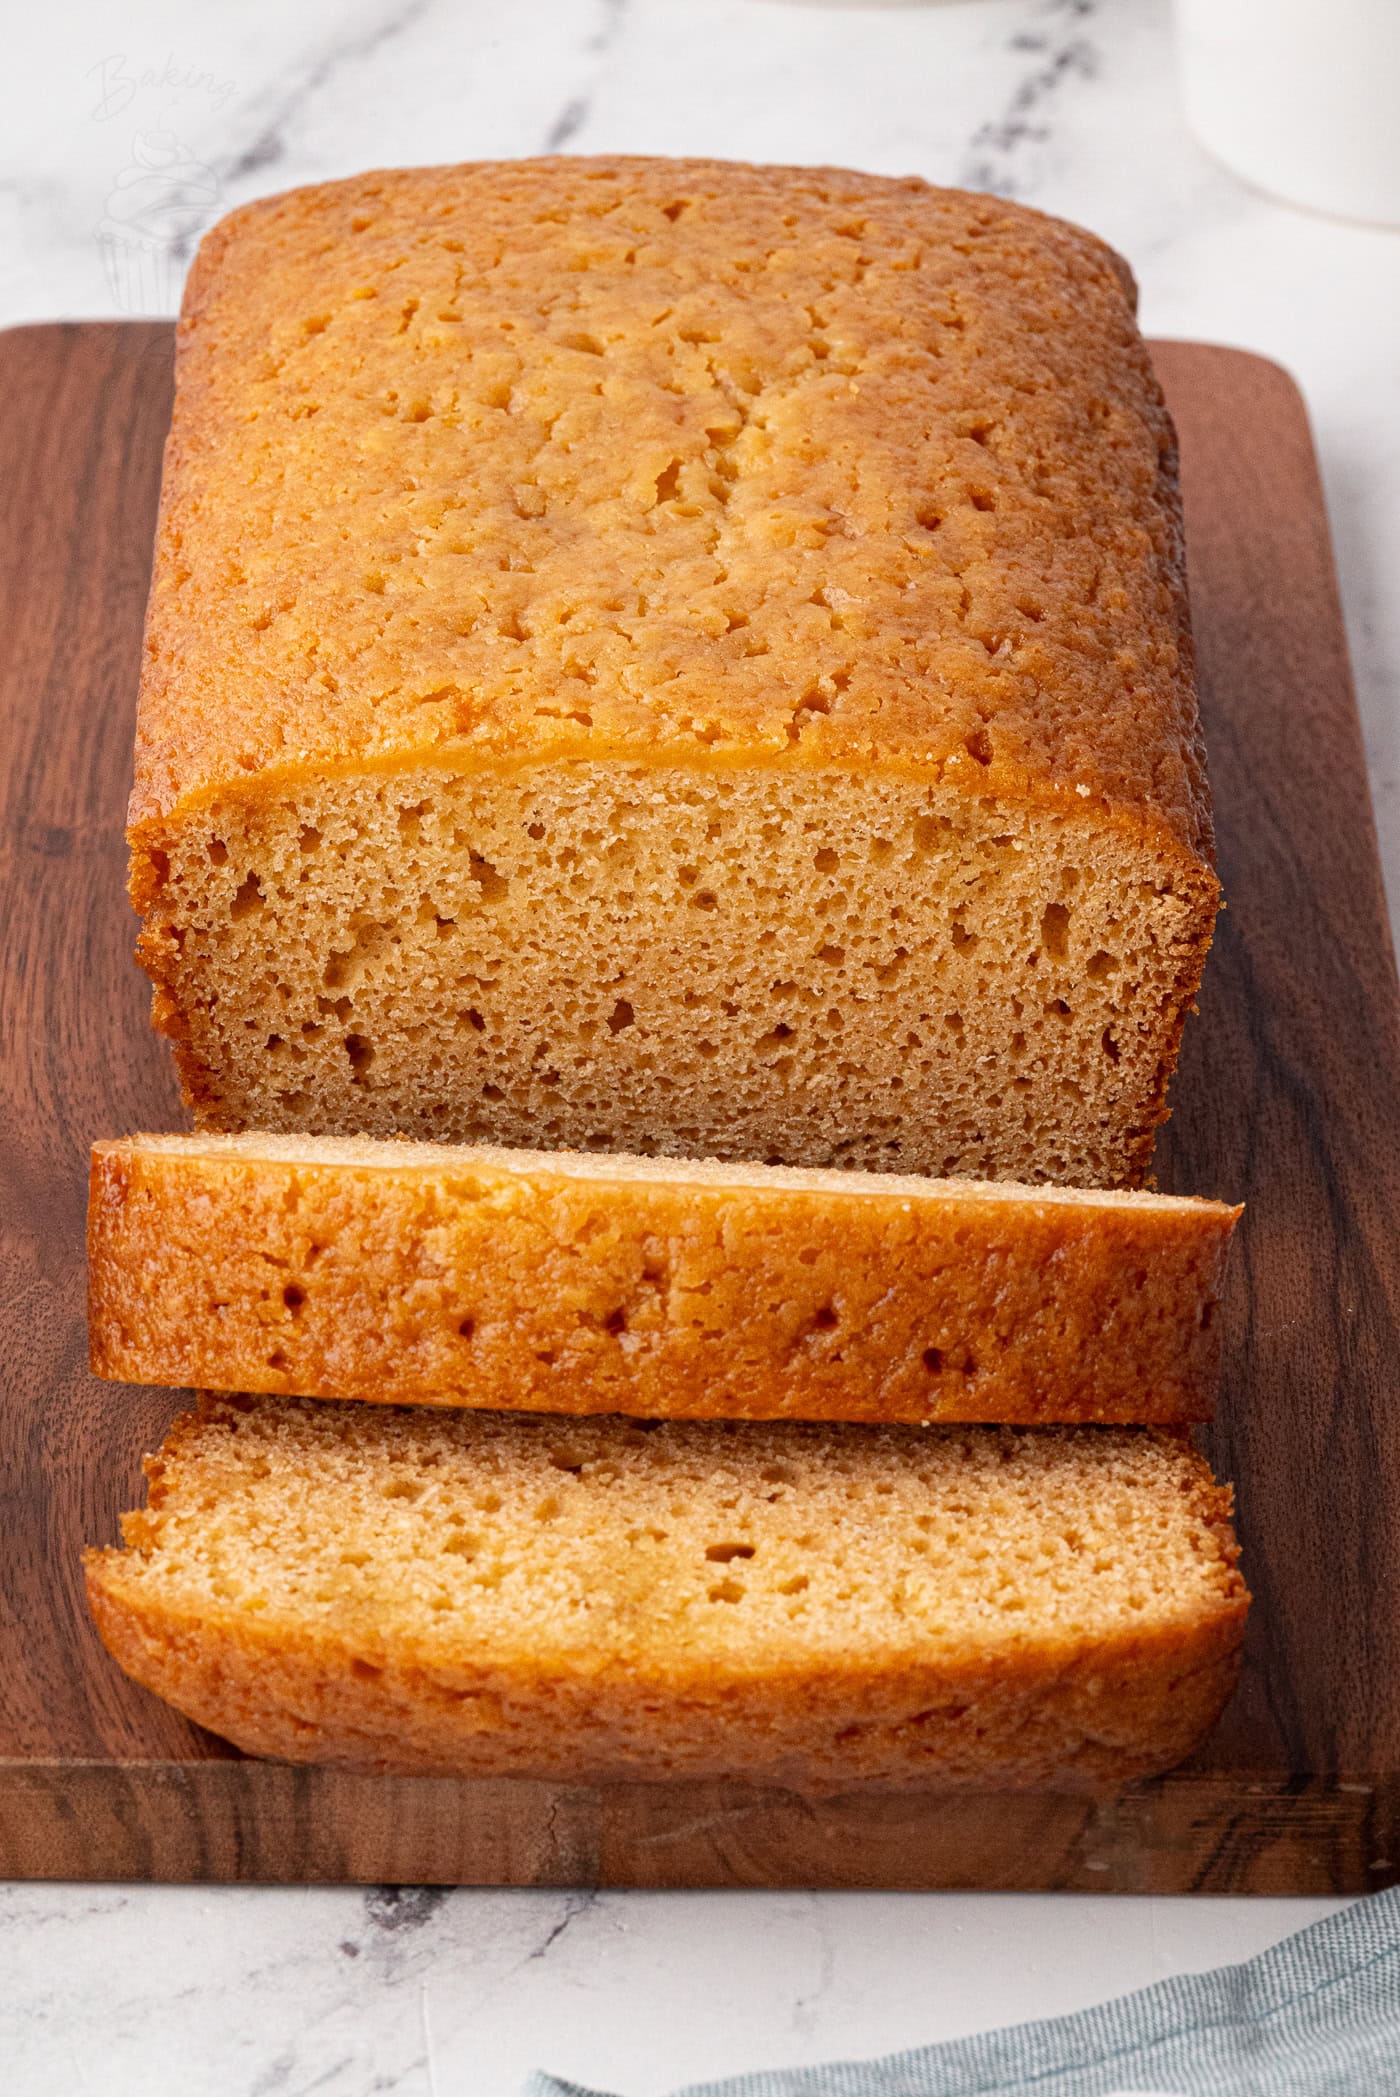
How to Make Golden Syrup Cake
Golden Syrup Cake is incredibly easy to make and uses the melting method, so there’s no need to cream margarine/butter and sugar together. The batter will be quite runny once mixed – that’s exactly how it should be.
- Prepare your oven and tin. Preheat your oven to 160°C (140°C fan-assisted ovens, Gas Mark 3 or 325°F). Grease and line a 900g (2lb) loaf tin with greaseproof paper.
- Melt the margarine/butter, sugars and golden syrup. Add the margarine/butter, caster sugar, soft brown sugar and 200g golden syrup to a saucepan. Heat gently, stirring occasionally, until everything has just melted together. Do not let the mixture boil!
- Leave the syrup mixture to cool. Remove the pan from the heat and set aside for at least 10 minutes. You want it to cool slightly before it comes into contact with the egg.
- Mix the egg and milk. In a small bowl or jug, beat the egg and milk together until combined.
- Make the cake batter. Sift the self-raising flour into a large bowl, then add the egg and milk mixture followed by the cooled syrup mixture. Beat everything together until combined and there are no obvious lumps of flour. The finished batter will be quite loose and runny compared with a traditional sponge cake mixture – don’t be tempted to add more flour.
- Fill the loaf tin. Pour the batter into your prepared tin. Being quite runny, it should settle and level itself without much help.
- Bake. Bake for around 1 hour, until the cake is golden, well risen and a skewer inserted into the centre comes out clean. Oven temperatures can vary, so use the time as a guide and check the cake itself to decide when it’s ready.
- Let the cake settle. Leave the Golden Syrup Cake in its tin for 10 minutes after removing it from the oven. The top will still be very soft when first baked, so this gives it a little time to firm up – and means you’re less likely to burn yourself when adding the syrup!
- Add the golden syrup topping. Use a skewer to prick holes around halfway down into the cake. There’s no need to be too precise. Spread 2 tablespoons of golden syrup over the still-warm top, allowing some to seep into the holes while the rest forms a sweet, sticky glaze.
- Cool completely. Leave the cake to finish cooling in the tin. Once cool, remove it but keep the greaseproof paper around the cake. If you’re leaving it to mature, place another piece of greaseproof paper over the sticky top before wrapping it in cling film, so the wrapping doesn’t stick to the cake.
Top Tips for the Best Golden Syrup Cake
- Let the Melted Mixture Cool: Give the melted margarine/butter, sugars and golden syrup at least 10 minutes to cool before mixing everything together. It doesn’t need to be cold, but you don’t want it piping hot when it comes into contact with the egg (otherwise it could scramble!).
- Don’t Worry About the Runny Batter: This cake uses the melting method, so the batter is naturally much looser than a traditional sponge mixture. Don’t be tempted to add extra flour – a fairly runny batter is exactly what you’re looking for.
- Don’t Overbake It: Around 1 hour is usually right, but ovens can vary considerably, so use the time as a guide. The cake should be golden, well risen, and a skewer inserted into the middle should come out clean. Leaving it in for longer than needed can impact the lovely moist texture.
- Wait Before Adding the Extra Syrup: Leave the freshly baked cake in its tin for about 10 minutes before pricking and glazing it. The top is very soft straight from the oven, so that short amount of rest gives it a chance to firm up a little – and saves you trying to handle a piping-hot cake!
- Don’t Overthink the Holes: Prick the skewer roughly halfway into the cake in as many or as few places as you like. The extra syrup is mainly there to create that sweet, sticky finish on top, with just a little seeping into the cake as well.
- Give It Time to Mature: You can absolutely eat Golden Syrup Cake as soon as it’s cooled, but waiting 24 hours is better, and 2-3 days is ideal. As it matures, the cake becomes softer, and the golden syrup flavour develops even more.
- Protect That Sticky Top: When wrapping the cooled cake, leave the greaseproof paper around the sides and place another piece over the top before wrapping it in cling film. This stops the cling film sticking to (and pulling off) the lovely syrupy top.
Making Ahead, Storage & Freezing
- Making Ahead: Golden Syrup Cake is perfect for making ahead because the taste actually gets better with time. You can eat it as soon as it has completely cooled, but I recommend leaving it for at least 24 hours – and ideally 2–3 days if you can. As it sits, the cake becomes even softer, and the golden syrup flavour develops, while that extra syrup on top settles into a lovely sticky finish.
Once completely cool, remove the cake from the tin but leave the greaseproof paper around it. Place another piece of greaseproof paper over the sticky top, before wrapping the whole cake well in cling film (plastic wrap). - Storage: Keep your Golden Syrup Cake well wrapped or in an airtight container at room temperature for up to 1 week. Only slice what you need, then wrap the remaining cake again to help keep it soft and moist.
- Freezing: Golden Syrup Cake freezes well, either whole or in individual slices. Once completely cool, wrap it well before freezing for up to 3 months. Allow the cake to defrost at room temperature before serving. If freezing individual slices, you can just take out however many slices you need at a time.
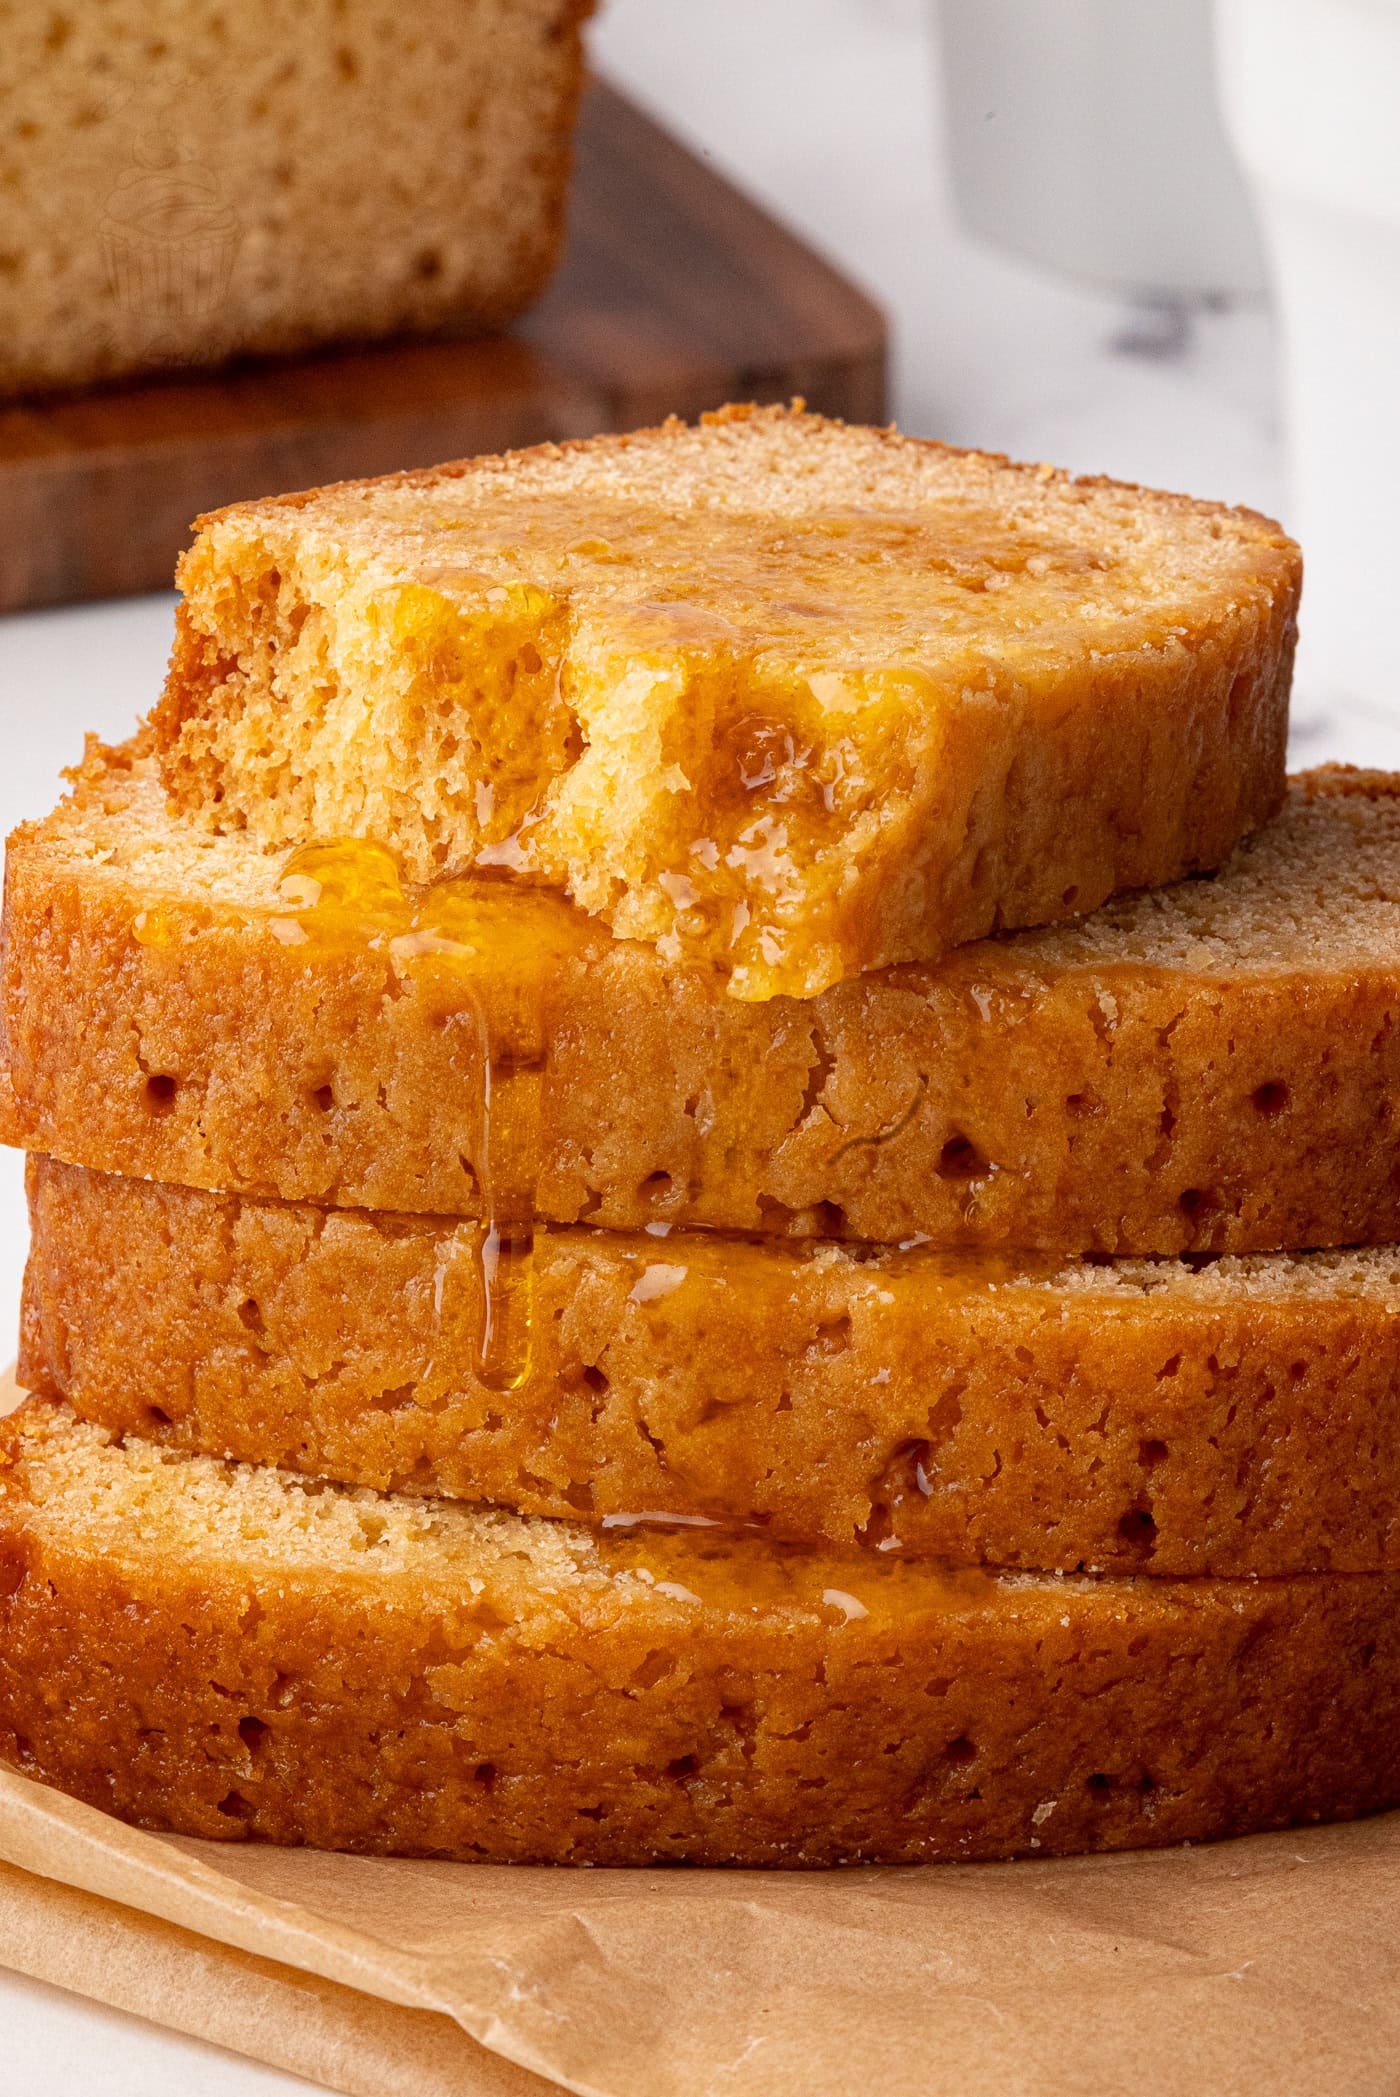
Thank you to Naomi Seiler for creating these photos.
Golden Syrup Cake FAQs
Technically, yes… You could use something such as light corn syrup, but I wouldn’t really recommend it for this particular recipe. Golden syrup is the main flavour of the cake, as well as contributing to its colour, sweetness and texture. Any substitute will give you a noticeably different result – and it won’t really be a Golden Syrup Cake! If you’re struggling to find some, my Golden Syrup Ingredient Guide has more information on where you can buy it and how it differs from other syrups.
Don’t panic! That’s completely normal. This cake uses the melting method, so the batter is much looser than a traditional creamed sponge mixture. And don’t be tempted to add extra flour – as long as you’ve followed the quantities, a fairly runny batter is exactly what you want.
Around 1 hour is usually right, but because ovens can vary quite a bit, try and only use the time as a guide. The cake should be golden, well risen, and a skewer inserted into the centre should come out clean. If any wet batter comes back on the skewer, give it a little longer and then check again.
Most of the golden syrup flavour and moisture is already baked into the cake itself. The extra 2 tablespoons brushed on the cake at the end are mainly to give the top a sweet, sticky glaze, with a little syrup seeping into the holes underneath. I leave the cake for about 10 minutes before adding it so the very soft top has a little time to firm up slightly first.
Yes! Golden Syrup Cake should be soft and moist, with a slightly dense crumb and a delicious sticky finish on top. It becomes even better after it has been wrapped and left to mature – 24 hours makes a difference, but closer to 2-3 days is ideal.
More Golden Syrup Bakes
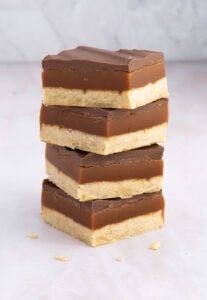
If you loved this traditional Golden Syrup Cake, here are some more of my favourite golden syrup recipes for you to try next:
Save this recipe!
Want to save this recipe for later? Pop your email below and come back to it when you’re ready to bake.
Golden Syrup Cake
INGREDIENTS
- 100 g Block Margarine or Butter (plus extra for greasing)
- 50 g Caster Sugar
- 50 g Soft Light Brown Sugar
- 200 g Golden Syrup (see Golden Syrup note below)
- 200 g Self-raising Flour (see Self-raising Flour note below)
- 1 Free-range Egg (at room temperature; see Egg Size note below)
- 150 ml Milk
- 2 tbsp Golden Syrup (see Golden Syrup note below)
EQUIPMENT
INSTRUCTIONS
- Preheat your oven to 160°C (140°C for fan-assisted ovens, Gas Mark 3 or 325°F). Grease and line a 900g (2lb) loaf tin with
greaseproof paper . Set aside. - Place the margarine/butter, syrup and sugars in a medium saucepan and warm gently over low-medium heat, stirring occasionally, until the ingredients are just melted together. Once melted, remove from the heat and set aside to cool for at least 10 minutes.
- In a small bowl/jug, beat the milk and egg together and set aside.
- In a large bowl, sift the flour before adding the milk/egg mixture and the cooled syrup mixture. Mix until combined, and you have a lump-free, somewhat runny batter.
- Pour the batter into your pre-lined loaf tin. Bake in your preheated oven for around 1 hour, until golden on top and a skewer inserted comes out clean.
- Remove from the oven and leave to cool for 10 minutes. Using a skewer or
cocktail stick , poke the top of the cake all over, then spread with 2 tablespoons of golden syrup. - Leave to cool completely in the tin. Once cool, remove the cake but keep the
greaseproof paper around it. For the best flavour and texture, cover the sticky top with another piece ofgreaseproof paper , wrap well and leave for at least 24 hours (but ideally 2–3 days) before serving.
IMPORTANT NOTE:
All my recipes are developed using a digital scale and the metric system (grams and millilitres). Cup measurements are available as a conversion, but these, unfortunately, won’t always be as accurate. For best results, I always recommend baking with a digital scale.
RECIPE NOTES:
LIKE THIS RECIPE?
Leave a comment and rating below!Originally published in June 2017.