Victoria Scones
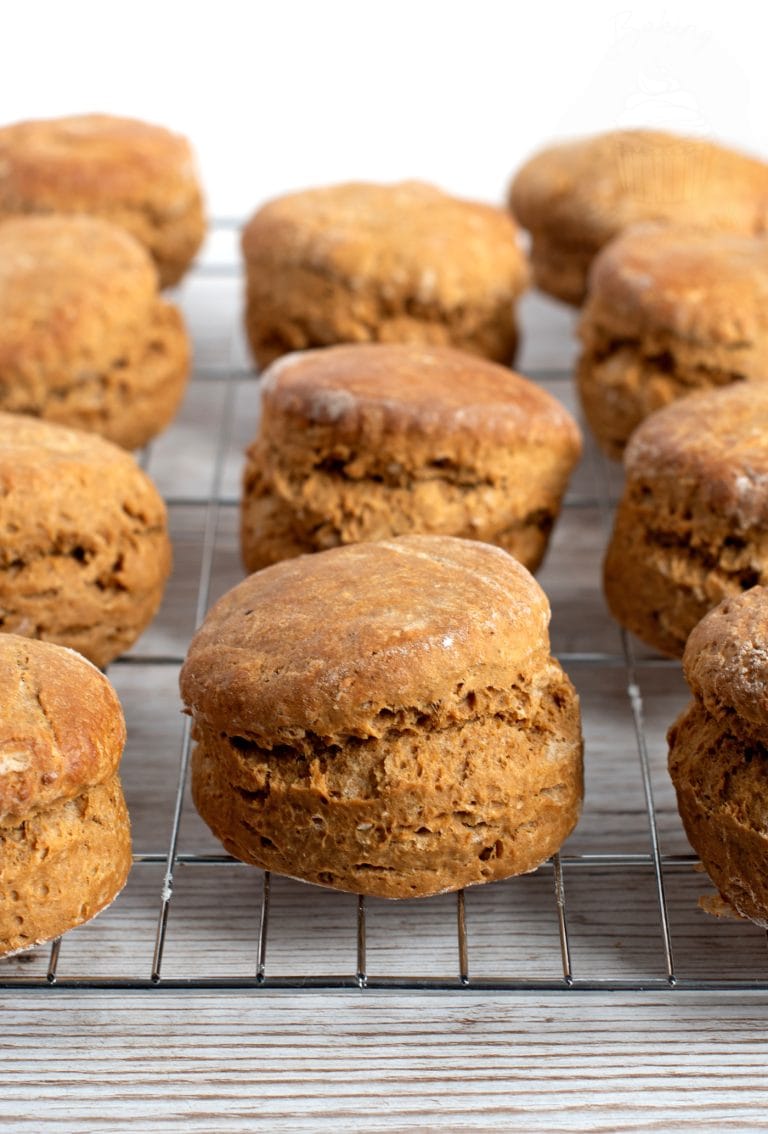
Victoria Scones are a sweet, rich twist on the traditional British scone, finished with glace cherries and crossed tops. Soft, buttery, and easy to make – they’re perfect for afternoon tea or whenever you fancy a wee treat with your cuppa.

Summarise & Save this recipe on:
Summarise & Save this recipe on:
How can you make the humble scone a little more indulgent, a little sweeter, and just that bit more special? I give you… Victoria Scones.
I first came across a Victoria Scones recipe in one of my Mum’s many Be-Ro Books. Beyond the black-and-white photo and recipe written in imperial measurements, there’s not a huge amount of recorded history on them. The latest editions include snippets from those early books, describing these scones as being “fit to set before a Queen.” Whether they were ever actually served to Queen Victoria is another matter, but it’s safe to say they were inspired by the same idea of simple baking made just a little more refined.
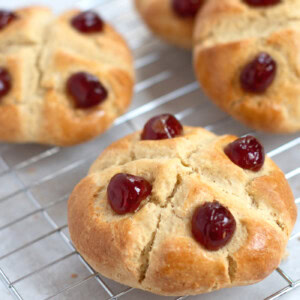
Much like a Victoria Sponge, these Victoria Scones take a classic bake and give it a slightly richer, sweeter twist. You still get that soft, familiar scone texture, but with added sugar and the signature glace cherries on top, making them feel that bit more special than your everyday scone.
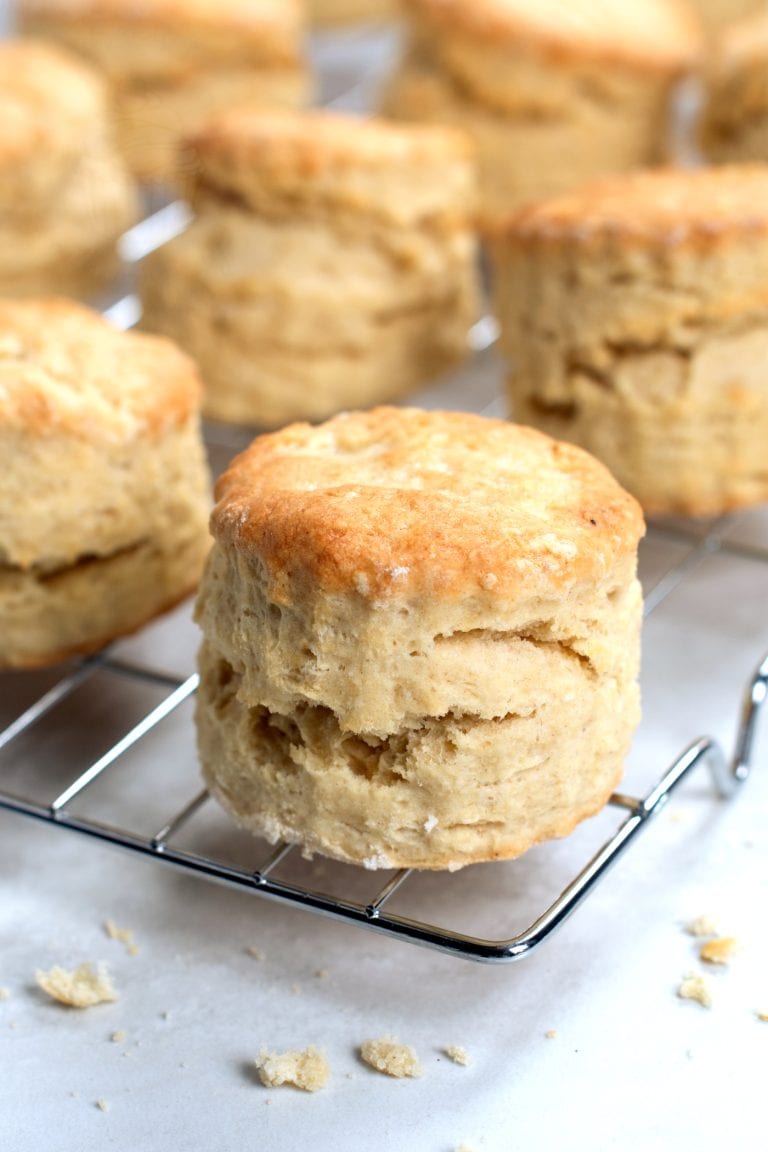
If you’re already a fan of my Plain Scones or Cherry Scones, these are a lovely next step. They use the same simple method, but with a slightly more indulgent finish that makes them perfect for afternoon tea, bake sales, or a wee treat with your cuppa.
And as always, this is one of those recipes that’s been tested and tweaked to be as reliable and fuss-free as possible. It doesn’t deviate too far from the original, but I’ve made a few tweaks that make it a little bit more foolproof.


Tips for homemade Victoria Scones:
• For great Victoria scones, you want cold ingredients and a hot oven. Use margarine or butter straight from the fridge, and ensure you fully preheat your oven.
• Try to get as much air into your dough by sifting the dry ingredients from a bit of height, and raising your fingers as you rub in the butter.
• Scones require a soft touch, so don’t be too rough with your mixing and kneading.
• Put down the rolling pin! Simply roll & stretch out your dough with your hands.
• Always leave your scones to rest before baking. This lets the gluten in the flour rest. 10 minutes is ideal, but even a couple of minutes is better than nothing.
• When scoring the cross onto the top of your scones, use the sharpest knife you have, and rock the knife over the top, as opposed to dragging it. This will give you a nice, neat cross.
• A beaten egg gives the best colour to scones when brushed on top before baking, particularly when it comes to Victoria Scones. But milk is another alternative option, if you prefer – for a slightly more glazed appearance, you can also whisk a little oil through your milk before brushing.
• When brushing your Victoria Scones with egg/milk: try to avoid the cross-cut and instead brush around it. This will allow your cross to split efficiently whilst baking; the egg seeping into the cross can prevent this from happening.

Save this recipe!
Want to save this recipe for later? Pop your email below and come back to it when you’re ready to bake.
Victoria Scones
INGREDIENTS
- 250 g Self-raising Flour
- ½ tsp Baking Powder
- Pinch of Salt
- 50 g Caster Sugar (Superfine Sugar)
- 50 g Block Margarine or Butter (cold)
- 100 ml Milk
- 1 Free-range Egg (beaten)
- 8 Glace Cherries (Candied Cherries) (halved)
EQUIPMENT
- Sharp Knife
INSTRUCTIONS
- Preheat your oven to 200°c (180°c for fan-assisted ovens, Gas Mark 6 or 400°F) and grease a large baking sheet – or a couple of smaller ones – with a little excess butter/margarine. Set aside.
- Sift the flour, baking powder and salt into a large bowl, holding the sieve up to allow some air into them. Using the tips of your fingers, rub in the margarine/butter, again lifting as you do to allow air in. Continue until you have a sandy consistency.
- Stir through the sugar, before making a well in the middle of your dry ingredients. Mix your milk and beaten egg together, before adding to the dry ingredients. Using your hands, gently bring the ingredients together to form a soft, sticky dough.
- Turn out onto a well-floured work surface and gently knead together, before dividing into 4. Roll each quarter into a ball, and then gently flatten into a circle (about couple of centimetres thick).
- Transfer your circles to your prepared baking sheet(s), leaving a little bit of space between each. Let your scones rest for 5-10 minutes.
- Using a sharp knife, score a cross onto the top of each scone circle. Brush a little [excess] beaten egg onto the top of each scored scone, before placing half a glace cherry into each triangle of your scored scones.
- Bake in your preheated oven for 12-15 minutes until your Victoria Scones have risen and are a beautiful golden colour.
- Once cool enough to touch, transfer to a wire rack to cool completely or enjoy whilst still warm.
IMPORTANT NOTE:
All my recipes are developed using a digital scale and the metric system (grams and millilitres). Cup measurements are available as a conversion but these, unfortunately, won’t always be as accurate. For best results, I always recommend baking with a digital scale.
NOTES
Storage
Store your Victoria Scones in an airtight container at room temperature for up to 2 days. They’re best enjoyed fresh on the day of baking, but will still be good the following day.Freezing
Victoria Scones freeze well. Allow them to cool completely, then place them in a freezer-safe bag or container and freeze for up to 3 months. Defrost at room temperature and, if you like, warm slightly before serving.Reheating
To freshen up day-old scones, warm them in a low oven for a few minutes. This helps bring back that soft, freshly baked texture. Alternatively, you can microwave them.Tried this recipe?
Tag @bakingwithgranny or use the hashtag #bakingwithgranny!Frequently Asked Questions:
Victoria Scones are super easy to make, despite their royal-like appearance. They follow the same premise of any scone recipe, but with the addition of an egg to make them a little bit richer.
The main difference is in how you make Victoria scones, particularly in the shaping and baking of them. Unlike most scones, these aren’t cut with a cookie cutter; they are instead shaped into circles using your hands, then scored with a cross, and topped with some glace cherries.
The cross on the top of Victoria scones makes them super simple to portion out. This recipe will make 4 large scones, which, if you are particularly hungry, you could have one of those completely to yourself! Otherwise, I would say half a scone is about the right portion per person. Or, if you are serving Victoria scones as part of an afternoon tea, you could simply split each scone into quarters, meaning you have 16 mini portions.
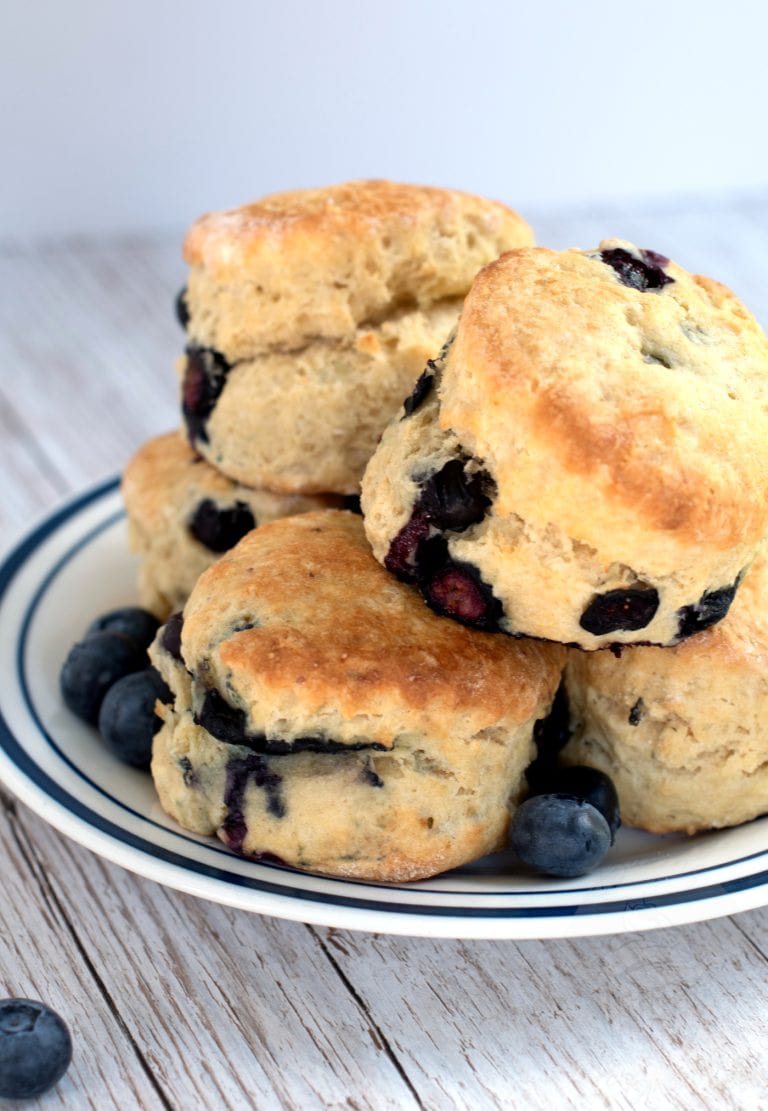
As for serving suggestions – like all scones – these are best enjoyed fresh from the oven, or at the very least, on the day they are baked. I like to split the scones in the middle and give them a little spreading of butter. But you could also top them with some jam, or even some clotted cream too.
Victoria Scones are sweeter and richer than plain scones. While the method is the same, Victoria Scones include more sugar and are finished with a cherry on top, making them feel a bit more special than your everyday scones.
The exact origin isn’t well documented, but they are believed to have been inspired by Queen Victoria, much like the Victoria Sponge. Early Be-Ro recipes described them as being “fit to set before a Queen,” which likely influenced the name.
Yes, the cherries are mainly decorative and add a touch of sweetness. You can leave them off, replace them with an alternative dried fruit, or sprinkle sugar on top before baking.