

Summarise & Save this Recipe on:
Summarise & Save this Recipe on:
Name me one thing that is better than a fresh Jam Donut. Soft, doughy balls, stuffed full of your favourite flavour of jam, in a generous coating of sweet sugar. I will wait.
Now we’ve established that Jam Donuts truly are top-tier sweet treats; let’s talk about why you should make a batch of your own…stat!
First of all, doughnuts are always great; we all know that. But once you taste a freshly made doughnut, there’s no going back. Still slightly warm and doughy, without a hint of starting to dry out. I will be the first to admit that home-baked doughnuts are best enjoyed on the same day you make them; however, you’ll be lucky that they aren’t eaten within hours anyway.
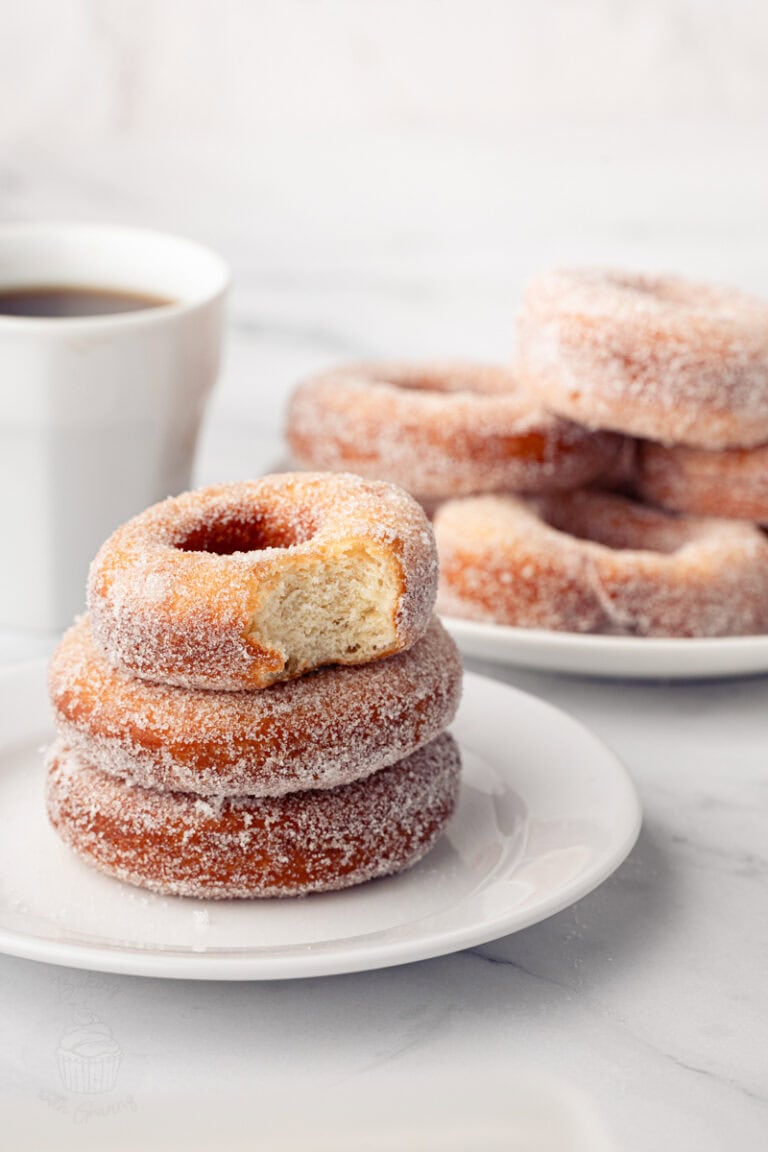
Then there’s how versatile they can be. The eagle-eyed amongst you may notice that the ingredients are much the same as our O-G Donuts recipe; that’s because if it ain’t broke, don’t fix it. And whether you’re making ring donuts, or filled donuts, this recipe can do both.
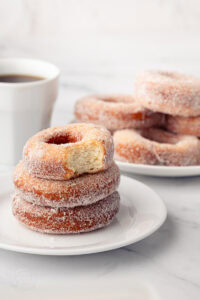
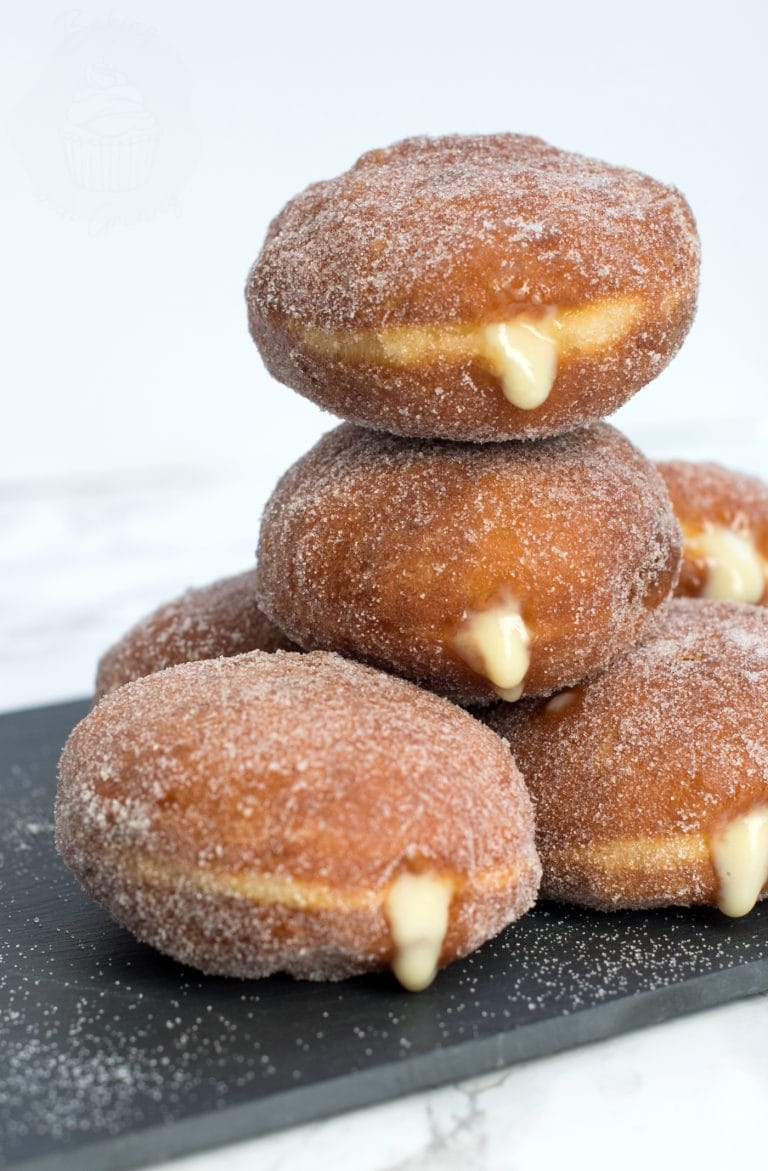
With filled doughnuts in mind, the options for jam doughnuts are pretty much endless. Pictured are strawberry jam doughnuts, but in fact, raspberry jam doughnuts are my favourite. You can, however, use whatever jam you fancy. Apricot, blackberry, blackcurrant…
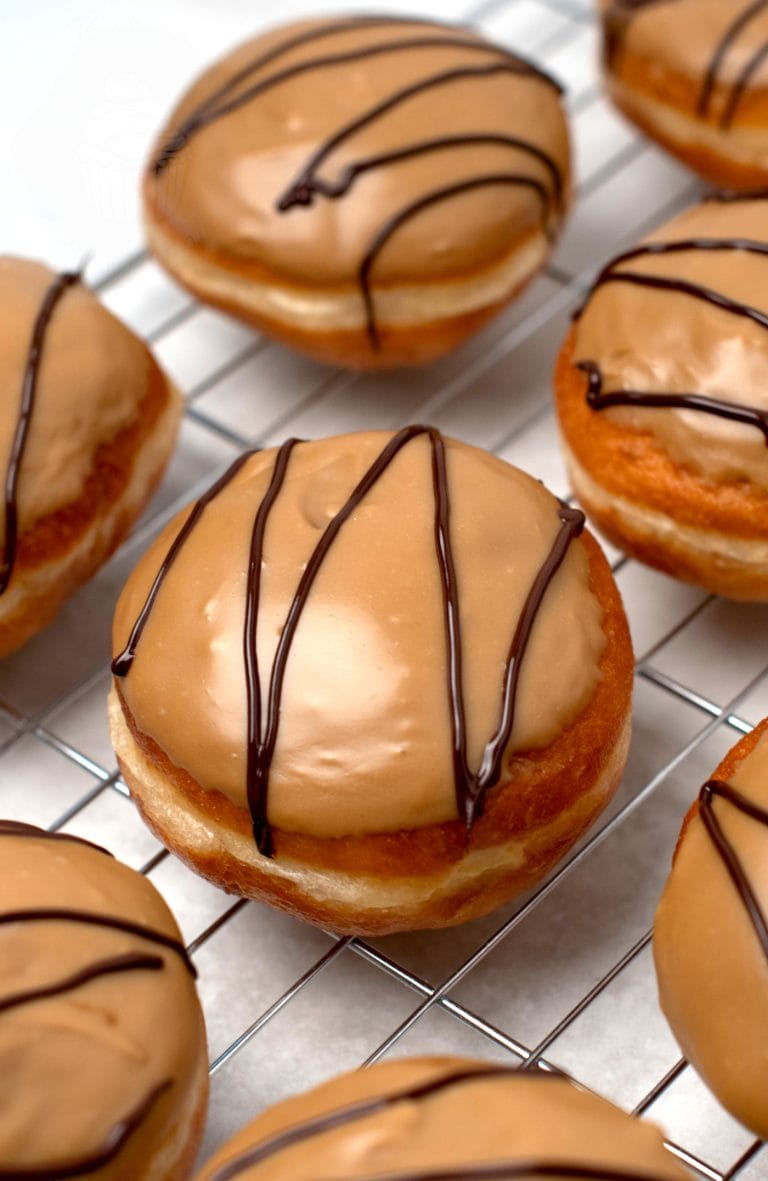
Why stop at jam? You can even use lemon curd, custard, Nutella… See what I mean about the options being endless?
Jam Donuts are also incredibly easy to make. Don’t let the in-depth recipe put you off! It looks lengthy, but that is only because it has a few stages to it. Nothing overly complex, just lots of tips to keep you right. And broken down into preparing the dough, shaping the donuts, then cooking them (with a couple of breaks in between to let the dough prove and rise), it really is very simple.

Free-from & Vegan:
Dairy-free: These donuts can easily be made dairy-free by using a dairy-free margarine and a dairy-free milk of your choice; my preference is sweetened soya milk.
Nut-free: This donut recipe doesn’t use any nut ingredients, but be sure to double-check the allergens on each of your individual ingredients.
N.B. Any advice or suggestions to make recipes “free-from” or vegan are purely that – suggestions. Please be careful to double-check all ingredients individually, taking extra caution when serving to those with allergies & intolerances.
For more info on common food allergies, please see food.gov.uk | For more info on coeliac disease, please see coeliac.org.uk | For more info on a vegan diet, please see vegansociety.com

Tips for homemade Jam Donuts
- For evenly sized donuts, weigh your dough after knocking it back post-first-rise (step 5), then divide that number by twelve. Then weigh out each donut to that number before rolling them into their balls.
- In the recipe, it suggests placing your dough balls onto individual squares of greaseproof paper. This is a game-changer!! You will then be able to move your donuts from tray/board to fryer with ease, and without compromising the structure of the now-perfectly risen dough.
- If you don’t already have a sugar thermometer, I highly recommend investing in one. This will allow you to closely monitor your oil temperature and ensure success whilst frying your donuts. Plus, you can then use it to make our Scottish Tablet too!
- You can, of course, use a deep-fat fryer if you have one.
- Using chopsticks to flip your doughnuts during frying is by far the easiest technique I have found.
- Warm your jam a little before spooning it into your piping bag – this will make it easier to work with.
- I cannot stress this enough… When working with hot oil, please please please be extremely careful. It is also worth having an awareness of how to deal with an oil fire before you start.
More Classic Bakery Recipes
If you loved these traditional Jam Donuts, here are some more of my favourite classic bakery recipes for you to try next:
Save this recipe!
Want to save this recipe for later? Pop your email below and come back to it when you’re ready to bake.

Jam Donuts
INGREDIENTS
- 120 ml Milk
- 60 g Block Margarine or Butter
- 275 g Strong White Flour
- 40 g Caster Sugar
- 7 g Easy Bake Instant Yeast (usually 1 sachet)
- 1 Free-range Egg (beaten; at room temperature; see Egg Size note below)
- 1 litre Oil (vegetable, sunflower, rapeseed…)
- 100 g Strawberry Jam
INSTRUCTIONS
- In a small saucepan, add the milk and butter/margarine. Warm over a low heat until the butter/margarine starts to melt. Remove from the heat and allow it to cool a little – you don't want it to be too hot before adding it to the other ingredients.
- In a large bowl, sift in the flour and sugar. Add the yeast and gently mix to combine. Make a well in the middle of the dry ingredients, then add the milk mixture and egg. Mix together to create a soft, slightly sticky dough – you may need to use your hands!
- Once the dough comes together, tip it onto a well-floured surface and begin to knead with floured hands, adding more flour as needed. Knead for around 10 minutes, until you have a smooth, stretchy dough.
- Place the dough into an oiled bowl (to prevent it from sticking) and cover with an oiled piece of
cling film or a damp tea towel. Leave to rise in a draught-free location for about an hour, or until it has doubled in size. - Once the dough has risen, knock it back and briefly knead it on a lightly floured surface. Divide your dough into 12 even-sized balls, rolling them between your hands to shape them. Place your dough balls onto individual squares of
greaseproof paper , approx. 10cm² (4 inch²) in size, with a bit of space between them – preferably on a tray or board. Cover again with a piece of oiledcling film or a damp tea towel. Leave in a draught-free place for about an hour, until they have puffed up to about double their size. - In a large pan, heat your oil to 180°c/350°F (use a thermometer for accuracy). You want your oil to be deep enough for your doughnuts to fry comfortably, without sticking to the bottom. Depending on your pan size, you may need more/less oil.
- Using the
greaseproof paper square, lift your doughnut to the oil and gently drop it in, exercising extreme caution. Allow the doughnut to fry for about 90 seconds, then flip it over, allowing the underside to fry for a further 90 seconds. - Once your doughnuts are golden brown on both sides, use a slotted spoon to remove them, holding them above the oil for about 10 seconds (to let the oil to drip off) before transferring them to a wire rack to cool. Continue until all your doughnuts are cooked, while monitoring your oil temperature and adjusting the heat as needed.
- Spoon your jam into a piping bag with a large circular nozzle. Once your doughnuts are cool enough to touch, use a wooden spoon to poke a little hole in one side of each doughnut before piping your jam into the hole. It can be a bit of trial and error (and personal preference) getting the right amount of jam in each doughnut, but around a teaspoonful amount is usually ideal.
- Roll the doughnuts in some extra sugar to finish.
IMPORTANT NOTE:
All my recipes are developed using a digital scale and the metric system (grams and millilitres). Cup measurements are available as a conversion, but these, unfortunately, won’t always be as accurate. For best results, I always recommend baking with a digital scale.







ABOUT THE AUTHOR
Amy Beth Reid
Amy Beth Reid is an award-winning food blogger, mother, wife and cookbook author. Inspired by her childhood in the kitchen with her Mum – a professional baker and her children’s Granny – Amy now shares her tried-and-tested traditional home baking recipes with bakers of all abilities around the world. She lives in Scotland with her husband, two sons and her small pack of Siberian huskies.