
For someone who is as much as a perfectionist as me, I’ll be the first to admit that I don’t find baking with toddlers especially easy! So when it comes to recipes, I’m always on the look out for something easy but fun and these Melted Snowman biscuits ticks both boxes.
If you are a user of Pinterest (in which case you should totally follow us!) then you’ll know I’m not the first person to make these biscuits but having struggled to find a recipe for Melted Snowman biscuits that comes in grams & not American cup measurements, I thought I’d share my own adaptation for he recipe for you to try with your very own wee festive baker!
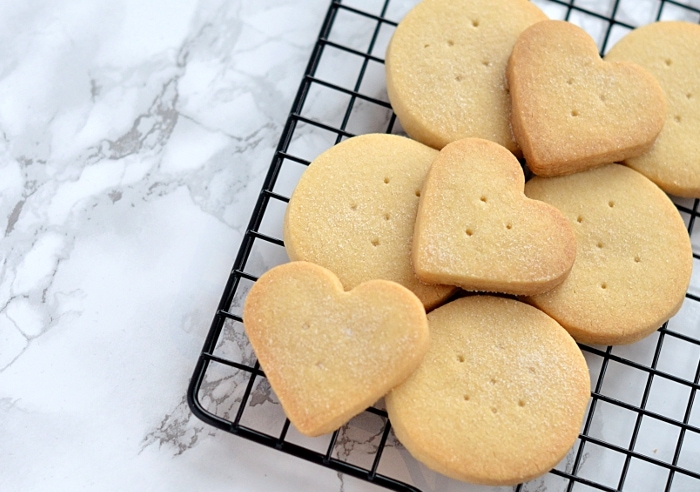
They are a simple sweet biscuit, or as our American readers may call them, a “sugar cookie”. Topped with a splodge of white icing and a little white marshmallow. Finished off with a bit of flare, in the way of a orange “carrot” nose and some little black eyes, mouths and buttons. You can of course get extra creative with different facial expressions, however I like the simple one dot, open-mouthed look on our snowman faces. I think it adds to the shocked look, at the fact they appear to be melting!

Love this? Try this:

Melted Snowman Biscuits
PRINT RECIPEINGREDIENTS
For the Biscuits
- 200 g Plain Flour
- 125 g Butter or Margarine
- 65 g Caster Sugar
For Decorating
- 100 g Icing Sugar
- 2-3 tsp Water
- Mini Marshmallows
- Orange & Black Piping Icing
INSTRUCTIONS
- Pre-heat your oven to 180°c (160°c for fan-assisted ovens or Gas Mark 3-4) and line a couple of baking sheets with grease-proof paper.
- In a large bowl, cream the butter/margarine and sugar together. Sift the flour in the flour and bring together to create a dough - you may need to use your hands.
- Roll on a floured surface with a rolling pin, until around 0.5-1cm thickness & cut with a round cutter. Transfer your biscuits to your pre-lined tray.
- Bake for around10 minutes until they are very lightly golden. Baking time will vary depending on the size of your biscuits. Transfer to a wire cooling rack & ensure they are completely cool before decorating.
Decorating The Biscuits
- Mix the icing sugar with the water, gradually adding the water until the desired consistency. Not too runny and thick enough that it holds the melted-snow look.
- Drizzle on your biscuits in a melted-snow fashion & pop a marshmallow on for your snowman's head. Decorate the snowmen as simple or elaborately as you like!
IMPORTANT NOTE:
All my recipes are developed using a digital scale and the metric system (grams and millilitres). Cup measurements are available as a conversion but these, unfortunately, won't always be as accurate. For best results, I always recommend baking with a digital scale.







4 responses
I’m so glad I’ve found this site ,my granddaughter loves to come to nannies house to do baking
We’re glad to have you here too, Janice! :) I hope you find some inspiration to get baking with your Granddaughter too.
Hi,I check your blog named “Twitter” on a regular basis.Your story-telling style is awesome, keep doing what you’re doing! And you can look our website about proxy server list.
Hi Amy,
The list of ingredients show 1 egg, however the recipe method doesn’t mention an egg? Where do we add this please?
Thanks