
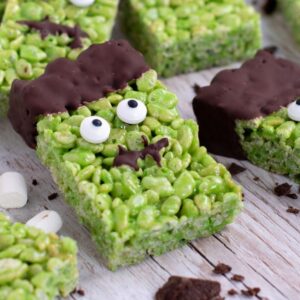
These Monster Rice Krispies Squares are a spooky Halloween twist on a classic no-bake tray bake. Made with melted marshmallows and crisped rice cereal, they’re coloured green, dipped in chocolate and finished with edible eyes to create simple monster faces – with Frankenstein being my personal favourite. They’re straightforward enough for children to help decorate, too 🧟

Monster Rice Krispies Squares Recipe Snapshot
- Recipe Type: No-bake Rice Krispies Squares with a Halloween twist.
- Difficulty: Very easy – no oven required.
- Prep Time: 30 minutes.
- Setting Time: 2 hours.
- Total Time: 2 hours 30 minutes.
- Makes: 12 squares.
- Key Ingredients: Marshmallows, crisped rice cereal, margarine/butter, chocolate, and edible eyes for decoration.
- Texture: Crisp and chewy.
- Decoration: Frankenstein is my personal favourite, but you can use different colours and decorations to create any monster you like.
- The Trick: Have your tin ready and work quickly once the marshmallows have melted, as the mixture becomes harder to mix and press as it cools.
Summarise & Save this Recipe on:
What are Monster Rice Krispies Squares?
Monster Rice Krispies Squares are a Halloween twist on classic Rice Krispies Squares. They’re made by melting marshmallows with margarine/butter, mixing through crisped rice cereal and food colouring, then pressing the mixture into a tin to set. Once firm, the squares are cut, dipped in chocolate and finished with edible eyes to create simple monster faces.
In the US, similar treats are usually called Rice Krispie Treats, so you may also see these described as Halloween Rice Krispie Treats or monster Rice Krispie treats. Here in the UK, Rice Krispies Squares is the most common name, and what the branded shop-bought versions are called – but whichever name you use, the idea is the same: a simple, no-bake treat that’s easy to make and even more fun to decorate!
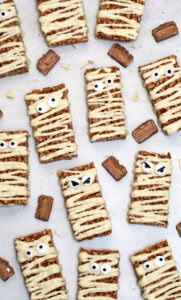
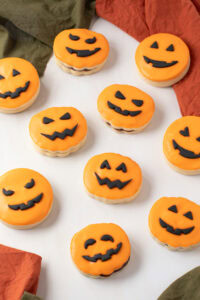
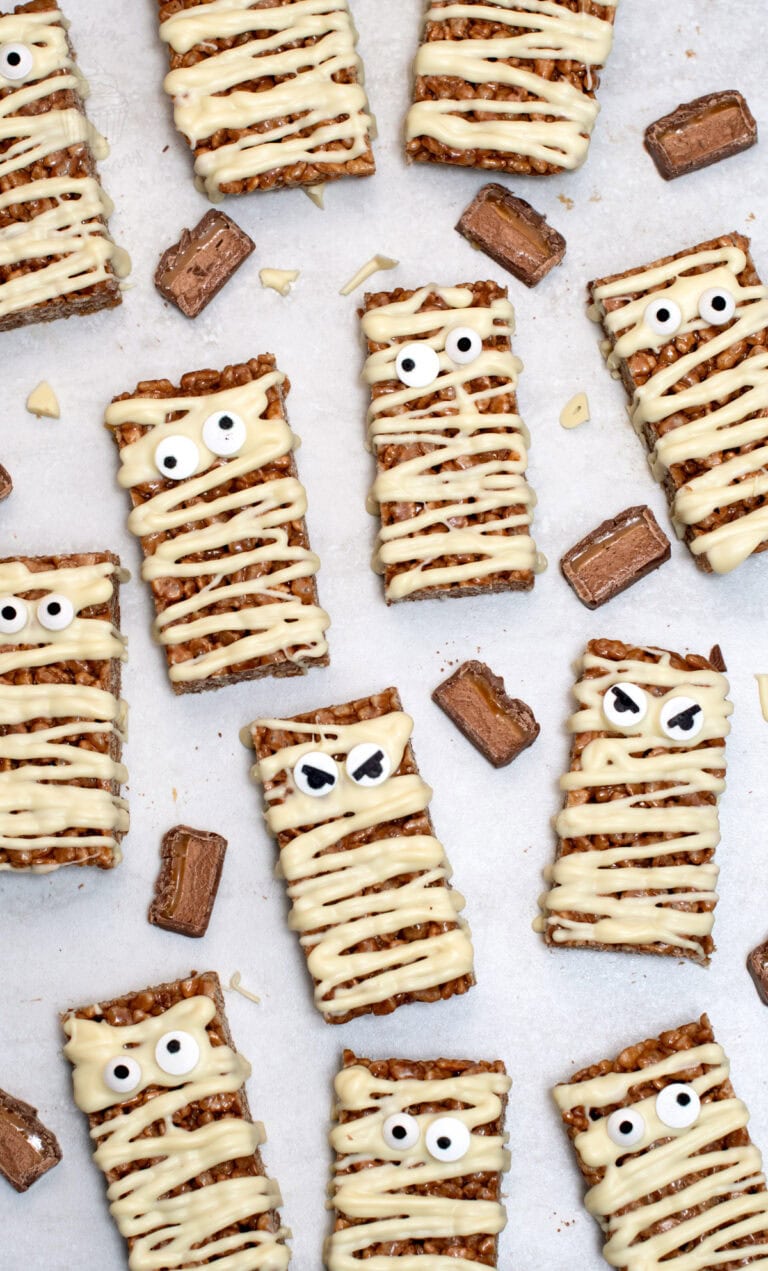
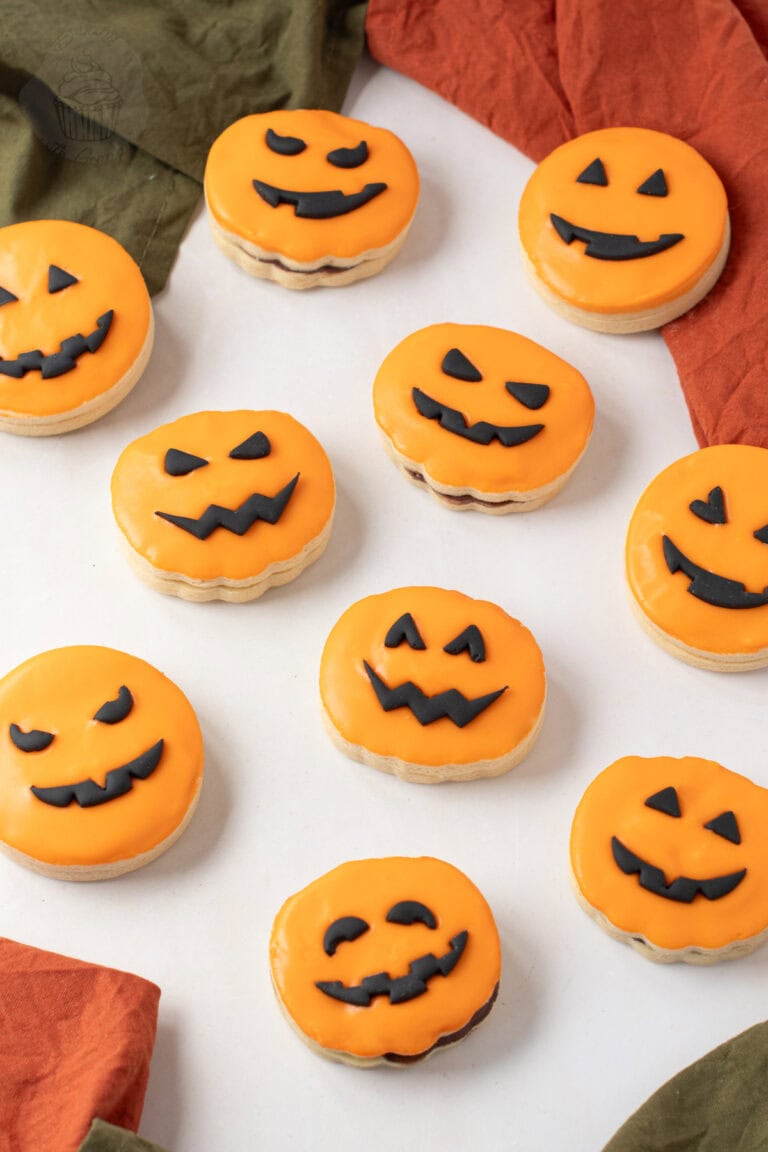
As you can probably tell from the photos, Frankenstein is my personal favourite monster to emulate, with the dark chocolate contrasting nicely against a green cereal mixture – but you can use different colours, chocolates and decorations to create any monster you like. Let the kids’ (or your…) imagination go wild! And for more fun Halloween baking ideas, check out my Pumpkin Empire Biscuits or Mummy Mars Bar Slices.
A Halloween Favourite in Our House
These Monster Rice Krispies Squares first came about when my eldest son was still just wee and in P1 (the Scottish equivalent of reception or kindergarten), and I was a parent volunteer at his first Halloween disco at school. He wanted to dress up as a postman, just like his Papa, and I made these for the kids to snack on – as if the copious amounts of sweets on offer wouldn’t already be enough!
He was young and cute then, and his Halloween costumes have become considerably more terrifying since. Namely a killer clown, an inflatable dinosaur and the Grim Reaper. And while he’s now apparently too old for dressing up and going guising (trick-or-treating), these Halloween Rice Krispies Squares have managed to stick around. They’re still one of my favourite easy Halloween treats to make, and a great recipe for getting kids (and teens!) involved in the making and decorating.
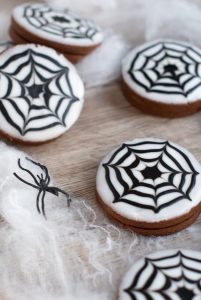
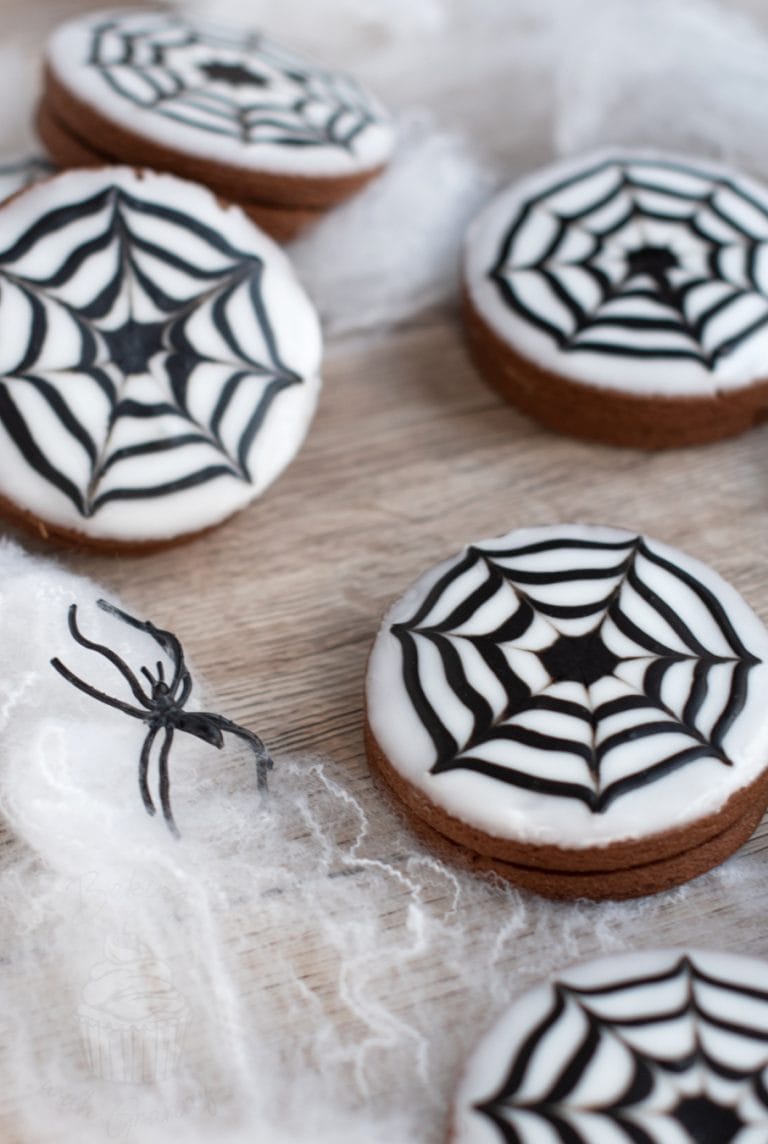
They not only make a great snack for school discos, but they are also the perfect no-bake tray bake for Halloween parties and as treats for any monsters that appear at your door on Halloween night, alongside my Spider Web Biscuits, Mummy Mars Bar Slices and Pumpkin Empire Biscuits.

Key Ingredients
Monster Rice Krispies Squares use just a handful of simple ingredients, with a few different options when it comes to the colour, chocolate and decorations.
See the recipe card for a full ingredients list, required quantities and cup conversions.
Substitutions & Additions
Other Cereals: If you don’t have Rice Krispies, you can use Cornflakes or Coco Pops instead. I’ve made these with both and they work well, although the finished squares will have a slightly different flavour and texture depending on which cereal you choose.
Different Colours: Green works particularly well for making your Rice Krispie Squares look like Frankenstein, but you can use any food colouring you like to create different coloured monsters. Purple, orange and blue would all make fun Halloween Rice Krispie treats.
Edible Eyes: Edible eyes aren’t really essential – more of a nice extra if you have them. You can also use white chocolate buttons instead, adding a small dot of darker chocolate to the centre of each one to create your own DIY eyes.
Sprinkles and Sweeties: If you want to get really creative, you can also add some Halloween sprinkles or colourful sweeties (candies) to your Rice Krispie Squares as well – get creative and have fun with them!
Looking for dairy-free, gluten-free or vegan adaptations? See the Free-from & Vegan section below.
Free-from & Vegan
Amy recommends: If you regularly need to adapt baking recipes for gluten-free, dairy-free, egg-free or vegan diets, I highly recommend The Elements of Baking by Katarina Cermelj, creator of The Loopy Whisk. It’s a brilliant resource for understanding how substitutions work, rather than simply swapping ingredients and hoping for the best.
Gluten-free Options:
To make gluten-free Monster Rice Krispies Squares, you’ll need to use a gluten-free crisped rice cereal and check your marshmallows, chocolate and decorations carefully too – sometimes gluten can be hiding in packaged products, so always check the individual labels when serving to those with coeliac disease.
Nut-free Adjustments:
This recipe contains no nuts, but as always, be sure to double-check the allergen lists for your individual ingredients.
Dairy-free Swaps:
To make these dairy-free Monster Rice Krispies Squares, use a dairy-free block margarine instead of butter, and use your favourite dairy-free chocolate for decorating.
Egg-Free Adaptations:
This recipe contains no eggs, but as always, be sure to double-check the allergen lists for your individual ingredients.
Vegan Substitutions:
To make vegan Monster Rice Krispies Squares, simply use gelatin-free marshmallows like Dandies Vegan Marshmallows, a dairy-free block margarine, and your favourite vegan chocolate. Vegan marshmallows work perfectly fine in this recipe, although their different composition can mean the melting times may vary.
Allergy Disclaimer & Resources:
Any advice or suggestions to make recipes “free-from” or vegan are purely suggestions. Please double-check all packaged ingredients individually, taking extra caution when baking for those with allergies or intolerances.
For official guidance on food allergies, please see Food Standards Agency (food.gov.uk) | For more info on coeliac disease, please see Coeliac UK (coeliac.org.uk) | For more info on a vegan diet, please see The Vegan Society (vegansociety.com)
How to Make Monster Rice Krispies Squares
Monster Rice Krispies Squares are a melt-and-mix recipe, but the marshmallow mixture becomes sticky and harder to work with as it cools. So have your tin, cereal and spoon ready before you begin, and work fairly quickly once the marshmallows have melted. Follow the step-by-step below, or head to the recipe card at the bottom for the full printable recipe.
- Prepare the tin: Grease a 28×18cm (11×7 inch) baking tin with some margarine/butter and line with greaseproof paper. Set aside.
- Melt the butter and marshmallows: Add the margarine/butter to a large saucepan and melt over a low heat. Add the marshmallows to the pan and stir occasionally until completely melted. Keep the heat low to prevent them from catching or burning.
- Add the colour and cereal: Once the marshmallows have melted, add the food colouring and mix through. Remove from the heat and add the crisped rice cereal.
- Press into the tin: Mix everything together quickly, then transfer to your prepared tin. Press evenly into the tin.
- Leave to set: Leave to set for around 2 hours. Once firm, cut into squares, ready for decorating.
- Melt the chocolate: Melt the chocolate over a bain-marie or in short bursts in the microwave, stirring regularly.
- Decorate the monsters: Dip the Rice Krispies Squares in the chocolate. Use a little chocolate to stick on edible eyes. Add mouths, hair or other monster features. Leave the chocolate to set before enjoying.
Top Tips for Halloween Rice Krispies Squares
- Have Everything Ready: Prepare your tin, measure out the crisped rice cereal and have your food colouring and spoon ready before you start melting the marshmallows. Once melted, the mixture becomes sticky and harder to work with pretty quickly.
- Keep the Heat Low: Melt the margarine/butter and marshmallows gently over a low heat. This helps prevent the marshmallows from catching or burning, which can make the finished squares bitter and hard.
- Work Quickly: Once the marshmallows have melted, add the food colouring, remove the pan from the heat and stir through the cereal as quickly as possible. Transfer the mixture to the tin while it is still warm and easy to press. The longer you take, the stickier it will become!
- Grease Your Spoon: The mixture can be very sticky, so grease the back of your spoon with a little extra margarine/butter before using it to press the mixture into the tin. This makes it much easier to spread evenly.
- Decorations on the Chocolate: Add the edible eyes and any other decorations before the chocolate has set, so they stick properly.
- Let Them Set Completely: Leave the finished squares until the chocolate has set completely before serving or storing them. This helps prevent the decorations from smudging or sticking to one another.
Storage, Freezing & Make Ahead
- Storage: Once decorated and fully set, store your Monster Rice Krispies Squares in an airtight container at room temperature. They will keep well for up to 1 week. If your kitchen is particularly warm, you can keep them in the fridge, but I’d recommend allowing them to return to room temperature before serving for the best texture.
- Make Ahead: These squares can be made ahead of time and stored in an airtight container until you’re ready to decorate and serve them, making them particularly handy for Halloween parties and school events. You could even make the Rice Krispies Squares base ahead of time and then let kids decorate them as an activity at parties or clubs.
- Freezing: Monster Rice Krispies Squares can be frozen for up to 3 months. Store them in an airtight container, separating layers with greaseproof paper to prevent them from sticking together. Allow them to thaw at room temperature before serving.

Monster Rice Krispies Squares FAQs
Yes. You can use either large or mini marshmallows in this recipe. I’ve used both sometimes even a mixture of the two if that’s what I have, so just weigh out the same 200g quantity of whichever type you choose.
Hard Rice Krispies Squares are usually caused by heating the marshmallows too quickly or leaving them over the heat for too long, meaning they have started to catch and burn. Melt the margarine/butter and marshmallows gently over a low heat, then remove the pan as soon as the marshmallows have melted.
Make sure all the crisped rice cereal is fully coated in the melted marshmallow mixture, and use the quantities in the recipe card. Work quickly while the mixture is still warm, then press it firmly and evenly into the tin before leaving it to set. If the mixture does set too quickly and you haven’t managed to mix it so all the cereal is covered, you can return it to the heat breifly to soften the marshmallow mix again, but be very careful as it’ll be much more prone to burning in this scenario.
The mixture is naturally very sticky, but greasing the back of your spoon with a little extra margarine/butter will make it much easier to press into the tin. It also helps if you work quickly while the mixture is still warm, before it has started to cool and firm up.
More Halloween Baking
If you loved these Monster Rice Krispies Squares, here are some more of my favourite Halloween recipes for you to try next:

Save this recipe!
Want to save this recipe for later? Pop your email below and come back to it when you’re ready to bake.
Monster Rice Krispies Squares
INGREDIENTS
- 25 g Block Margarine or Butter (plus extra for greasing)
- 200 g Marshmallows (mini or regular)
- 100 g Crisped Rice Cereal (eg. Rice Krispies)
- Food Colouring (gel colouring preferred)
- 100 g Chocolate (dark, milk or white)
- Edible Eyes
EQUIPMENT
INSTRUCTIONS
- Grease a 28×18cm (11×7 inch) baking tin with some butter/margarine before lining with
greaseproof paper . Set aside. - In a large saucepan, melt the butter/margarine over a low heat.25 g Block Margarine or Butter
- Add the marshmallows to the pan and allow them to melt, stirring to prevent them from burning or sticking.200 g Marshmallows
- Once the marshmallows have completely melted, add the food colouring and mix through. Remove from the heat and add the crisped rice cereal.Food Colouring; 100 g Crisped Rice Cereal (eg. Rice Krispies)
- Mix in the rice cereal as quickly as possible, before transferring the mixture to the prepared tin. The mixture will be sticky, so work fast. Using the back of a spoon, press the mixture into the tin. Allow to set for at least 2 hours before decorating.
- Once set, cut to your desired size. Have a sheet of
greaseproof paper on hand for decorating. - Melt the chocolate over a bain-marie or in short bursts in a microwave. Dip the Rice Krispies Squares into the melted chocolate, letting the excess chocolate drip off, before transferring them to the piece of
greaseproof paper .100 g Chocolate - Using a small amount of melted chocolate, stick the edible eyes onto the Rice Krispies Squares. Add a mouth and any additional features by drizzling a little chocolate with a small spoon or a
cocktail stick .Edible Eyes - Allow the chocolate to set completely before enjoying.
IMPORTANT NOTE:
All my recipes are developed using a digital scale and the metric system (grams and millilitres). Cup measurements are available as a conversion, but these, unfortunately, won’t always be as accurate. For best results, I always recommend baking with a digital scale.
RECIPE NOTES:
LIKE THIS RECIPE?
Leave a comment and rating below!Originally published in October 2022.







ABOUT THE AUTHOR
Amy Beth Reid
Amy Beth Reid is an award-winning food blogger, mother, wife and cookbook author. Inspired by her childhood in the kitchen with her Mum – a professional baker and her children’s Granny – Amy now shares her tried-and-tested traditional home baking recipes with bakers of all abilities around the world. She lives in Scotland with her husband, two sons and her small pack of Siberian huskies.