
Pineapple Tarts
There are many recipes I’ve talked about on Baking with Granny which I never realised were regional to Scotland. And it wasn’t until I started researching Pineapple Tarts that I found they are a somewhat exclusive Scottish treat. I can always remember being drawn to Pineapple Tarts, staring at them through the glass cabinet at…

There are many recipes I’ve talked about on Baking with Granny which I never realised were regional to Scotland. And it wasn’t until I started researching Pineapple Tarts that I found they are a somewhat exclusive Scottish treat.
I can always remember being drawn to Pineapple Tarts, staring at them through the glass cabinet at our local bakery. I’m a big fan of yellow, you see; from my yellow bedsheets, to my favourite yellow iPhone. To me it didn’t matter what was actually under that perfect veil of yellow icing.
But when my better half said in passing one day that he missed indulging in a Pineapple Tart, it became my goal to make a recipe for the perfect vegan Pineapple Tarts. However, this goal was soon sidetracked when, during my research, I found next-to-no existing Pineapple Tarts recipes, other than ones for a very different kind of bake, originating from Indonesia.
With that in mind, my mission somewhat changed, wanting to share a proper Scottish Pineapple Tart recipe, bringing these little sunshine pastries not only to those who have memories of admiring them as a child, like me, but also to those who have never been lucky enough to enjoy them.
Oh, and there are still my vegan hacks below!
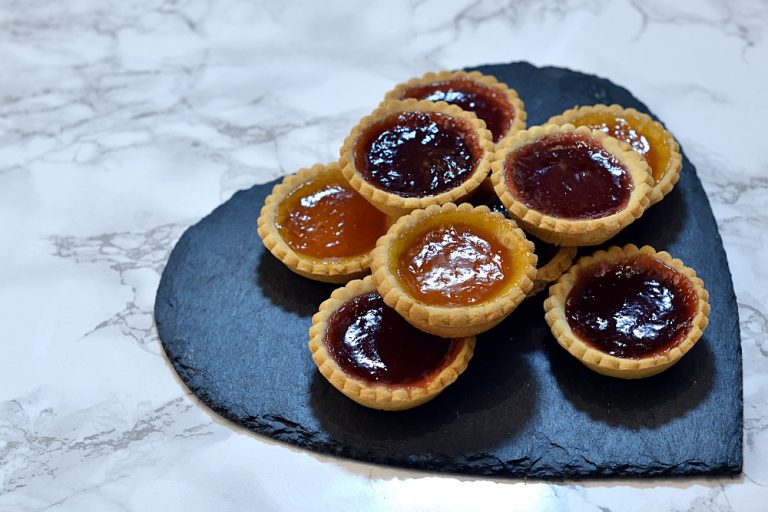
My first stop in research was, of course, Granny. She told me about her days in the bakery, with trays of already baked pastry casings and having 3 piping bags ready to go; one filled with pineapple jam, one filled with synthetic cream and one with that gorgeous yellow icing. She’d whizz through them all, dolloping a helping of jam on each pastry casing first. Going back to the start and topping the jam with the cream. Before the final round of finishing them all with a squeeze of icing
This recipe, however, does have some differences in the ingredients, mostly due to their availability.

Ingredients for Scottish Pineapple Tarts:
Butter
These little Scottish Pineapple Tarts simply wouldn’t work without their shortcrust pastry casing. Butter will give you the richest tasting pastry, but margarine is also an option, should you prefer.
Sugar
Not necessarily essential in a shortcrust pastry, but when you’re making a pastry for a sweet tart, it makes sense to start with a sweetened pastry, right?
Flour
Plain flour for a shortcrust pastry because we don’t want it rising and taking away any of the precious room for fillings.
Tinned Pineapple and Sugar
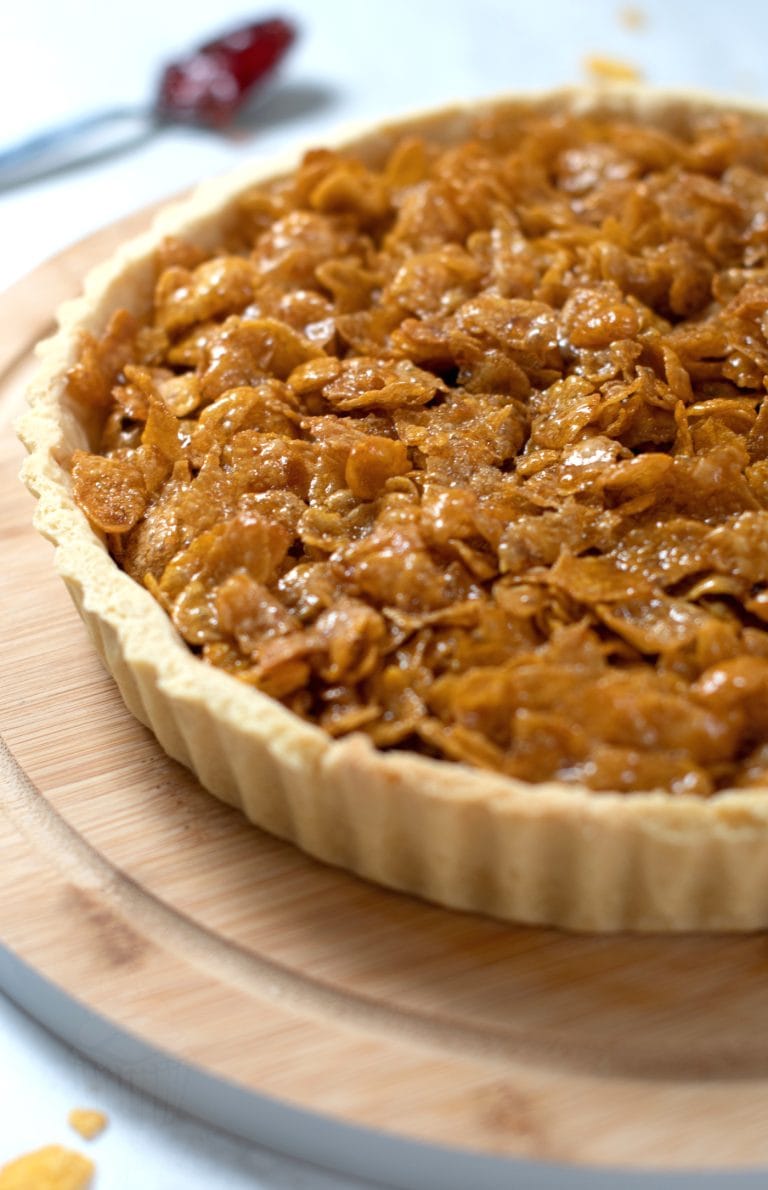
You can, of course, buy pre-made pineapple jam, but I’ve found it isn’t as easy to pick up anywhere, like alternative jams. So I’ve included instructions for an easy, two-ingredient pineapple jam in this Pineapple Tarts recipe.
Double Cream
When Granny made Pineapple Tarts in the bakery, they used what was known as synthetic cream (sometimes known as mock cream). This isn’t something you can pick up in the supermarkets, although some online retailers do stock it, and there are some recipes online that you should try if you want to keep it authentic.
However, whipping up some double cream with a little icing sugar is a fantastic, tasty and more natural substitute. The only thing you need to watch for when using fresh cream is storing the pineapple tarts in the fridge and not keeping them longer than a couple of days, although I guarantee you’ll have them all eaten before then! But should you wish to keep them a little longer, simply swap the fresh cream for a buttercream.
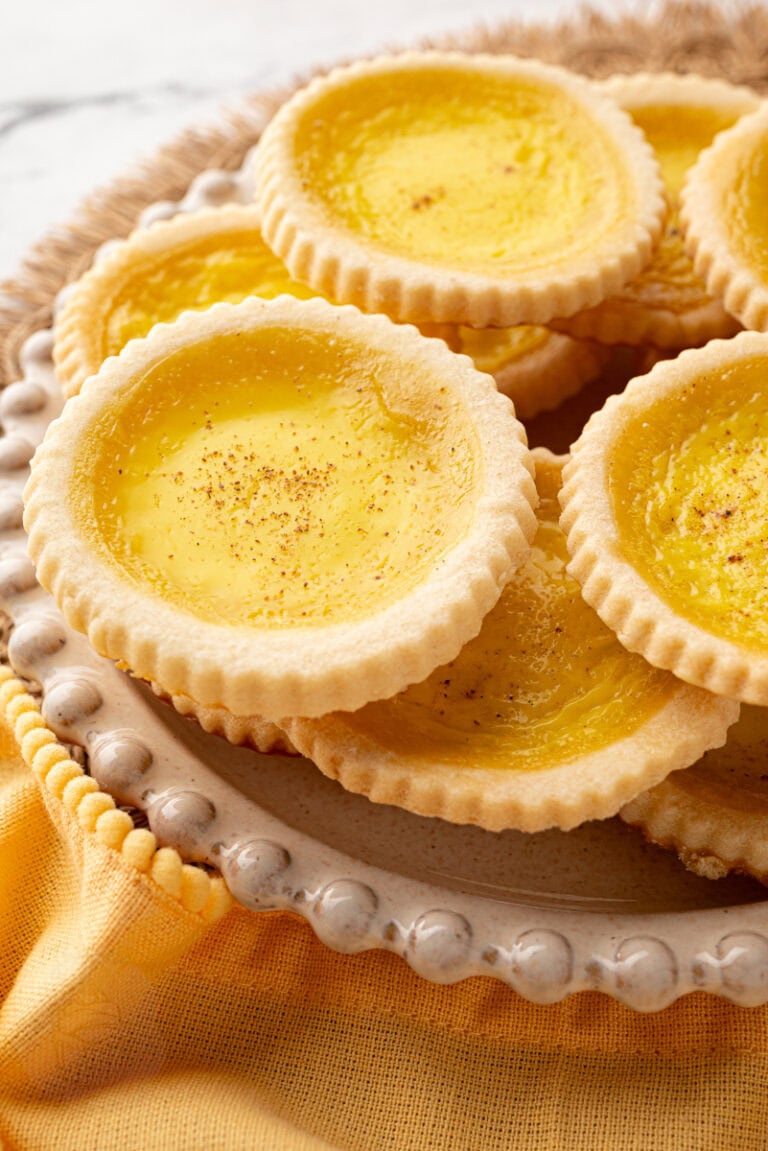
Icing Sugar, Water and Food Colouring
For that beautiful yellow finish that holds all the delicious filling inside the pastry casing! I use gel food colouring because it gives the best colour results and doesn’t have a big impact on the consistency of your icing.
Tips for homemade Pineapple Tarts:
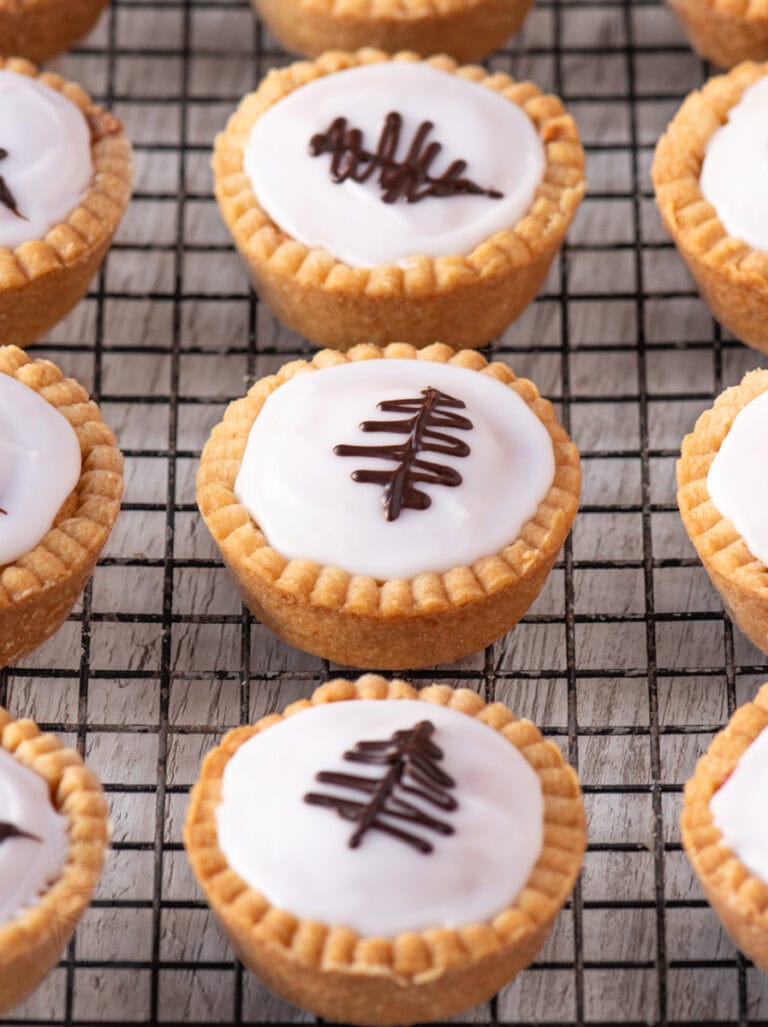
• The foil pastry cases are by no means essential. We just used them here for photo purposes, and in fact, they’re more environmentally friendly without them.
• If you don’t have baking beans already, this is one recipe that is worth investing in them for. And when it comes to baking the pastry with the baking beans, a good hack is to place a cupcake case into the pastry and fill it with the beans. Not lining the pastry before adding the beans will be a trypophobe’s nightmare, not to mention a pain to get them back out of the pastry.
• When piping on your cream, it’s super important to leave a small gap between the pastry and cream (enough that you can still see some jam). This allows some space for excess icing to pool as it covers the cream. Otherwise, it’ll be running all over your pastry and onto the surrounding surfaces.
• You can also use a Ready-roll Shortcrust pastry, should you prefer or are in a hurry.


INGREDIENTS
For the Pastry
- 175 g Butter or Margarine (at room temperature)
- 65 g Caster Sugar
- 250 g Plain Flour
For the Jam
- 435 g Pineapple Slices in Juice (one tin)
- 250 g Caster Sugar
For the Cream Filling
- 300 ml Double Cream
- 3 tbsp Icing Sugar
For the Yellow Icing
- 300 g Icing Sugar
- 3-4 tbsp Water
- Yellow Food Colouring
INSTRUCTIONS
For the Pastry
- In a large bowl, cream together the butter/margarine and sugar until light and fluffy. Sift in the flour and mix to create a soft dough, using your hands to bring it together when necessary. Gently knead the dough on a clean surface to ensure it is completely combined, before wrapping the dough in cling film and placing in the fridge for 30 minutes to firm up a little.This is a good time to prepare the Pineapple Jam (instructions below).
- Meanwhile, pre-heat your oven to 180°c (160°c for fan assisted ovens or Gas Mark 4). After 30 minutes, remove your dough from the fridge. Grease a 12-hole cup bun tray with a little butter/margarine and set aside.
- Roll your dough to about 5mm thick and using a round cutter which is a little bigger than the cups on your bun tray, cut 12 circles. Carefully transfer each circle to your pre-greased tray, gently ensuring no air is caught underneath each and pressing the bottom and edges into place.
- Prick a few holes into the bottom of each pastry cup, before lining them (I used a paper cupcake case for lining) and filling with some baking beans. Bake for about 15 minutes, remove the baking beans and bake for a further 5 minutes, until the pastry cases are golden in colour. Allow to cool a little before adding the fillings.
For the Jam
- Drain the juice from your tinned pineapple into a pan. Add the sugar to the pan. Roughly chop the pineapple slices before also adding to the pan.
- Bring the mixture to a boil and allow to boil for 20-30 minutes, watching closely and stirring often. After which time it will still be slightly syrupy but the pineapple will have darkened in colour.
- Transfer the jam to a sterilised jar (or allow to cool for a while before transferring to a saleable plastic container).* Please note this considered a "easy jam" recipe and won't set quite the same as shop-bought jam. And unless stored in a sterilised jar, should only be kept for a few days.
- Allow to cool completely before using in Pineapple Tarts. Spoon a heaped teaspoon of jam into each pastry casing.
For the Cream Filling
- In a large bowl, whisk the cream and icing sugar. If using an electric whisk, stop just before you think you have whisked enough – it's very easy to over-whisk cream with an electric whisk.
- Transfer the cream to a piping bag with a large circular opening (or simply cut a few centimetres up a disposable piping bag) and pipe about a ping-pong ball amount of cream onto the top of each jam-filled pastry casing. Alternatively simply spoon on the cream. Place into the fridge whilst you prepare the icing.* It is very important to leave a little gap between the cream and pastry (enough to be able to see the jam underneath). This allow the icing to pool and not over-flow the edges.
For the Yellow Icing
- In a bowl, mix the icing sugar with the water, adding a little at a time. You want a just pour-able consistency. Add the yellow food colouring to create your desired stage. Gel food colouring is preferable but just watch the consistency of your icing if you are using a different kind of food colouring.
- Starting with just a teaspoon, pour a little icing on top of the cream. After it has started to run down the cream, you can see where more is required and simply pour a little more into these places.
- Allow the icing to set before serving.
IMPORTANT NOTE:
All my recipes are developed using a digital scale and the metric system (grams and millilitres). Cup measurements are available as a conversion but these, unfortunately, won’t always be as accurate. For best results, I always recommend baking with a digital scale.
Free-from & Vegan:
Gluten-free: Simply use a Ready-roll Gluten-free Shortcrust pastry for your pastry casing.
Nut-free: No nuts are used in this recipe, but be sure to double-check your ingredients individually to check for hidden nuts.
Egg-free: No eggs are used in this recipe, but be sure to double-check your ingredients individually to check for any hidden eggs. In particular, if you opt to use a ready-roll pastry.
Vegan: Use a dairy-free margarine in your pastry and a coconut cream for the cream filling. Simply refrigerate two tins of coconut milk overnight, carefully removing before use. The milk will have separated in the fridge; spoon the coconut cream from the top, leaving the water at the bottom of the tin. Whisk the cream with the sugar as per the recipe. You may need to refrigerate the cream between steps as it will become softer with handling.
N.B. Any advice or suggestions to make recipes “free-from” or vegan are purely that – suggestions. Please be careful to double-check all ingredients individually, taking extra caution when serving to those with allergies & intolerances.
For more info on common food allergies, please see food.gov.uk | For more info on coeliac disease, please see coeliac.org.uk | For more info on a vegan diet, please see vegansociety.com

Also found in newcastle area butcalled pineapple melbas
I Blitz the pineapple to crush, add 1/2C caster sugar & dash of vanilla…then MICROWAVE in Pyrex Bowl for 6mins × 4 times, stirring in between…to get the jam.I add rice flour (1:5 ratio to plainFlour…for the dough.
Could you just not use canned crushed pineapple instead of jam ?
Can I ask what alternative could be suggested instead of pineapple? I used to love it, but unfortunately developed an allergy a few years ago. Thanks
Raspberry jam is my favourite! Topped with pink icing instead. But the options are endless.
Could try passion fruit?
I just made these with my granddaughter and we loved them. Just like I remembered from school
Comment to John Burch
If you were even a half decent chef you would read any recipe through before commenting.
Your negative comments are unnecessary and who really cares if you had two grannies who baked. Most people did in times gone by.
Chill out girl, he didn’t read the post exactly, he corrected his statement, no harm done, peace out!
You are chastising someone about their negative comments using negative comments.
#LayYourFearsDown #ChangeTheWorld